Best Stainless Steel Backsplash Brands & Lines for 2026
Compare top stainless steel backsplash brands for 2026. Deep-dive into ZLINE, Broan, and Frigidaire specs, gauges, pricing, and installation tips.
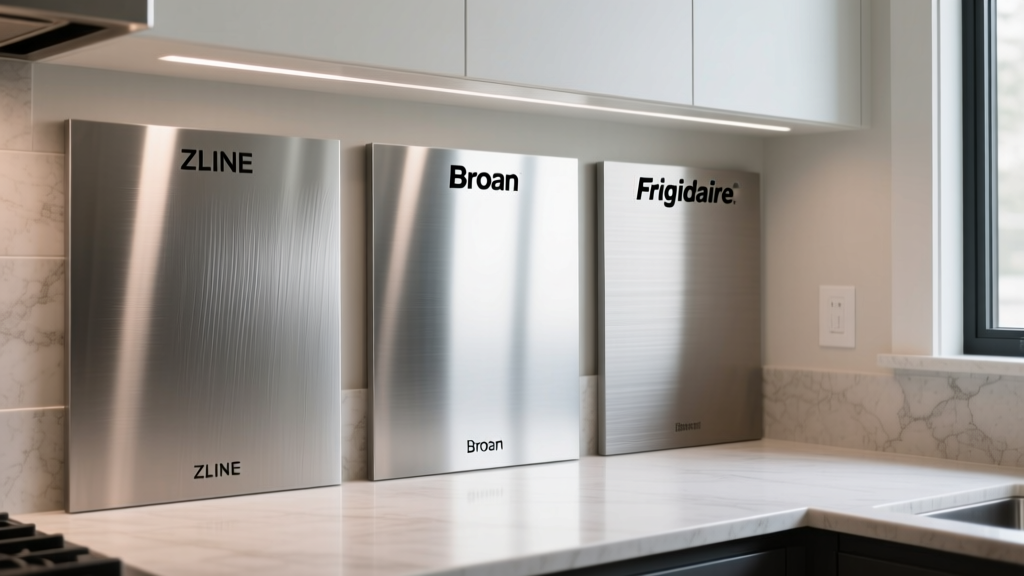
Metallurgy Matters: Type 304 vs. Type 430 Stainless Steel
Before evaluating specific brands, you must understand the metallurgical baseline of stainless steel backsplashes. The market is dominated by two distinct alloys, and choosing the wrong one for your environment will lead to premature rusting and pitting.
Type 430 (Ferritic): Contains 16-18% chromium and virtually no nickel. It is magnetic, less expensive, and highly susceptible to chlorides and acidic corrosion over time. Most consumer-grade backsplashes use Type 430. According to the Nickel Institute, the absence of nickel makes 430 less ductile and more prone to surface oxidation if exposed to harsh kitchen cleaners.
Type 304 (Austenitic): Contains 18% chromium and 8% nickel (often stamped as 18/8). It is non-magnetic, highly corrosion-resistant, and the standard for commercial kitchens. If your kitchen features a high-output gas range, heavy salt usage, or frequent acidic splatters, investing in a Type 304 custom-fabricated backsplash is non-negotiable for longevity.
Brand Deep-Dive: ZLINE Kitchen and Bath
ZLINE has aggressively captured the pro-sumer market by offering integrated kitchen suites. Their stainless steel backsplash panels are engineered specifically to match the exact #4 brushed finish of their ranges and wall ovens, eliminating the visual dissonance that occurs when mixing appliance brands.
- Gauge & Material: 20-gauge Type 430 stainless steel. This thickness provides excellent rigidity, minimizing the "oil-canning" effect (visible rippling) common in thinner panels.
- Edge Profile: Factory-hemmed edges. The metal is folded back 3/8-inch at the perimeter, which eliminates razor-sharp edges and creates a built-in spacer for a flush fit against adjacent cabinetry.
- Pricing: Approximately $55 to $75 per linear foot, depending on height (typically 24 or 30 inches).
- Best Application: Homeowners purchasing ZLINE ranges who require a guaranteed finish match without resorting to custom metal fabrication.
Brand Deep-Dive: Broan-NuTone Backsplash Panels
Broan approaches the backsplash market from a retrofit and DIY perspective. Their pre-cut panels are widely available at big-box retailers and are designed for weekend warriors looking to cover damaged tile or dated laminate.
- Gauge & Material: Typically 28-gauge to 24-gauge Type 430. This is exceptionally thin metal. While it makes the panels lightweight and easy to cut with aviation snips, it demands a perfectly flat substrate.
- Installation Method: Designed primarily for adhesive mounting. Broan recommends specific acrylic-based adhesives to prevent chemical bleed-through that can discolor thin-gauge steel.
- Pricing: $20 to $35 per pre-cut panel (usually 24" x 30" or 24" x 36").
- Best Application: Budget-conscious cosmetic renovations over existing, structurally sound tile or drywall where mechanical fasteners are not desired.
Brand Deep-Dive: Frigidaire Gallery Series Accessories
Frigidaire’s approach focuses on surface technology rather than sheer thickness. Their Gallery series backsplashes feature the proprietary Smudge-Proof™ coating, a micro-textured clear layer that resists fingerprints and makes wiping away grease significantly easier than on standard brushed steel.
- Gauge & Material: 22-gauge Type 430 with a specialized anti-microbial topcoat.
- Finish: Satin-brushed with a directional grain. The Smudge-Proof coating slightly alters the light refraction, giving it a softer sheen compared to raw #4 brushed steel.
- Pricing: $40 to $60 per linear foot.
- Best Application: High-traffic family kitchens where fingerprint mitigation is a higher priority than commercial-grade impact resistance.
Warning: The "Oil-Canning" Phenomenon
Oil-canning occurs when thin stainless steel panels expand and contract due to heat from the range below, causing the metal to buckle and create wavy, distorted reflections. To prevent this, never install panels thinner than 22-gauge near high-BTU gas burners. If using 24-gauge or 28-gauge panels (like standard Broan models), you must apply adhesive in a continuous zigzag or grid pattern across the entire back surface to restrict thermal movement, rather than just applying it to the perimeter.
Specification & Pricing Matrix
The following matrix breaks down the critical specifications for 2026 consumer-facing backsplash lines. Note that pricing fluctuates based on regional metal surcharges and custom cutting requirements.
| Brand / Line | Gauge | Steel Type | Finish / Coating | Avg. Price (Per Sq. Ft.) | Edge Profile |
|---|---|---|---|---|---|
| ZLINE Integrated | 20-Gauge | Type 430 | #4 Brushed | $22 - $30 | Factory Hemmed |
| Broan Pre-Cut | 24 to 28-Gauge | Type 430 | #4 Brushed | $12 - $18 | Raw / Snipped |
| Frigidaire Gallery | 22-Gauge | Type 430 | Smudge-Proof™ Satin | $18 - $25 | Factory Hemmed |
| Custom Fabricator | 18 to 20-Gauge | Type 304 | #4 or #8 Mirror | $45 - $80+ | Custom Hemmed |
Installation Framework: Mechanical vs. Adhesive
According to design guidelines published by the National Kitchen & Bath Association (NKBA), the integration of backsplash materials must account for both thermal expansion and sanitary maintenance. Your installation method dictates the lifespan of the backsplash.
Adhesive Mounting (For Drywall and Existing Tile)
For panels 22-gauge and thinner, adhesive is the standard. Use a high-grab, neutral-cure polyurethane adhesive like Loctite Power Grab or LIQUID NAILS Fuze*It Max. Avoid solvent-based construction adhesives; the solvents can permeate thin steel, leaving permanent dark shadows on the visible face. Apply the adhesive in 3/8-inch beads spaced 4 inches apart in a grid pattern. Press firmly and secure with blue painter's tape for 24 hours while the adhesive cures.
Mechanical Fastening (For Cement Board and Studs)
For heavy 18-gauge or 20-gauge Type 304 panels, mechanical fastening is superior. Use #8 stainless steel truss-head screws driven into wall studs or cement board anchors. To maintain a clean aesthetic, fabricators often weld stainless steel Z-clips to the back of the panel, allowing it to hang seamlessly on a wall-mounted French cleat system without visible screw heads.
Edge Profiling and Hemming
Never install a backsplash with raw, sheared edges in an exposed area. Sheared edges are microscopically jagged, posing a severe laceration risk during cleaning, and they trap grease and bacteria. Always specify hemmed edges. A standard hem returns the metal 3/8-inch to 1/2-inch behind the face panel. This not only protects your hands but increases the torsional rigidity of the panel by up to 40%, further combating oil-canning. If you are cutting pre-cut Broan panels on-site with aviation snips, you must file the edges smooth and apply a clear metal edge sealer, or ideally, use a metal brake to create a custom hem.
Frequently Asked Questions
Can I use a magnetic knife strip on a Type 430 stainless steel backsplash?
Yes. Type 430 is ferritic and magnetic, meaning standard magnetic knife strips and spice racks will adhere to it. However, Type 304 is largely non-magnetic; if you upgrade to a commercial 304 backsplash, you will need to use screw-mounted or adhesive-backed knife strips.
How do I remove scratches from a brushed stainless steel backsplash?
Brushed finishes feature a directional grain. To buff out light scratches, use a non-woven abrasive pad (like a Scotch-Brite pad) and rub strictly in the direction of the existing grain. Never use circular motions, as this will create a visible, swirling defect that catches light differently than the surrounding area. For deeper gouges, use a specialized stainless steel refinishing kit with sequential grit compounds.
Is it necessary to seal the bottom edge where the backsplash meets the countertop?
Absolutely. The joint between the bottom hem of the backsplash and the countertop must be sealed with a 100% silicone caulk (color-matched to your grout or countertop). Do not use acrylic or latex caulk, as they will degrade when exposed to standing water and kitchen degreasers. Leave a 1/16-inch expansion gap before applying the silicone to allow for thermal movement.