EPDM Rubber Roof Installation: Fully Adhered System Guide
Master EPDM rubber roof installation with this fully adhered system guide. Learn substrate prep, adhesive application, and seam splicing techniques.
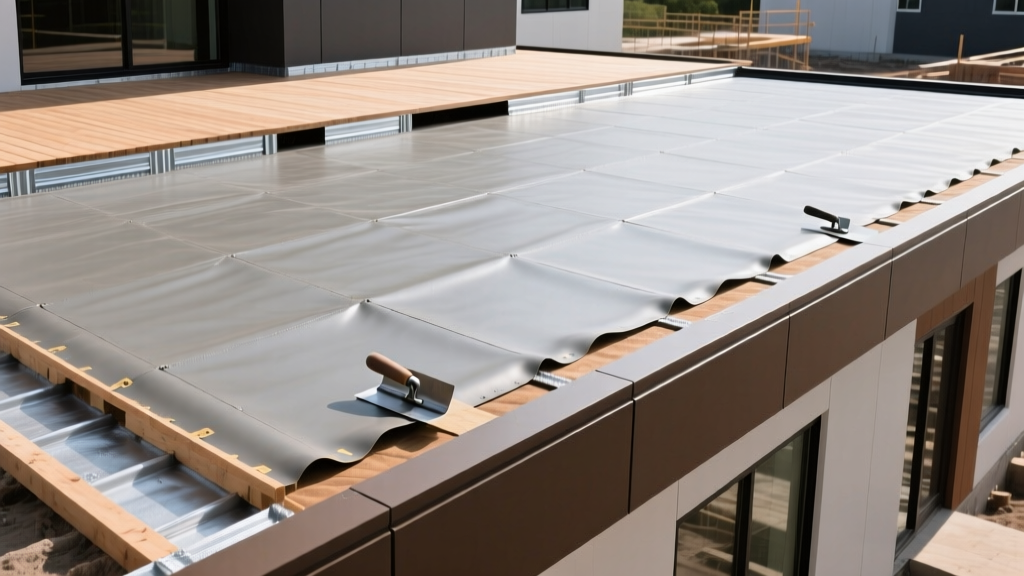
Fully Adhered EPDM Systems: Technical Overview
Fully adhered Ethylene Propylene Diene Monomer (EPDM) rubber roofing systems provide superior wind uplift resistance and eliminate the structural load requirements of ballasted systems. By bonding the membrane directly to the insulation substrate using specialized contact adhesives, contractors achieve a continuous, monolithic seal capable of withstanding extreme thermal cycling. For commercial low-slope and residential flat roof applications in 2026, proper execution of the bonding and splicing phases dictates the 30+ year lifespan of the membrane. Material and labor costs for fully adhered EPDM currently range from $8.50 to $12.50 per square foot, making precision installation critical to protecting project margins and preventing premature failure.
Pre-Installation Substrate & Insulation Prep
EPDM membranes are highly flexible but offer zero structural rigidity. The substrate must be clean, dry, and dimensionally stable. For new construction or full tear-offs, the structural deck should consist of minimum 5/8-inch APA-rated Exposure 1 plywood or oriented strand board (OSB). Concrete decks require a smooth, broom-finished surface free of curing compounds.
Polyisocyanurate (ISO) insulation boards, manufactured to ASTM C1289 standards, are the industry standard for EPDM substrates due to their high R-value (typically R-5.6 to R-6.0 per inch). Insulation must be mechanically fastened to the structural deck. Fastener density is dictated by local wind uplift codes (e.g., ANSI/SPRI FX-1). In standard field zones, apply 12 heavy-duty plates and fasteners per 4x8 board. In perimeter and corner zones, increase this density to 24 or more fasteners per board to prevent insulation billowing, which will telegraph through the adhered membrane and stress the seams.
Do not install EPDM bonding adhesives if the ambient temperature is below 40°F (4°C) or if frost, dew, or standing water is present on the substrate. Solvent-based adhesives require specific evaporation rates to achieve proper tack; cold or damp conditions will result in catastrophic adhesion failure.
Adhesive & Splicing Material Matrix
Selecting the correct chemical bonding agents is the most critical material decision in a fully adhered EPDM system. The EPDM Roofing Association (ERA) emphasizes that incompatible adhesives or improper flash-off times are the leading causes of single-ply roof failures.
| Material Type | Primary Application | Coverage Rate | Flash-Off Time (70°F) |
|---|---|---|---|
| Solvent-Based Bonding Adhesive | Field membrane to ISO board | 1.5 - 2.0 gal / 100 sq ft | 15 - 30 minutes |
| Water-Based Bonding Adhesive | Eco-sensitive zones, low VOC | 1.5 - 2.0 gal / 100 sq ft | 45 - 60+ minutes |
| EPDM Seam Primer (e.g., QuickPrime) | Preparing membrane overlap edges | 1 gal / 300 linear ft | 2 - 5 minutes (until tacky) |
| Uncured Splice Tape (3" or 6") | Membrane field and detail seams | N/A | N/A (Pressure activated) |
Step-by-Step Membrane Deployment & Bonding
Deploying a fully adhered EPDM membrane requires strict adherence to relaxation and adhesive flash-off protocols. According to the Whole Building Design Guide (WBDG), skipping the acclimation phase guarantees thermal contraction issues post-installation.
- Membrane Relaxation: Unroll the EPDM membrane (typically 10', 20', or 50' wide rolls) across the roof deck. Allow the rubber to relax and acclimate to the ambient temperature for a minimum of 30 to 45 minutes. This releases manufacturing tension and prevents "fishmouth" wrinkles when the temperature drops at night.
- Folding and Adhesive Application: Fold the relaxed membrane back onto itself, exposing half of the substrate. Apply the solvent-based bonding adhesive to the ISO board using a 3/8-inch nap roller or a notched trowel. Maintain a uniform coverage rate of 1.5 to 2.0 gallons per 100 square feet (one roofing square).
- The Flash-Off Test: Allow the adhesive to flash off (evaporate solvents). Perform the "knuckle test": press your knuckle into the adhesive and pull away. The adhesive should feel aggressively tacky and form short strings, but it must not transfer onto your skin. If it transfers, it is too wet; if it feels dry, it has over-flashed and must be re-coated.
- Rolling and Brooming: Carefully roll the membrane into the wet adhesive. Immediately follow with a stiff push broom, working from the center outward to expel trapped air pockets and ensure 100% contact with the substrate.
- Repeat: Fold back the remaining half of the membrane and repeat the adhesive, flash-off, and brooming process.
Critical Seam Splicing Procedures
While the field adhesion keeps the roof in place, the seams keep the water out. EPDM seams rely on vulcanization via uncured splice tape and chemical primers. Standard field seams require a minimum 3-inch overlap; high-stress areas, inside corners, and high-wind zones require a 6-inch overlap.
The Splicing Protocol
- Clean the Seam: Wipe the overlapping membrane edges with a dedicated EPDM seam cleaner and lint-free rags to remove talc, dirt, and manufacturing release agents.
- Apply Primer: Using an abrasive scrub pad (not a brush or roller), aggressively scrub the EPDM primer into the seam area until the rubber darkens and becomes highly tacky. The mechanical abrasion opens the pores of the EPDM for chemical bonding.
- Position the Tape: Peel the backing off the uncured splice tape and lay it centered over the seam. Crucial: Do not stretch the tape during application. Stretching introduces tension that will cause the tape to pull back and wrinkle over time.
- Apply Pressure: Using a 2-inch wide silicone seam roller, roll the tape with a minimum of 50 pounds of downward pressure. This extreme pressure is required to force the tape into the microscopic pores of the primed EPDM, initiating the vulcanization process that fuses the two sheets into a single piece of rubber.
Flashing and Penetration Details
Pipe penetrations, HVAC curbs, and parapet walls require specialized flashing techniques. For standard round pipes (1" to 6" diameter), use pre-molded EPDM pipe boots. These are slipped over the pipe, primed at the base, and sealed to the field membrane using a 6-inch strip of uncured splice tape around the perimeter.
For complex angles, I-beams, or irregular penetrations, use uncured EPDM flashing membrane. Unlike field membrane, uncured flashing contains no structural scrim and can be stretched and molded around tight 90-degree inside and outside corners. When stretching uncured flashing, always pull from the center outward, and ensure the material is allowed to "snap back" slightly before final rolling to prevent tension failure at the corners. Terminate all vertical flashing runs with a metal termination bar fastened every 8 inches, sealed at the top edge with a bead of EPDM-compatible lap sealant.
Common Installation Failure Modes & Troubleshooting
Even experienced crews encounter issues when environmental variables shift. Recognizing these failure modes early prevents costly tear-offs.
- Fishmouths (Wrinkles in the Field): Caused by failing to let the membrane relax before gluing, or by installing on a hot day when the rubber expands, followed by a cold night when it contracts. Fix: Small fishmouths can be slit, re-primed, and patched with a 6-inch strip of uncured tape. Large wrinkles require cutting out the affected section and vulcanizing in a new patch.
- Adhesion Delamination: Occurs when adhesive is applied over damp ISO board or when the flash-off time is rushed. The trapped solvents degrade the bond. Fix: Inject specialized EPDM lap sealant under the lifted edges and weigh down with sandbags for 24 hours, or cut out the unbonded section and re-adhere.
- Tape Wrinkling at Seams: Almost always caused by stretching the splice tape during application or failing to use the abrasive scrub pad during priming. Fix: Wrinkled tape compromises the watertight seal. It must be cut away, the seam re-cleaned, re-primed, and a new layer of 6-inch splice tape applied over the repair.