Romabio Limewash Maintenance: The Ultimate Cleaning Playbook
Master the care of your exterior finishes with our Romabio limewash maintenance playbook. Learn safe cleaning methods, touch-up ratios, and patina management.
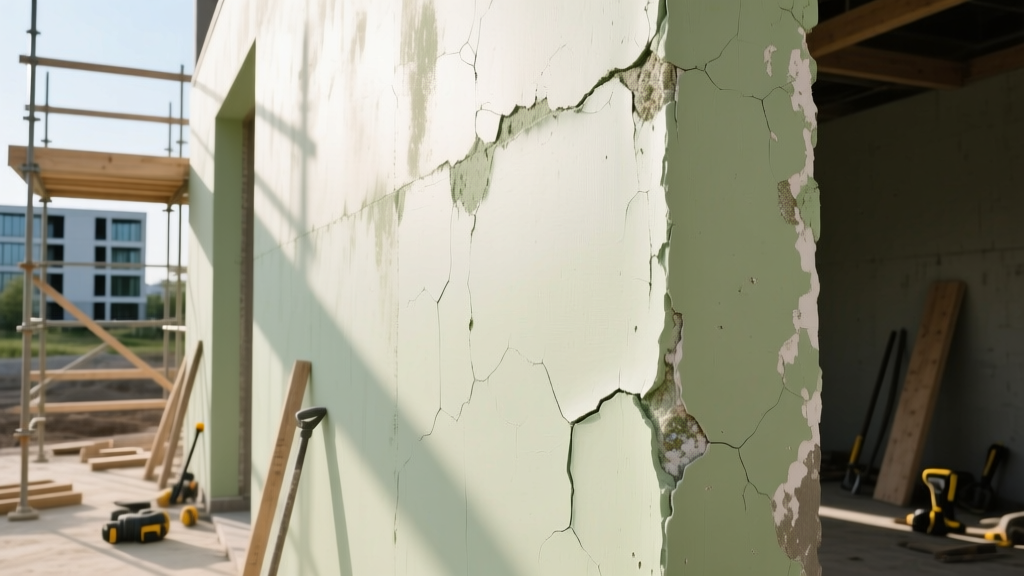
Mineral silicate paints and limewashes do not behave like conventional acrylic or latex coatings. When you apply a premium product like Romabio Classico Limewash or Lime Slurry, you are not laying down a plastic film on top of your masonry. Instead, the potassium silicate binder undergoes a chemical reaction called petrification, crystallizing directly into the pores of the brick, stucco, or stone substrate. Because of this unique mineral bond, maintaining your exterior requires a specialized playbook. Standard masonry cleaning protocols can easily degrade the crystalline matrix, leading to premature chalking, binder failure, and uneven weathering.
The Chemistry of Romabio Limewash: Why Standard Cleaners Fail
To properly maintain Romabio limewash, you must understand its alkaline nature. During application and the initial curing phase, limewash maintains a high pH (typically between 12 and 13). As it cures over 28 days, it absorbs carbon dioxide from the atmosphere, slowly dropping to a more neutral pH while forming a rigid calcium carbonate and silicate matrix. This breathable structure allows moisture vapor to escape from the interior of your walls, preventing spalling and freeze-thaw damage.
However, this mineral bond is highly vulnerable to acidic compounds. The masonry cleaning industry frequently relies on muriatic acid (hydrochloric acid) or heavy-duty phosphoric acid blends to remove mortar smears and heavy stains. If you apply these acidic cleaners to Romabio limewash, the acid will aggressively dissolve the calcium carbonate binder, effectively stripping the finish from the masonry and leaving behind a chalky, degraded surface.
The 4-Stage Romabio Limewash Cleaning Playbook
Routine maintenance should follow a graduated approach, starting with the least invasive method and escalating only when necessary. According to guidelines adapted from the National Park Service Preservation Briefs on masonry cleaning, gentle mechanical action combined with neutral pH aqueous solutions yields the safest results for mineral-coated surfaces.
Stage 1: Dry Dusting and Debris Removal
Before introducing moisture, remove surface particulates. Pollen, dust, and cobwebs can turn into a muddy paste when wet, driving stains deeper into the porous limewash.
- Tool: Use a soft-bristled nylon or natural tampico broom.
- Technique: Sweep in a single downward direction. Do not scrub in circles, as this can grind abrasive dirt particles into the mineral finish.
- Frequency: Bi-annually, or after heavy seasonal pollen drops.
Stage 2: Gentle Aqueous Washing
For general grime and atmospheric dirt, water is often sufficient. The goal is to rinse the surface without forcing water behind the masonry veneer.
- Equipment: Standard garden hose with a flat-fan spray nozzle.
- Pressure Washing Limits: If using a pressure washer, restrict the pressure to a maximum of 1,000 to 1,200 PSI. Use a 40-degree fan tip and maintain a minimum distance of 24 inches from the wall. Never use a zero-degree (pinpoint) nozzle.
- Detergent: If water alone fails, use a neutral pH (7.0) non-ionic detergent. Rinse thoroughly before the soap dries on the surface.
Stage 3: Biological Growth Treatment (Algae and Mildew)
Limewash is naturally resistant to biological growth due to its initial high alkalinity, but shaded, north-facing walls can still develop algae or mildew over time.
- The Bleach Problem: Avoid sodium hypochlorite (standard household bleach). Bleach leaves behind salt residues as it evaporates. These salts can become trapped beneath the mineral paint, eventually causing efflorescence and micro-cracking.
- The Solution: Use a 3% to 6% hydrogen peroxide solution or a specialized quaternary ammonium biocide. Apply via a low-pressure pump sprayer, allow it to dwell for 10 to 15 minutes (do not let it dry), and rinse gently with a garden hose.
Stage 4: Efflorescence Management
Efflorescence appears as a white, powdery salt deposit on the surface. Because Romabio limewash is highly breathable, it actually allows these salts to migrate to the surface rather than trapping them inside the brick (which causes spalling).
- Action: Do not wash efflorescence with water; this simply dissolves the salts and drives them back into the pores to reappear later.
- Removal: Wait for a dry, low-humidity day. Use a stiff, dry nylon brush to aggressively sweep the salts off the surface. Vacuum the debris. Identify and resolve the underlying moisture intrusion causing the salt migration.
Cleaning Agent Compatibility Matrix
Refer to this matrix before applying any chemical to your limewashed exterior. Always consult the official Romabio technical data sheets for product-specific chemical tolerances.
| Cleaning Agent | pH Level | Compatibility | Effect on Mineral Bond |
|---|---|---|---|
| Plain Water | 7.0 (Neutral) | Excellent | None; safe for all stages |
| Non-Ionic Detergent | 6.5 - 7.5 | Excellent | None; lifts surface tension safely |
| Hydrogen Peroxide (3%) | 6.0 - 7.0 | Good | Safe for biological removal; breaks down into water |
| Sodium Hypochlorite (Bleach) | 11.0 - 13.0 | Poor | Leaves salt residues; promotes future efflorescence |
| Muriatic Acid | < 1.0 (Highly Acidic) | Severe Danger | Dissolves calcium carbonate binder; destroys finish |
Touch-Ups and Spot Repair: Blending Mineral Paints
Despite your best maintenance efforts, physical impacts from landscaping equipment or structural settling may chip the limewash. Touching up mineral paints requires a different technique than touching up acrylics. If you apply full-strength Romabio Classico Limewash to a small, cured area, the high concentration of potassium silicate binder will dry with a noticeable sheen—a defect known in the industry as 'flashing'.
Step-by-Step Spot Repair Protocol
- Prep the Substrate: Use a wire brush to remove any loose or flaking limewash around the chip. Feather the edges lightly.
- Dampen the Surface: Mineral paints require a damp substrate to cure properly. Mist the repair area with clean water using a spray bottle. The brick should be damp, but not actively dripping.
- Dilute the Product: For spot repairs on previously cured Classico Limewash, dilute the paint with water at a 1:1.5 or 1:2 ratio (one part paint to 1.5 or 2 parts water). This reduces the binder concentration, allowing the touch-up to dry with the same matte, chalky patina as the surrounding aged wall.
- Apply and Texture: Use a masonry brush or a damp sponge to dab the diluted limewash into the chip. Stippling with a sponge helps mimic the natural texture of the surrounding masonry.
- Cure Time: Protect the area from direct rain for at least 12 hours. Full carbonation of the touch-up will take 28 days.
Expert Tip: Never perform limewash touch-ups in direct, hot sunlight or when ambient temperatures are above 90°F (32°C). The water will evaporate before the potassium silicate has time to penetrate the substrate, resulting in a weak, powdery repair that will wash away in the next rainstorm.
Long-Term Weathering and Patina Management
One of the most frequently misunderstood aspects of Romabio limewash is its natural aging process. Unlike acrylic paints that peel or flake when they reach the end of their lifespan, limewash slowly erodes and weathers, developing a highly sought-after, mottled patina. This is not a sign of product failure; it is the intended aesthetic of traditional European mineral finishes.
If you prefer a more uniform, solid appearance over time, plan for a full 'refresh' coat every 7 to 10 years, depending on your local climate and the wall's exposure to driving rain. A refresh coat requires significantly less product than the initial application. Simply wash the wall according to Stage 2 of the playbook, allow it to dry completely, and apply a single, highly diluted coat (1:2 ratio) of the original color to unify the patina without obscuring the masonry texture.
Frequently Asked Questions
Can I apply a clear masonry sealer over Romabio limewash to protect it?
No. Applying a film-forming or penetrating silane/siloxane water repellent over limewash will trap moisture vapor inside the masonry. When the trapped moisture attempts to escape during freeze-thaw cycles, it will cause the face of the brick to spall off, taking the limewash with it. The limewash must remain 100% breathable.
How do I remove hard water stains from sprinkler overspray?
Hard water stains are mineral deposits (calcium and magnesium). Because you cannot use acidic cleaners to dissolve them without damaging the limewash binder, your best defense is prevention. Adjust sprinkler heads to avoid hitting the wall. For existing stains, a gentle mechanical abrasion with a dry nylon brush and a specialized non-acidic hard water remover formulated for natural stone is the safest approach.
Is it normal for the limewash to chalk when I rub against it?
Slight chalking (transfer of white pigment to your hand or clothing) is entirely normal for unsealed, traditional limewashes, particularly in the first year after application. This loose surface powder eventually washes away with rain, leaving behind the fully petrified, durable mineral matrix underneath. If excessive chalking persists beyond 12 months, the original application may have been under-diluted or applied to an overly dry substrate, preventing proper petrification.