Limewash Maintenance: Cleaning and Repairing Exterior Walls
Master limewash maintenance with our expert playbook. Learn precise cleaning protocols, PSI limits, spot-repair blending, and reapplication timelines.
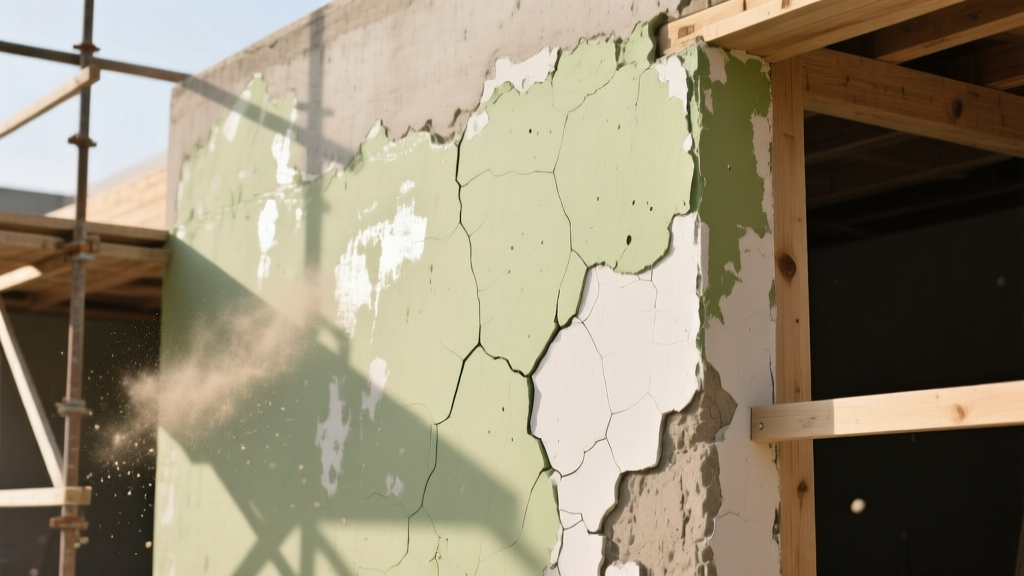
The Chemistry of Limewash Erosion vs. Peeling
Unlike acrylic or elastomeric paints that form a synthetic film on the surface of masonry, limewash undergoes a chemical transformation. When applied, the calcium hydroxide (slaked lime) in the wash reacts with atmospheric carbon dioxide in a process called carbonation. This converts the coating into calcium carbonate, effectively mineralizing it into the porous substrate of the brick or stone. Because it becomes part of the masonry rather than a skin on top of it, limewash does not peel, blister, or delaminate. Instead, it wears through micro-ablation and gradual weathering. Understanding this fundamental chemistry of lime is critical for maintenance; treating a limewashed wall like a painted surface with harsh chemicals or high-pressure washing will destroy the calcium carbonate matrix and strip the coating down to the bare substrate.
The 4-Step Limewash Cleaning Protocol
Routine maintenance of exterior limewash focuses on removing biological growth, atmospheric soot, and surface dirt without dissolving the alkaline binder. Limewash is highly susceptible to acidic cleaners, which will instantly etch and dissolve the calcium carbonate.
Never use a pressure washer exceeding 500 PSI on limewashed masonry. High pressure will blast the mineralized lime out of the brick pores. Always use a 40-degree fan tip and keep the wand at least 18 inches from the wall surface. For heavily soiled areas, rely on chemical dwell time and manual agitation rather than brute force.
Step 1: Dry Brushing and Inspection
Begin by dry-brushing the wall with a stiff natural tampico fiber brush to remove loose cobwebs, surface dust, and dead insect debris. Inspect the wall for areas where the limewash has worn thin, revealing the masonry beneath. Note these areas for the spot-repair phase.
Step 2: Low-Pressure Pre-Rinse
Pre-wet the wall using a garden hose or a pressure washer dialed down to 300-500 PSI. Pre-wetting prevents the masonry from rapidly absorbing your cleaning solution, which could lead to uneven staining or salt efflorescence being pulled to the surface.
Step 3: Neutral pH Detergent Application
Apply a neutral pH (7.0) masonry cleaner. Avoid trisodium phosphate (TSP) or any muriatic acid-based brick cleaners. A dedicated neutral masonry soap or a heavily diluted solution of Simple Green Oxy Dog is ideal. Allow the solution to dwell for 10 to 15 minutes, keeping the surface wet with a light misting.
| Cleaner Type | pH Level | Effect on Limewash | Verdict |
|---|---|---|---|
| Muriatic Acid | 1.0 - 2.0 | Dissolves calcium carbonate instantly | NEVER USE |
| White Vinegar | 2.5 - 3.0 | Etches surface, causes severe chalking | NEVER USE |
| TSP (Trisodium Phosphate) | 11.0 - 12.0 | Leaves salt residue, alters carbonation | AVOID |
| Neutral Masonry Soap | 6.5 - 7.5 | Lifts dirt without attacking the binder | RECOMMENDED |
Step 4: Agitation and Final Rinse
Agitate stubborn dirt or algae patches with a natural bristle block brush. Never use nylon or wire brushes, as nylon leaves permanent streak marks and wire will scour the lime away. Rinse thoroughly from the top down with low-pressure water to prevent dirty runoff from drying on cleaned lower sections.
Spot Repairing: Blending Touch-Ups Without Flash Lines
Because limewash cures to a matte, highly textured finish, spot-repairing can result in visible "flash lines" where the new wash overlaps the old. The key to invisible repairs lies in the mixing ratio and the application technique.
Exact Mixing Ratios for Touch-Ups
For small repairs, you can use traditional Type S hydrated lime (such as Graymont NiCal, which costs roughly $15 to $20 per 50lb bag) or a premium pre-mixed slaked lime like Romabio Classico ($85 to $110 per 4-gallon bucket). If mixing from scratch, slake the lime powder with water and let it rest for a minimum of 48 hours to form a putty. For the touch-up wash, mix 1 part lime putty to 2.5 parts clean water by volume. The consistency should resemble whole milk. If you are using a pre-mixed commercial limewash, do not dilute it beyond the manufacturer's 10% water-addition limit, or you will break the binder chain.
The Feathering Technique
Apply the touch-up limewash using a 4-inch natural tampico masonry brush. Do not use a roller; rollers compress the lime into the pores unevenly and leave a stipple pattern that will not match the surrounding cross-hatched brush strokes.
- Cross-Hatching: Apply the wash in diagonal, overlapping "X" patterns to force the lime deep into the masonry pores.
- Feathering: As you reach the edge of the repair area, lighten your brush pressure and use a nearly dry brush to drag the edges outward. This creates a micro-gradient that hides the transition line.
- Misting: Keep the surrounding wall slightly damp with a spray bottle during application to prevent the existing limewash from sucking the moisture out of your new wash too quickly, which causes premature cracking.
Reapplication Timelines and Environmental Factors
Limewash is a sacrificial coating. According to guidelines from Historic England, lime-based coatings on exterior masonry require periodic reapplication as they slowly ablate. The lifespan of a limewash application is heavily dictated by microclimates and exposure.
- Standard Lifespan: 5 to 7 years for full opacity.
- Patina Phase: Years 7 to 12 (washes out to a translucent, antique glaze).
- Cost of Reapplication: $0.15 to $0.30 per square foot (materials only) for traditional slaked lime.
| Environmental Factor | Primary Wear Mechanism | Estimated Reapplication Interval |
|---|---|---|
| South/West Facing (High UV & Thermal Shock) | Expansion/contraction causes micro-fissures; driving rain ablates surface. | 4 - 5 Years |
| North/East Facing (Shade & Moisture Retention) | Biological growth (algae, lichen) acids slowly dissolve the lime matrix. | 6 - 8 Years |
| Coastal/Marine Environments | Salt crystallization within the pores pushes the lime outward (spalling). | 3 - 4 Years |
Troubleshooting Common Limewash Failures
When limewash fails prematurely, it is almost always due to improper substrate preparation or incompatible underlying treatments. Consult the National Park Service Preservation Briefs on Masonry for deeper diagnostics on historic substrates. Below are the most common field failures and their corrections.
- Failure Mode: Severe Chalking and Dusting
Cause: The limewash was applied in temperatures below 45°F (7°C) or in direct, scorching sunlight, preventing proper carbonation. The lime dried out before it could absorb CO2.
Fix: Brush off the loose dust. Reapply a thin coat of limewash mixed with a casein binder (or a commercial limewash primer) during mild, overcast weather between 50°F and 75°F. - Failure Mode: Flaking and Delamination
Cause: The limewash was applied over a siloxane water-repellent sealer, an acrylic paint, or a highly vitrified engineering brick. Limewash requires a capillary-porous substrate to penetrate and mechanically lock into the pores.
Fix: Strip the incompatible coating using a chemical paint stripper formulated for masonry, or mechanically abrade the surface. Limewash cannot adhere to sealed surfaces. - Failure Mode: Persistent Algae or Black Mold
Cause: While lime is naturally alkaline and initially resists biological growth, atmospheric carbonation lowers the surface pH over time. In heavily shaded areas, moisture retention allows algae to colonize.
Fix: Treat the area with a 3% hydrogen peroxide solution (which breaks down into water and oxygen, leaving no harmful salts). Do not use bleach (sodium hypochlorite), as the chloride salts will remain in the masonry and cause future efflorescence.
Proper limewash maintenance is less about aggressive cleaning and more about respecting the breathable, mineral nature of the coating. By adhering to strict PSI limits, utilizing neutral pH cleaners, and mastering the feathering technique for spot repairs, you can preserve the historic integrity and aesthetic depth of limewashed masonry for decades.