Limewash Walls: Scenario Matching and Substrate Fit Guide
Discover if limewash walls fit your project. Compare interior vs exterior scenarios, substrate prep, brand costs, and failure modes for masonry and drywall.
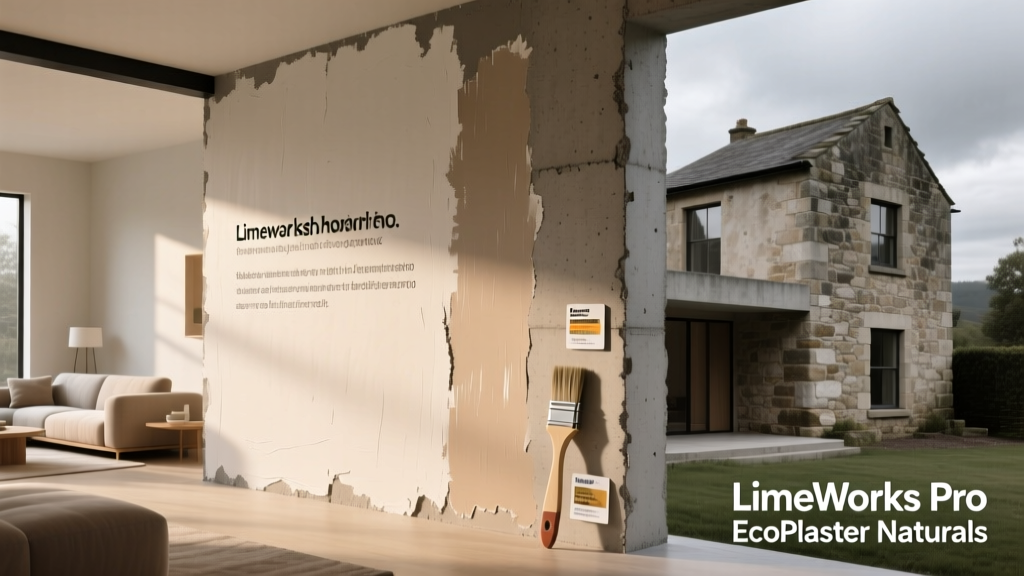
The Carbonation Principle: Why Substrate Dictates Success
Limewash walls have surged in popularity for their mottled, organic texture and mineral depth, but they are fundamentally misunderstood by modern contractors. Unlike acrylic or latex paints that form a superficial plastic film, limewash is a mineral coating. It relies on a chemical process called carbonation, where calcium hydroxide (Ca(OH)2) reacts with atmospheric carbon dioxide to form calcium carbonate (CaCO3)—effectively turning back into limestone.
For this crystallization to occur, the limewash must penetrate the substrate. If applied over non-porous surfaces, sealed masonry, or standard drywall paper without an intermediary binder, the coating will chalk, delaminate, or wash away in the first rainstorm. Understanding the porosity and alkalinity of your substrate is the single most critical variable in specifying limewash walls for any architectural scenario.
Scenario Decision Matrix: Where Limewash Thrives vs. Fails
Not all walls are candidates for mineral coatings. Use this decision matrix to evaluate your specific project scenario before specifying materials.
| Scenario / Substrate | Fit Rating | Required Preparation | Primary Risk if Ignored |
|---|---|---|---|
| Unpainted Historic Brick | Excellent | Power wash, remove efflorescence, dampen before application. | Flash-drying leading to poor carbonation and chalking. |
| Modern Cement Stucco | Good | Acid etch or apply mineral primer to reduce extreme suction. | Substrate pulls moisture too fast, causing micro-cracking. |
| Previously Painted Brick | Poor | Must strip paint entirely or use a specialized acrylic limewash hybrid. | Total delamination; limewash cannot penetrate the paint film. |
| Interior Gypsum Drywall | Conditional | Must seal with 100% acrylic masonry primer (e.g., Benjamin Moore Ultra Spec). | Alkali burn degrading the drywall paper; severe adhesion loss. |
| Interior Lime/Cement Plaster | Excellent | Ensure plaster is fully cured (min. 28 days); mist with water. | Applying over green plaster causes chemical burning and peeling. |
Interior vs. Exterior: Environmental Profiling
The application technique and material formulation for limewash walls must shift dramatically depending on whether the surface is exposed to the elements or protected indoors.
Exterior Masonry and Stucco Profiling
Exterior limewash walls act as a sacrificial, breathable layer. Because the coating is highly vapor-permeable, it allows trapped moisture within solid masonry walls to evaporate, preventing spalling and freeze-thaw damage. According to technical guidelines from Lime Works US, exterior applications require a minimum of two to three coats to build adequate UV resistance and opacity.
Crucial Exterior Rule: Never apply exterior limewash in direct, hot sunlight or when temperatures exceed 85°F (29°C). The substrate will absorb the water carrier before the calcium hydroxide can absorb CO2 from the air. This "flash drying" halts the carbonation process, leaving a weak, powdery surface that will wash off.
Interior Feature Walls and Plaster
Indoors, limewash walls are prized for their tactile, suede-like finish and subtle color variations. However, interior environments lack the weathering that naturally cures exterior lime. To achieve a durable, wipeable interior finish, contractors often use a technique called burnishing.
While the final coat is still slightly damp, the surface is rubbed with a clean, dry trowel or a heavy cotton cloth. This compresses the lime crystals, creating a subtle sheen and significantly increasing the surface density, making it more resistant to accidental scuffs and household dust accumulation.
Standard drywall paper is highly susceptible to the high pH (12+) of raw limewash. Applying limewash directly to unsealed drywall will cause an "alkali burn," degrading the cellulose fibers and resulting in immediate peeling. Always use a high-quality, alkali-resistant 100% acrylic primer as a bridging layer when specifying limewash for interior partition walls.
2026 Material Cost & Brand Comparison
The market for premium limewash has matured, with distinct product lines catering to different application scenarios. Below is a breakdown of the leading professional-grade brands available in 2026, their coverage rates, and estimated project costs.
| Brand & Product Line | Best Use Case | Avg. Cost per Gallon | Coverage (Sq. Ft./Gal) | Material Cost per Sq. Ft. |
|---|---|---|---|---|
| Romabio Classico Limewash | Exterior brick, heavy masonry | $85.00 | 300 - 400 | $0.21 - $0.28 |
| Color Atelier Limewash | Interior plaster, feature walls | $95.00 | 250 - 300 | $0.31 - $0.38 |
| Lime Works US Ecologic Wash | Historic restoration, NHL substrates | $70.00 | 200 - 250 | $0.28 - $0.35 |
| Sydney Harbour Company | High-end residential interiors | $110.00 | 250 - 300 | $0.36 - $0.44 |
Note: Professional labor for limewash application typically ranges from $2.50 to $5.00 per square foot, heavily dependent on the complexity of the substrate, the number of coats required, and whether decorative banding or distressing techniques are requested.
Troubleshooting Edge Cases and Failure Modes
Even with correct substrate matching, environmental variables can cause application failures. Recognizing these edge cases separates expert applicators from amateurs.
- Excessive Chalking (Dusting): If you wipe the wall and heavy white residue comes off on your hand after 30 days of curing, carbonation failed. Fix: Mist the wall lightly with clean water using a garden sprayer once a day for three days to reintroduce moisture and restart the CO2 absorption process.
- Efflorescence Bleed-Through: White, crystalline salt deposits push through the limewash from the masonry substrate. Fix: Limewash is breathable, so it won't blister like acrylic paint, but the salts will stain. Dry-brush the salts off and apply a localized silane/siloxane water repellent only to the weeping joints, avoiding the brick faces.
- Lap Marks and Banding: Visible horizontal lines where the wet edge dried before the next section was applied. Fix: Always maintain a wet edge. Work in manageable 3x3 foot sections and use a cross-hatch brushing technique (diagonal strokes in opposing directions) to blend the overlaps seamlessly.
Expert Verdict: Is Limewash Right for Your Project?
Limewash walls are not a universal replacement for modern architectural coatings. They are a specialized, mineral-based system that demands respect for building science. As noted by preservation experts at Building Conservation, the compatibility between the coating and the historic or porous substrate is paramount to the longevity of the structure.
If your project involves unpainted masonry, historic restoration, or interior lime-plaster feature walls, limewash is an unparalleled choice that offers breathability, UV stability, and unmatched aesthetic depth. However, if you are attempting to coat previously painted siding, non-porous concrete panels, or standard drywall without extensive and costly primer preparation, you are better served by a high-quality mineral silicate paint or a specialized acrylic hybrid. Match the material to the substrate, respect the curing environment, and the limewash will outlast conventional paints by decades.