Selecting the Perfect Backsplash for Kitchen Use Cases
Match the right backsplash for kitchen environments based on cooking habits, budget, and maintenance. Compare tile, stone, and glass options.
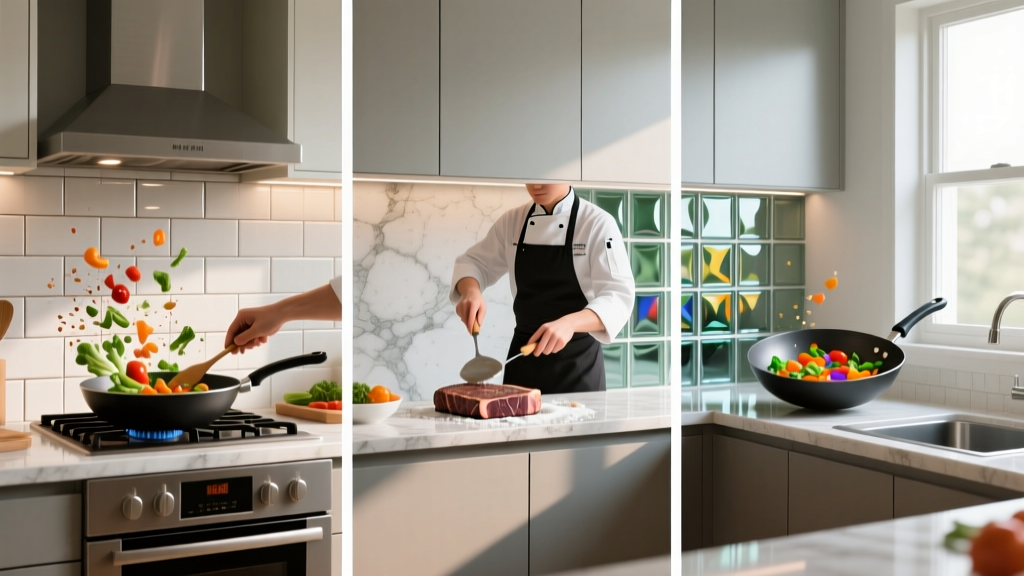
The Core Framework: Matching Material to Cooking Intensity
Selecting the right backsplash for kitchen environments requires moving beyond color palettes and evaluating the physical demands of the space. A backsplash is a functional shield for your wall cavity, subjected to thermal shock, acidic splatters, and aggressive scrubbing. The National Kitchen & Bath Association (NKBA) consistently highlights that material durability must align with the homeowner's culinary habits. A material that performs flawlessly in a light-use entertaining kitchen will rapidly degrade in a high-volume cooking environment. Below is a scenario-based framework for matching specific materials to distinct kitchen use cases.
Scenario A: The Heavy Daily Cook (High Splatter, Heat, and Acid)
If you sear meats daily, simmer acidic tomato sauces, and use high-BTU gas burners, your backsplash faces extreme conditions. The primary enemies here are grease penetration, thermal shock, and acidic etching.
- Optimal Material: Large-format glazed porcelain (e.g., 24x48 inch panels). Porcelain is fired at temperatures exceeding 2,200°F, resulting in a water absorption rate of less than 0.5% (per ASTM C373). It is entirely impervious to grease and immune to acidic etching.
- Grout Requirement: Standard cementitious grout will stain from turmeric, tomato paste, and grease. You must specify a high-performance epoxy grout, such as Laticrete SpectraLOCK PRO or Mapei Kerapoxy CQ. Epoxy grout costs roughly 3x more than standard sanded grout ($12-$18 per square foot installed vs. $4-$6), but it creates a non-porous, chemical-resistant joint.
- Failure Mode to Avoid: Using natural stone (like Carrara or Calacatta marble) behind a heavy-use stove. Marble is calcium carbonate; it will chemically react with acidic splatters (pH below 7), leaving permanent, dull 'etch marks' that cannot be cleaned off, only mechanically re-polished.
Scenario B: The Visual Entertainer (Low Impact, High Aesthetics)
For kitchens used primarily for light prep, coffee brewing, and hosting, the backsplash serves as a primary visual anchor. Here, you can prioritize optical depth and texture over extreme chemical resistance.
- Optimal Material: Natural stone (honed marble, travertine, or slate) or artisanal Zellige-style ceramic tile. Natural stone offers unmatched veining and depth. According to the Natural Stone Institute, proper sealing is mandatory for these porous materials to prevent water spotting near the sink.
- Installation Nuance: If choosing translucent glass tile or thin natural stone, the installer must use a bright white, polymer-modified thinset mortar (ANSI A118.4). Using standard gray thinset behind glass tile will cause shadowing and alter the perceived color of the glass, a common and costly failure mode.
- Sealing Protocol: Apply an impregnating sealer (e.g., Tenax Ager or Miracle Sealants 511) to natural stone. Impregnators penetrate the micro-pores to block stains without forming a topical film that can peel or yellow under UV exposure.
Scenario C: The Budget-Conscious Renovator or Renter
When budget constraints are tight or lease agreements prohibit permanent demolition, the goal is high visual impact with minimal labor and substrate preparation.
- Optimal Material: Premium peel-and-stick vinyl or gel-backed polyurethane tiles (e.g., Smart Tiles or Art3d). Modern iterations feature 3D gel layers that mimic the light refraction of real glass or ceramic subway tile.
- Cost & Labor: Material costs range from $1.50 to $4.00 per square foot. Because it requires no thinset, grout, or wet saws, labor costs are effectively zero if DIY-installed. Total project cost for a standard 30-square-foot run is typically under $150.
- Health & Safety Note: When applying adhesive-backed products in poorly ventilated kitchens, be aware of off-gassing. The EPA warns that VOCs from certain acrylic adhesives can impact indoor air quality. Ensure the product is Greenguard Gold certified and run exhaust fans during the 48-hour curing window.
Material Performance & Cost Matrix
The following matrix breaks down 2026 market averages for material and professional installation costs, alongside maintenance requirements.
| Material Type | Material Cost (per sq. ft.) | Install Cost (per sq. ft.) | Maintenance Level | Best Scenario Match |
|---|---|---|---|---|
| Glazed Porcelain | $4.00 - $9.00 | $12.00 - $18.00 | Very Low | Heavy Daily Cook |
| Ceramic Subway (3x6) | $2.50 - $6.00 | $10.00 - $15.00 | Low | General Family Kitchen |
| Natural Marble | $12.00 - $30.00 | $18.00 - $28.00 | High (Annual Sealing) | Visual Entertainer |
| Recycled Glass Tile | $8.00 - $22.00 | $15.00 - $25.00 | Medium (Grout Care) | Modern / Eco-Conscious |
| Peel-and-Stick Gel | $1.50 - $4.00 | $0.00 (DIY) | Low (Replace on fail) | Renter / Budget Flip |
Hidden Failure Modes: Substrate and Adhesive Selection
The most common cause of backsplash failure is not the tile itself, but the hidden layers behind it. Ignoring substrate preparation leads to delamination, mold growth, and cracked grout lines.
Never use organic mastic adhesive in wet zones (behind the kitchen sink) or high-heat zones (behind a gas range). Mastic is water-soluble and re-emulsifies when exposed to chronic moisture, causing tiles to slide or pop off the wall. Furthermore, the heat from a nearby gas burner can soften mastic over time. Always use a polymer-modified cementitious thinset mortar for these critical zones.
Substrate Requirements by Zone
- Behind the Sink (Wet Zone): Standard drywall will degrade if water penetrates the grout. Strip the drywall down to the studs and install a 1/4-inch or 1/2-inch cement backer board (e.g., Durock or HardieBacker). Tape and mud the seams with alkali-resistant fiberglass mesh tape and thinset before tiling.
- Behind the Stove (Heat Zone): While standard drywall can technically handle the ambient heat of a stove, the grease and steam require a highly stable substrate. Cement board is preferred. If tiling directly over painted drywall in a dry zone, you must scarify (sand) the paint to break the gloss and ensure mechanical bonding for the thinset.
- Standard Prep Zones (Dry Zones): Standard 1/2-inch drywall is acceptable, provided the surface is clean, flat, and free of peeling paint or wallpaper residue.
Step-by-Step Decision Tree
Use this rapid framework to finalize your material selection based on your specific constraints:
- Step 1: Assess the Sink Zone. Will water frequently splash this area? If yes, eliminate unsealed natural stone and unglazed terracotta. Choose glazed ceramic, porcelain, or glass.
- Step 2: Evaluate the Grout Lines. Do you want a seamless look? Choose large-format porcelain (fewer joints) or rectified edge tile with a tight 1/16-inch joint. Do you want a classic, textured look? Choose standard ceramic with a 1/8-inch or 3/16-inch joint, but upgrade to a high-performance cementitious or epoxy grout to prevent staining.
- Step 3: Check the Lighting. Does your kitchen have heavy, direct natural light or under-cabinet LED strips hitting the wall at a sharp angle? If yes, avoid hand-crafted or uneven Zellige tiles, as the raking light will highlight every lippage (uneven edge) and installation flaw. Opt for machine-rectified, perfectly flat tiles.
- Step 4: Calculate the Real Budget. Multiply your square footage by 1.15 to account for a 15% waste factor for cuts and breakage. Add 20% to your material budget for thinset, grout, sealer, and edge trim (like Schluter-Edging profiles) to get an accurate total cost.
Expert Maintenance Protocols
Once installed, the longevity of your backsplash depends on chemical compatibility. Never use vinegar, bleach, or ammonia-based cleaners on natural stone or cementitious grout. These acidic and highly alkaline solutions strip sealers and degrade the Portland cement matrix in grout, leading to crumbling and water ingress. For daily maintenance across all material types, use a pH-neutral stone and tile cleaner applied with a microfiber cloth. For heavy grease buildup on porcelain or glass, a dedicated heavy-duty degreaser is safe, provided it is rinsed thoroughly with clean water to prevent chemical residue buildup on the surface.