The Ultimate Maintenance Playbook for Epoxy Sand Floor Paint
Master the maintenance of epoxy sand floor paint. Learn daily cleaning routines, stain removal, and resealing techniques to preserve anti-slip traction.
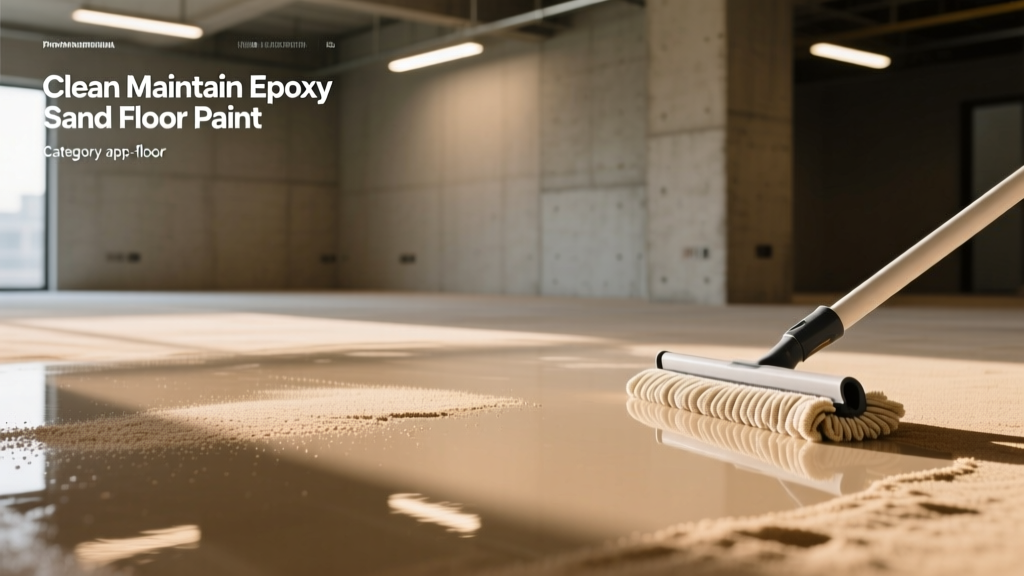
The Unique Anatomy of Epoxy Sand Floor Paint
Maintaining epoxy sand floor paint requires a fundamentally different approach than cleaning smooth concrete or standard polished floors. When contractors apply epoxy sand floor paint, they typically broadcast silica sand or quartz aggregate into a 100% solids epoxy binder, followed by a clear polyurethane or polyaspartic topcoat. This creates a heavily textured surface designed to achieve a Dynamic Coefficient of Friction (DCOF) of 0.60 or higher, meeting strict OSHA Walking-Working Surfaces standards for slip resistance.
The challenge lies in the topography of the floor. The sand aggregate creates microscopic peaks and valleys. While the clear topcoat seals these valleys initially, foot traffic and rolling loads eventually wear down the clear layer, exposing the porous sand matrix. Once the sand is exposed, dirt, oils, and chemical spills become trapped in the crevices, requiring mechanical agitation rather than simple surface wiping to clean effectively.
The Daily & Weekly Cleaning Playbook
Routine maintenance prevents abrasive dirt from grinding down the clear topcoat. Implementing a strict dry-to-wet protocol ensures the anti-slip properties remain intact without accelerating wear.
Step 1: Dry Debris Removal (Daily)
Never use a standard push broom on epoxy sand floor paint. The stiff synthetic bristles can catch on exposed quartz grains and snap them out of the epoxy binder, a failure mode known as aggregate raveling. Instead, use a 24-inch to 36-inch microfiber dust mop. The microfiber loops conform to the textured surface, trapping dust, metal shavings, and fine grit deep within the crevices without applying destructive lateral shear force.
Step 2: Wet Mopping and Agitation (Weekly)
When wet mopping, water alone is insufficient to lift oils from the sand texture. You must use a pH-neutral cleaner (pH 7.0 to 8.5) diluted at a ratio of 2 ounces per gallon of warm water.
- Application: Apply the cleaning solution using a flat microfiber mop head.
- Dwell Time: Allow the solution to dwell for 3 to 5 minutes. This emulsifies surface oils without allowing the liquid to evaporate and leave a sticky residue.
- Agitation: For high-traffic zones, use a stiff nylon-bristle deck brush (never wire) to mechanically agitate the valleys between the sand grains.
- Extraction: Squeegee the dirty water into a floor drain or use a wet-vacuum. Leaving dirty water to air-dry will result in a hazy, streaked film that obscures the floor's color and reduces traction.
Chemical Compatibility: What to Use and What to Avoid
The clear topcoat over epoxy sand floor paint is highly susceptible to chemical etching. Using the wrong cleaner will permanently cloud the finish and degrade the epoxy binder holding the sand in place. The EPA Safer Choice program recommends avoiding harsh volatile organic compounds (VOCs) and strong acids in facility maintenance.
| Chemical / Cleaner | Safety Rating | Effect on Epoxy Sand Floor Paint |
|---|---|---|
| pH-Neutral Floor Cleaner | SAFE | Lifts everyday dirt without affecting the polyurethane topcoat. |
| Diluted Ammonia (1 cup/gal) | SAFE | Excellent for cutting heavy grease and tire marks; evaporates cleanly. |
| White Vinegar (Acetic Acid) | CAUTION | Repeated use will chemically etch and dull the clear topcoat over time. |
| Muriatic Acid | DANGER | Destroys the epoxy binder, causing massive sand shedding and structural failure. |
| Acetone / MEK Solvents | DANGER | Dissolves polyurethane and polyaspartic topcoats on contact. |
Troubleshooting Stubborn Stains and Tire Marks
Because epoxy sand floor paint is heavily textured, liquid stains pool in the valleys and bond to the exposed aggregate. Address these specific issues with targeted protocols:
- Plasticizer Tire Marks: Car tires leave black scuffs caused by plasticizers migrating from the rubber. Spray the mark with a citrus-based degreaser, let it sit for two minutes, and scrub with a melamine foam pad (e.g., Magic Eraser). The micro-abrasive nature of melamine lifts the plasticizer without scratching the epoxy.
- Hydraulic Fluid and Motor Oil: Immediately cover fresh spills with an oil-absorbent clay (like Oil-Dri) and leave it for 24 hours. Once the bulk oil is absorbed, scrub the remaining shadow stain with a Trisodium Phosphate (TSP) substitute and a stiff nylon brush.
- Rust Stains from Metal Furniture: Apply a commercial rust remover specifically formulated for sealed concrete (containing oxalic acid). Limit dwell time to 3 minutes, then neutralize the area with a baking soda and water solution to prevent the acid from eating into the epoxy binder.
Restoring Anti-Slip Traction and Resealing
Even with perfect maintenance, the clear topcoat protecting your epoxy sand floor paint will eventually wear thin. You will know it is time to reseal when water stops beading on the surface and instead soaks into the sand, or when the floor feels excessively sharp and begins shedding loose grit.
To restore the floor, follow this professional resealing sequence:
- Deep Clean: Perform an aggressive scrub using an alkaline degreaser and a floor buffer with a white scrub pad to remove all embedded soils and waxes.
- Mechanical Scuffing: Screen the floor using a 120-grit sanding screen attached to a floor buffer. This does not remove the sand; it merely scratches the surface of the old clear coat to provide a mechanical profile for the new topcoat to grip.
- Solvent Wipe: Wipe the entire floor with denatured alcohol to remove microscopic dust and ensure a perfectly clean bonding surface.
- Apply Aliphatic Polyurethane: Roll on a high-solids, aliphatic polyurethane topcoat (such as a 2-component water-based urethane). Apply at a rate of 2 to 3 mils thickness. This specific chemistry provides UV stability, chemical resistance, and a flexible shell that locks the sand aggregate firmly in place for another 3 to 5 years of service.
Common Maintenance Mistakes That Destroy Traction
Facility managers often inadvertently destroy the performance of epoxy sand floor paint by treating it like standard sealed concrete. Avoid these critical errors:
Using a pressure washer rated above 2,000 PSI with a narrow 15-degree nozzle tip will literally blast the sand aggregate out of the epoxy matrix. If pressure washing is required for outdoor or garage applications, use a wide 40-degree fan tip, keep the wand at least 18 inches from the surface, and do not exceed 1,500 PSI.
Never apply acrylic floor waxes, buffing compounds, or polymer shines to epoxy sand floor paint. These products are designed to fill microscopic pores to create a glossy finish. On a sand-textured floor, the wax fills the valleys between the sand grains, effectively smoothing out the texture and completely eliminating the anti-slip traction the floor was designed to provide.
By adhering to this targeted maintenance playbook, you protect the structural integrity of the epoxy binder, preserve the vital anti-slip characteristics of the sand aggregate, and extend the lifecycle of your flooring investment by decades.