How to Apply Lime Wash to Brick and Masonry: Step-by-Step Guide
Master the application of lime wash on brick and masonry. Learn exact mixing ratios, cross-hatch brushing techniques, and carbonation curing methods.
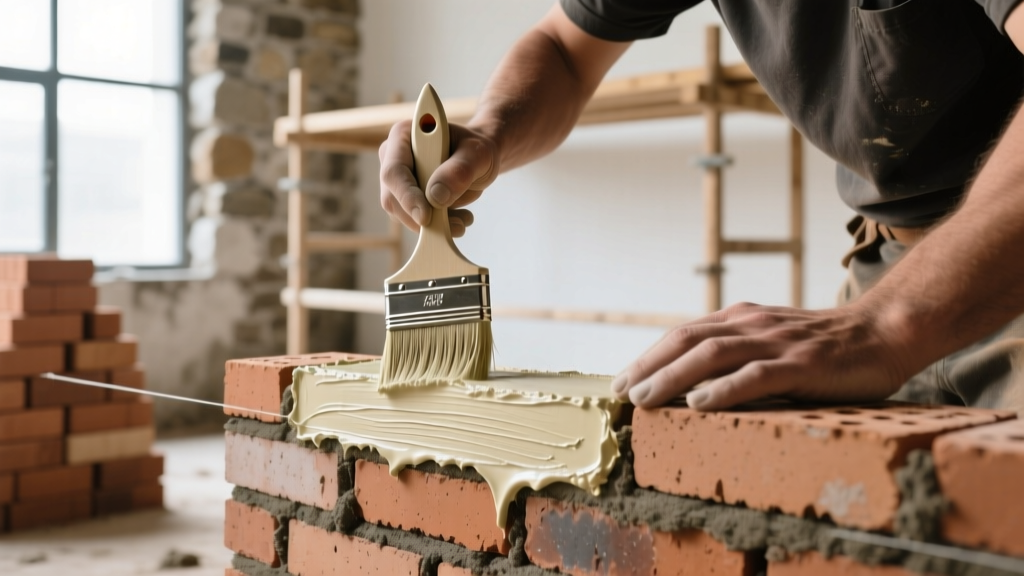
The Chemistry and Purpose of Lime Wash
Lime wash is not a standard paint; it is a breathable, mineral-based coating composed primarily of calcium hydroxide (slaked lime) suspended in water. Unlike acrylic or latex paints that form a plastic-like film on the surface, lime wash penetrates the microscopic pores of masonry substrates. As it cures, it undergoes a chemical process called carbonation, reacting with atmospheric carbon dioxide to revert back into calcium carbonate (limestone). This creates a highly durable, vapor-permeable, and UV-stable finish that protects historic and modern masonry without trapping moisture.
According to the National Park Service Preservation Briefs, breathable coatings like lime wash are essential for historic masonry structures, as they allow internal moisture to evaporate, preventing spalling and mortar degradation. This guide details the exact installation procedures, mixing ratios, and application techniques required for a successful, long-lasting lime wash finish in 2026.
Substrate Compatibility and Preparation Matrix
Lime wash requires a porous, alkaline, and mineral-based substrate to bond correctly. It will not adhere to sealed surfaces, drywall, or wood without specialized binders. Review the compatibility matrix below before beginning your project.
| Substrate Type | Compatibility | Required Preparation |
|---|---|---|
| Unglazed Brick | Excellent | Clean, remove efflorescence, pre-wet |
| Lime/Cement Stucco | Excellent | Repair cracks, clean, pre-wet |
| Unsealed Concrete Block | Good | Acid etch if smooth, clean, pre-wet |
| Previously Painted Brick | Poor | Must strip acrylic/oil paint entirely first |
| Wood / Drywall | Not Recommended | Requires heavy casein binders; use mineral paint instead |
Surface Preparation: The Critical First Step
The most common cause of lime wash failure is inadequate surface preparation. The substrate must be completely free of dirt, biological growth, efflorescence, and water-repellent sealers.
1. Cleaning and Profiling
Wash the masonry using a biodegradable, non-ionic detergent and a stiff natural-bristle brush. If using a pressure washer, restrict the pressure to a maximum of 800 PSI and maintain a 12-inch distance from the wall to avoid blowing out historic mortar joints. For stubborn biological growth, apply a 5% solution of hydrogen peroxide, allow it to dwell for 15 minutes, and rinse thoroughly. Avoid using muriatic acid or bleach, as these leave behind soluble salts that will cause severe efflorescence and disrupt the lime carbonation process.
2. Testing for Sealers
Splash water onto the dry masonry. If the water beads up or takes more than 5 minutes to absorb, a silane/siloxane water repellent or acrylic sealer is present. You must remove this via chemical strippers or aggressive mechanical abrasion before applying lime wash.
Mixing Lime Wash: Ratios, Slaking, and Additives
For exterior masonry, non-hydraulic Type S hydrated lime (such as Graymont Genoa or Carmeuse) is the industry standard. Avoid Natural Hydraulic Limes (NHL) for standard washes, as their rapid set times can lead to lap marks and uneven curing on large vertical surfaces.
The Slaking Process
While Type S hydrated lime is technically pre-slaked at the factory, soaking it in water for 24 to 48 hours before mixing dramatically improves its workability, plasticity, and water retention. This creates a 'lime putty' base.
Exact Mixing Ratios
- Base Ratio: Mix 1 part (by volume) of lime putty with 1.5 to 2 parts clean, potable water. The target consistency is identical to whole milk or heavy cream. It should coat the back of a spoon evenly without dripping instantly.
- Pigmentation: If using earth oxide pigments, pre-disperse them in a small amount of warm water to create a slurry before adding them to the main batch. Limit pigment load to a maximum of 10% by weight of the dry lime to prevent weakening the binder.
- Binders (Optional): For slightly friable or highly absorbent substrates, add a 5% to 8% volume ratio of a casein binder (such as Kremer Pigmente casein powder mixed with borax) or methyl cellulose. This improves initial adhesion and reduces dusting during the early curing phase.
Pro-Tip from the Building Limes Forum: Always mix enough lime wash for the entire project in a single batch. Even slight variations in water-to-lime ratios between batches will result in visible color banding on the finished wall.
Application Procedure: The Cross-Hatch Technique
Applying lime wash requires specific tools and techniques that differ fundamentally from modern paint application. Never use a paint roller; it fails to work the lime into the microscopic pores of the masonry.
Tools Required
- Dense, natural-bristle masonry brush (6-inch to 8-inch width)
- Pump sprayer filled with clean water (for pre-wetting and misting)
- Large plastic bucket with a grid screen
- Nitrile gloves and safety goggles (lime is highly alkaline, pH 12.4)
Step-by-Step Application
- Pre-Wet the Substrate: This is non-negotiable. Use the pump sprayer to dampen the masonry thoroughly. The wall should be uniformly dark and damp, but not actively dripping. If the substrate is dry, it will instantly suck the moisture out of the lime wash, halting carbonation and causing the coating to chalk and fail.
- First Coat (The Primer Coat): Thin your first batch slightly more than the rest (add 10% more water). Apply using vigorous, overlapping cross-hatch strokes (an 'X' pattern). This mechanical action forces the lime deep into the masonry pores. Work in manageable sections (approx. 20 sq ft at a time).
- Inter-Coat Curing: Allow the first coat to become touch-dry (usually 12 to 24 hours, depending on humidity). Before applying the second coat, mist the wall lightly with water again.
- Subsequent Coats: Apply 2 to 4 additional coats using the standard 'whole milk' consistency. Each coat should be applied as thinly as possible. Three thin coats will always outperform one thick coat. Thick applications will shrink, craze, and eventually flake off.
- Final Mist: After the final coat is applied and begins to matte, lightly mist the wall with water once a day for the next 3 days to facilitate deep carbonation.
Curing, Carbonation, and Weather Constraints
Lime wash does not 'dry' in the traditional sense; it cures via carbonation. The chemical equation is: Ca(OH)2 + CO2 → CaCO3 + H2O. This means the coating requires both moisture and atmospheric carbon dioxide to harden into limestone.
For comprehensive technical data on specific lime products and curing times, refer to the Limeworks.us Technical Data Sheets, which provide exact environmental parameters for their Type S and NHL product lines.
Troubleshooting Common Lime Wash Failures
Even experienced applicators encounter issues when working with mineral coatings. Use this diagnostic guide to identify and rectify common problems.
- Problem: Severe Chalking / Rubbing Off on Clothing
Cause: The substrate was not pre-wetted, causing flash-drying, or the coats were applied too thickly.
Fix: Mist the wall heavily and apply one very thin, heavily diluted 'consolidation' coat to re-emulsify and bind the surface lime. - Problem: Peeling and Flaking
Cause: Applied over a non-porous sealer, acrylic paint, or heavily efflorescent surface.
Fix: Scrape off all failing material. Strip the underlying sealer/paint using a chemical stripper, neutralize, and re-apply from step one. - Problem: Uneven Color and Lap Marks
Cause: Inconsistent mixing between batches, or stopping work in the middle of a wall plane rather than at a natural break (like a corner or window trim).
Fix: Apply an additional uniform coat, ensuring you maintain a 'wet edge' and work continuously from corner to corner. - Problem: Yellow or Brown Bleed-Through
Cause: Tannins from adjacent woodwork or iron/manganese deposits in the brick reacting with the high alkalinity of the lime.
Fix: Isolate the staining source. Apply a specialized mineral-based stain-blocking primer (like a silicate-based fixative) before re-applying the lime wash.
Mastering lime wash application requires patience and a respect for traditional building science. By adhering to strict substrate preparation, utilizing the cross-hatch brushing method, and managing the carbonation curing environment, you will achieve a stunning, breathable, and historically accurate finish that will protect your masonry for decades.