Installing Brick Red Face Brick: Mortar and Cleaning Procedures
Learn exact installation procedures for brick red clay masonry. Covers IRA moisture testing, mortar selection, tooling, and safe acid-free cleaning methods.
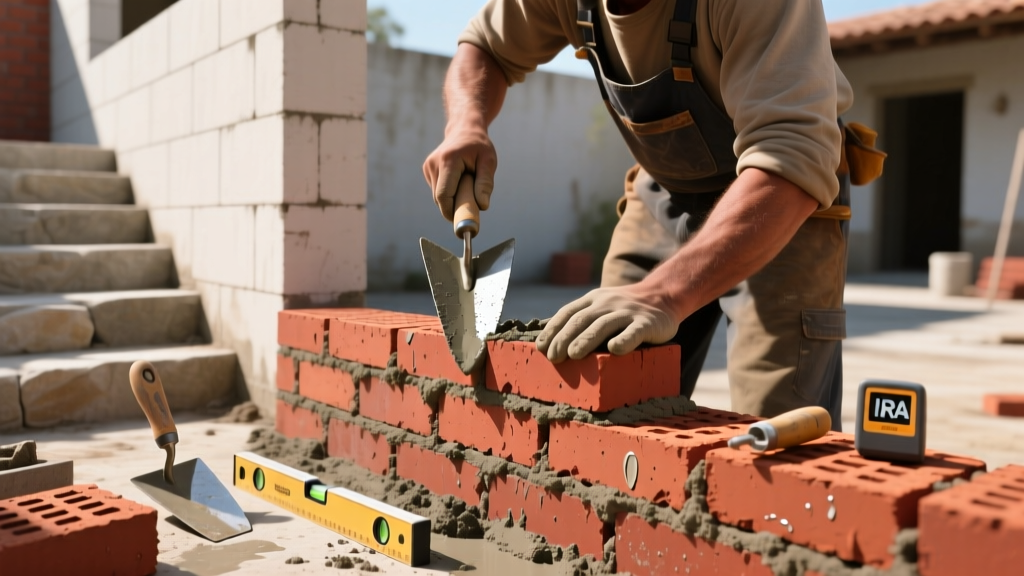
Pre-Installation: Moisture Control and IRA Testing
The classic brick red hue is derived from iron oxides naturally present in the clay shale used during manufacturing. While this provides exceptional colorfastness, it also makes the masonry unit highly reactive to improper moisture management and chemical cleaning agents. Before laying a single course, installers must evaluate the brick's Initial Rate of Absorption (IRA) to prevent the unit from sucking moisture out of the mortar bed too rapidly, which leads to weak bonds and micro-cracking.
According to Brick Industry Association (BIA) Technical Notes, testing the IRA per ASTM C67 is a mandatory field procedure for high-suction units. To perform the test:
- Weigh a dry brick red face brick to the nearest 0.1 gram.
- Place it flat on a glass surface and submerge the bottom 1/4 inch in water for exactly 60 seconds.
- Remove, wipe the surface lightly, and weigh again.
- Calculate the water absorbed in grams per 30 square inches per minute.
Mortar Selection Matrix for Red Clay Units
Selecting the correct mortar is critical for both structural integrity and aesthetic preservation. High-portland cement mortars are rigid and contain higher levels of soluble salts, which can trigger severe efflorescence (white staining) on the porous face of brick red masonry. For most exterior, non-load-bearing brick red veneers and standard load-bearing walls, Type N or Type S mortar is the industry standard.
| Mortar Type | Proportions (Cement:Lime:Sand) | Compressive Strength | Suitability for Brick Red Clay |
|---|---|---|---|
| Type N | 1 : 1 : 6 | 750 psi | Ideal. High lime content allows for self-healing micro-cracks and reduces efflorescence risk. |
| Type S | 1 : 0.5 : 4.5 | 1,800 psi | Good. Use for below-grade applications or high lateral load areas. Moderate efflorescence risk. |
| Type M | 1 : 0.25 : 3.5 | 2,500 psi | Avoid. Too rigid and high in Portland cement. Will cause severe efflorescence and brick spalling. |
When mixing, always use washed, well-graded masonry sand. For colored mortar joints intended to contrast with the brick red face, use synthetic iron-oxide pigments added at the batching stage rather than relying on colored masonry cements, which often yield inconsistent hues across different batches.
Step-by-Step Laying and Tooling Procedures
Proper jointing not only ensures weather resistance but also frames the brick red color correctly. Poorly tooled joints cast shadows and trap water, accelerating freeze-thaw degradation.
1. Bed Joint Application
Apply a 5/8-inch thick bed joint of Type N mortar, which will compress to a standard 3/8-inch thickness when the brick is tapped into place. Furrow the center of the bed joint with the trowel point to ensure mortar flows to the edges, creating a complete seal against wind-driven rain.
2. Head Joint Buttering
Apply mortar to the vertical face (head joint) of the loose brick before placing it. Push the brick firmly into the bed joint until the mortar squeezes out. Do not tap the brick after the mortar has begun to thumbprint-set; doing so breaks the initial suction bond.
3. Joint Tooling Timing
Tool the joints using a convex (S-shaped) or V-shaped steel jointer. The timing is critical: wait until the mortar is 'thumbprint hard'—meaning you can press your thumb into the joint and leave a print without mortar sticking to your skin. This typically takes 45 to 90 minutes depending on ambient humidity and wind.
The Acid Burn Danger: Cleaning Brick Red Masonry
The most frequent and catastrophic error made during the installation of brick red masonry is the use of unbuffered hydrochloric (muriatic) acid for final cleanup. The iron oxides responsible for the brick's red color react violently with raw hydrochloric acid, forming iron chloride. This results in permanent, deep black or brown staining that cannot be washed away.
To safely remove mortar smears and construction dirt from brick red walls, follow the protocols endorsed by the International Masonry Institute (IMI):
- Dry Removal First: Use a wooden scraper or a stiff natural-bristle brush to remove bulk mortar drops before they fully cure. Never use a metal wire brush, which will leave iron particles that rust and stain the red face.
- Pre-Wetting: Thoroughly saturate the wall with clean water before applying any chemical cleaner. This prevents the brick from absorbing the cleaning solution into its pore structure.
- Specialized Cleaners: Use a non-acidic or specifically formulated iron-safe cleaner. Products like PROSOCO Sure Klean Vana Trol are engineered to dissolve mortar smears without triggering the iron-oxide reaction in red clay units.
- Application and Rinse: Apply the cleaner from bottom to top to prevent streaking. Keep the surface wet, and rinse thoroughly with a pressure washer set to a maximum of 400 PSI, keeping the nozzle at least 12 inches from the wall.
Weather Protection and Curing Protocols
Mortar requires specific conditions to hydrate and carbonate properly. During the first 24 to 48 hours after laying, brick red masonry must be protected from extreme weather.
Cold Weather Installation (Below 40°F)
If temperatures drop below 40°F, mortar hydration slows dramatically, and freezing water within the joint will expand, shattering the bond. Use heated water (up to 160°F) for mixing, and cover the freshly laid brick red walls with insulated tarps. Do not use antifreeze compounds or calcium chloride accelerators, as these introduce massive amounts of soluble salts that will ruin the red facade with white efflorescence within months.
Hot and Dry Weather (Above 90°F)
In high heat, mortar can flash-set. Mist the brick red units lightly before laying, and store mixed mortar in shaded, covered tubs. If a crust forms on the mortar in the tub, discard it; retempering (adding water to dead mortar) destroys the cementitious matrix and compromises the wall's structural rating.
By strictly adhering to IRA moisture testing, utilizing high-lime Type N mortars, timing the joint tooling perfectly, and strictly avoiding raw acids during cleanup, contractors can ensure that brick red masonry retains its structural resilience and iconic aesthetic for decades.