Asphalt vs Concrete: Troubleshooting Cracks and Repairs
Compare asphalt vs concrete repair methods. Learn to troubleshoot cracks, spalling, and base failures with 2026 cost data and expert patching techniques.
The Fundamental Failure Modes: Why Asphalt and Concrete Crack
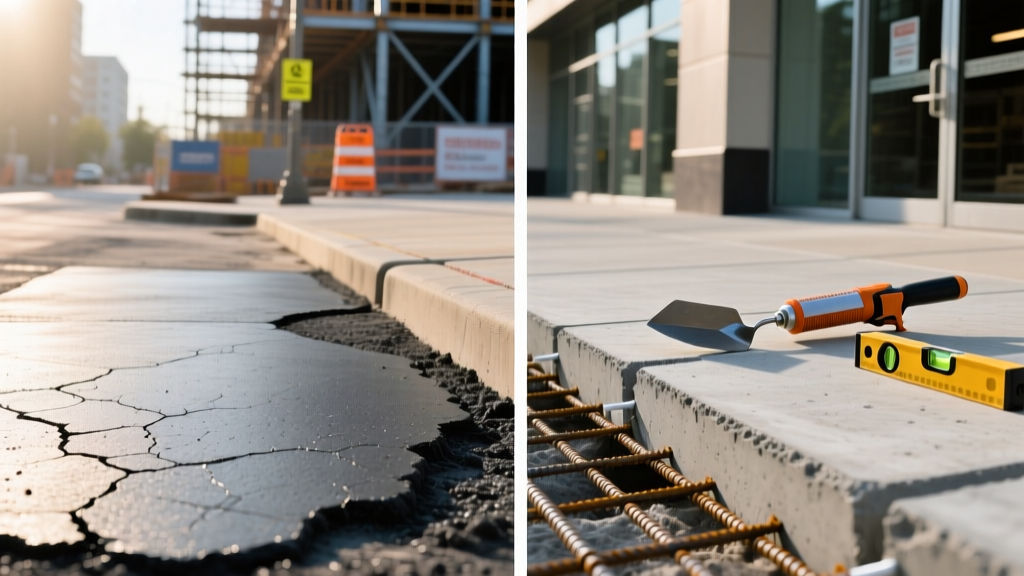
When evaluating asphalt vs concrete for driveways, parking lots, or walkways, most comparisons focus on initial installation costs and aesthetic preferences. However, from a facility management and homeowner perspective, the true cost of ownership is dictated by how these materials fail and how they must be repaired. Asphalt and concrete possess fundamentally different structural properties, leading to entirely distinct failure modes and repair protocols.
Asphalt is a flexible, viscoelastic pavement. It relies on the underlying aggregate base for structural support and fails primarily through oxidation, binder fatigue, and subbase shear. Concrete is a rigid, brittle pavement. It relies on its own tensile and compressive strength, failing primarily through thermal expansion, freeze-thaw scaling, and differential subgrade settlement. Understanding these mechanical differences is mandatory before selecting a repair material.
Asphalt Troubleshooting: Identifying and Fixing Blacktop Damage
Asphalt deterioration is highly visible and progresses rapidly once the waterproofing binder is compromised. According to the Asphalt Institute's Asphalt Handbook, identifying the specific distress type dictates whether a surface-level patch will suffice or if full-depth reconstruction is required.
Alligator Cracking (Fatigue Cracking)
Alligator cracking presents as a series of interlaced fractures resembling reptile skin. This is a definitive sign of subbase failure or severe overloading. Do not attempt to seal alligator cracks with liquid pour-fillers. The structural integrity of the base is gone. Applying a surface sealant is a wasted expense; the fractures will reflect through the patch within months. The only valid repair is full-depth removal of the affected area, recompacting the aggregate base, and installing a hot-mix asphalt (HMA) patch.
Edge Cracking and Raveling
Edge cracks occur parallel to the pavement edge, caused by a lack of lateral support and soil shrinkage. Raveling is the dislodgment of aggregate particles from the surface due to binder oxidation. For raveling, a polymer-modified slurry seal or micro-surfacing treatment is required to restore the wearing course. For edge cracks, backfilling the adjacent soil and applying a hot-pour rubberized crack filler (such as Crafco RoadSaver) is the standard protocol.
2026 Asphalt Repair Cost & Product Matrix
| Distress Type | Recommended Product / Method | Est. Cost (2026) | DIY Feasibility |
|---|---|---|---|
| Linear Cracks (1/8' to 1/2') | Hot-pour rubberized sealant | $0.75 - $1.50 / linear ft | Moderate |
| Potholes (< 2 sq ft) | High-performance cold patch (e.g., Sakrete U.S. Cold Patch) | $15 - $25 / bag | High |
| Alligator Cracking | Full-depth removal and HMA replacement | $6.00 - $11.00 / sq ft | None (Pro only) |
| Surface Oxidation | Coal tar or asphalt emulsion sealer | $0.20 - $0.40 / sq ft | High |
Concrete Troubleshooting: Diagnosing and Repairing Slab Defects
Concrete repairs are generally more complex and expensive than asphalt repairs because the material is rigid. When a concrete slab fails, it usually involves structural movement or surface degradation that cannot be masked with a simple sealcoat. The Portland Cement Association emphasizes that proper crack preparation is the single most critical factor in concrete repair longevity.
Spalling and Scaling
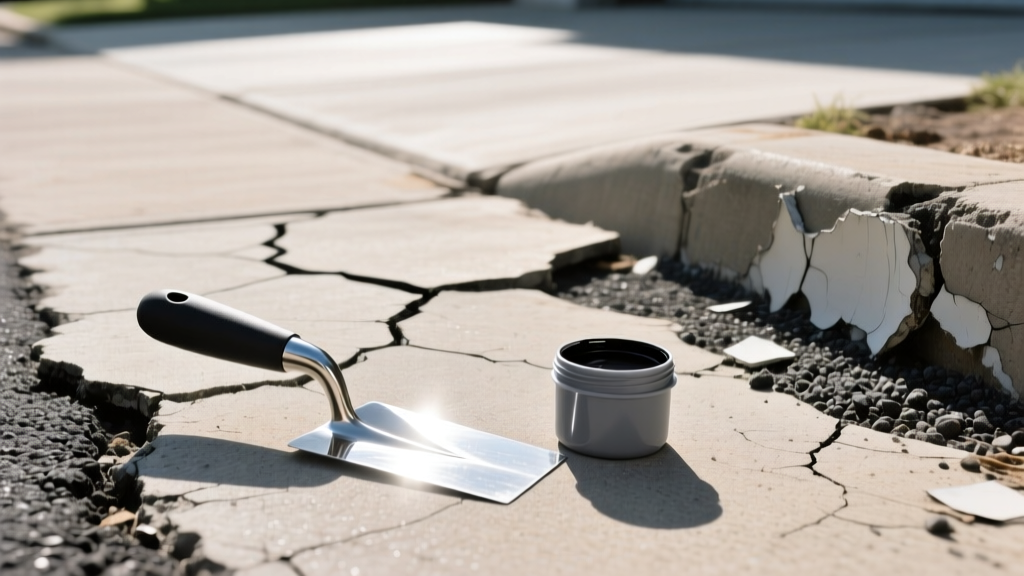
Spalling (deep flaking) and scaling (surface peeling) are typically caused by freeze-thaw cycles acting on non-air-entrained concrete or the use of de-icing salts. To repair spalled concrete, do not use standard sand-mix mortar; it lacks the polymer binders required for thin-layer adhesion. Instead, use a polymer-modified micro-topping or resurfacer (such as Quikrete Concrete Resurfacer or Mapcrete). The surface must be pressure-washed to 3,000 PSI to expose open pores before application.
Structural vs. Non-Structural Cracks
Differentiating between structural and non-structural cracks dictates the repair chemistry:
- Non-Structural (Shrinkage/Thermal): These cracks are typically vertical and do not exhibit vertical displacement. They must be routed to a minimum 1/4-inch width and 1/2-inch depth using a diamond blade crack chaser, then filled with a self-leveling polyurethane sealant like MasterSeal NP 1 or Sikaflex-1a.
- Structural (Settlement/Overload): These cracks often run diagonally or exhibit vertical shear (one side is higher than the other). Surface sealing is useless here. Structural cracks require epoxy injection to weld the slab back together, or polyurethane foam jacking (polyjacking) to lift and stabilize the settled subgrade.
Head-to-Head Repair Matrix: Asphalt vs Concrete Maintenance
When deciding between asphalt and concrete for a new project, or evaluating the remaining life of an existing surface, consider the long-term maintenance burden. The matrix below compares the operational realities of maintaining both materials in 2026.
| Maintenance Factor | Asphalt Pavement | Concrete Pavement |
|---|---|---|
| Routine Sealing | Required every 3-5 years to prevent oxidation. | Optional penetrating silane/siloxane sealer every 5-10 years. |
| Crack Repair Ease | High. Heat and pour methods are forgiving and blend visually. | Low. Routing is labor-intensive; sealants remain highly visible. |
| Slab Lifting (Settlement) | Not applicable. Sunken areas must be milled and overlaid. | Highly effective via polyjacking ($10-$18/sq ft) without demolition. |
| Snow/Ice Removal Damage | High vulnerability to metal plow blades and certain chemical de-icers. | Vulnerable to scaling from magnesium chloride; plow-safe if cured. |
| Curing/Downtime | Patches and sealants can handle traffic in 2-24 hours. | Overlays and epoxy require 24-72 hours before vehicular traffic. |
When to Patch vs. When to Replace: The 30% Rule
A common mistake in property management is repeatedly patching a failing surface, resulting in a 'quilt' effect that costs more in cumulative labor than a full replacement. Industry standard troubleshooting relies on the 30% Rule.
If more than 30% of the total surface area requires structural repair (e.g., full-depth asphalt patching, concrete slab replacement, or extensive polyjacking), the surface has reached the end of its functional life cycle. At this threshold, the cost of mobilizing repair crews, purchasing small-batch materials, and executing disjointed repairs will exceed the cost of a complete mill-and-overlay (for asphalt) or a full demolition and repour (for concrete) over a 10-year net-present-value calculation. Surface-level cosmetic defects like minor raveling or hairline shrinkage cracks do not count toward the 30% threshold.
Frequently Asked Questions
Can I apply asphalt crack filler over a concrete joint?
No. Concrete joints are designed to expand and contract significantly with thermal changes. Asphalt-based fillers lack the elongation properties (typically requiring >400% elongation) to survive concrete joint movement. Always use a specialized concrete joint sealant, such as a hot-pour silicone or high-modulus polyurethane.
Why does my concrete repair patch keep popping out?
This is almost always due to improper edge preparation. If the edges of the spalled area are featheredged (tapered to a thin point), the patching material will chip away under tire pressure. You must use a chipping hammer or angle grinder to create a straight, 90-degree vertical edge at least 1/2-inch deep around the perimeter of the repair area to lock the new material in place.
Written by
Marcus ChenMarcus Chen is a licensed structural engineer (PE) and building materials analyst with over 12 years of experience across residential, commercial, and industrial construction. He holds a Master of Science in Civil Engineering from UC Berkeley and spent six years at Thornton Tomasetti before transitioning to independent consulting and technical writing. Marcus specializes in material selection for seismic-prone regions, concrete reinforcement strategies, and lifecycle cost analysis. His work has been cited by the American Concrete Institute (ACI) and the Structural Engineers Association of California (SEAOC). When he is not on a job site or at his desk, you will find him hiking the Sierra Nevada or restoring a 1920s craftsman bungalow in Oakland, CA.
More from Marcus Chen
View all
Construction Cost
How Much Did the Eiffel Tower Cost to Build?
How much did the Eiffel Tower cost to build in 1889? We adjust for inflation and compare its budget to modern skyscraper construction.
Aug 4, 2026
Fire Resistance
What Is a Fire Resistant Material? Testing & Certification Guide
Discover what is a fire resistant material through ASTM and UL testing. Learn how fire ratings, certifications, and assemblies work in construction.
Aug 4, 2026
Construction Cost
How Much Did the Burj Khalifa Cost to Build?
How much did the Burj Khalifa cost to build? We break down the $1.5B project and extract 5 money-saving strategies for your next build.
Jul 30, 2026