How to Clean, Maintain, and Safely Remove Concrete Screws
Expert playbook for inspecting, cleaning, and removing concrete screws. Learn extraction techniques, rust remediation, and hole repair for structural anchors.
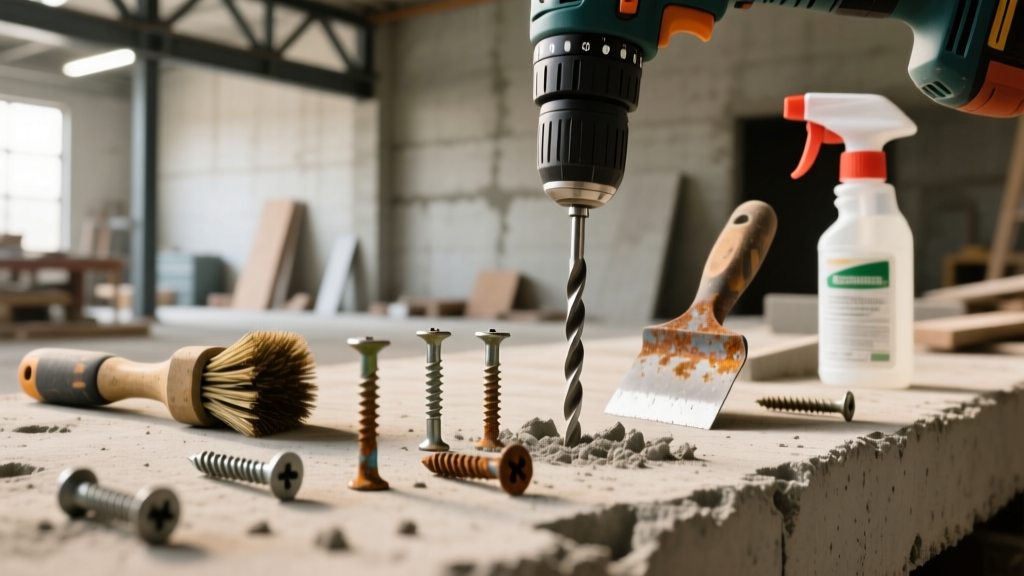
The Substrate Reality: Why Concrete Screws Degrade
Concrete screws, such as the industry-standard Tapcon or Powers Fasteners lines, rely on aggressive thread geometry to cut into and engage the brittle matrix of cured concrete. Unlike wedge anchors or sleeve anchors that rely on friction and expansion, concrete screws derive their holding power from the mechanical interlock of the threads against the concrete shear cone. However, the highly alkaline environment of concrete (typically pH 12 to 13) combined with environmental moisture creates a unique corrosion profile. While high alkalinity initially passivates carbon steel, carbonation over time lowers the concrete's pH, breaking down this passive layer and exposing the fastener to oxidation. Understanding this metallurgical reality is the first step in any structural maintenance playbook.
Inspection Protocol: Spotting Early Anchor Failure
Routine maintenance begins with systematic inspection. Do not wait for visible fixture sagging to evaluate your concrete screws. Implement a bi-annual inspection schedule for exterior or high-humidity interior anchors.
Visual and Torque Inspection Checklist
- White Rust vs. Red Rust: Carbon steel screws coated with zinc or proprietary coatings (like Blue Climaseal) will first develop "white rust" (zinc oxide). This is a sacrificial layer and does not immediately compromise structural integrity. "Red rust" (iron oxide) indicates the base metal is actively corroding and the screw must be replaced.
- Substrate Spalling: Inspect the concrete immediately surrounding the screw head. Micro-cracking or spalling indicates the shear cone is failing, often due to over-torquing during initial installation or freeze-thaw cycles.
- Torque Verification: Use a calibrated torque wrench set to the manufacturer's specified installation torque (e.g., 15 ft-lbs for a 3/16" diameter screw). If the screw turns before reaching the target torque, the internal concrete threads have stripped.
Cleaning Concrete Screw Threads and Anchor Holes
When preparing to re-tighten a fixture or remove a screw for replacement, cleaning the exposed threads and the internal anchor hole is critical. Concrete dust is highly abrasive and will destroy the cutting edges of a screw if forced back into the hole.
External Thread Cleaning
For exposed concrete screws suffering from surface corrosion or caked debris, avoid aggressive grinding which alters the thread pitch. Use a brass-bristle wire brush attached to a low-speed rotary tool (under 2,000 RPM) to clear debris without damaging the underlying protective coating. For heavy rust on carbon steel screws, apply a chelating rust remover like Evapo-Rust. Avoid muriatic acid; while it dissolves rust, it will aggressively attack the surrounding concrete matrix, enlarging the hole and ruining the shear cone.
Internal Hole Purging
If a screw is removed for inspection, the hole must be completely purged before re-installation. According to OSHA's respirable crystalline silica standards, dry blowing out concrete holes with compressed air requires strict containment and PPE to keep airborne silica below the 50 µg/m³ permissible exposure limit. Instead, use a HEPA-filtered vacuum nozzle inserted directly into the hole, followed by a manual nylon hole-cleaning brush. Pump the brush in and out three times, vacuuming between each pass, until the brush emerges completely clean.
Extraction Playbook: Removing Snapped or Stripped Screws
Concrete screws are prone to shearing at the substrate line if over-torqued or subjected to lateral shear loads exceeding their capacity. Extracting a sheared screw without destroying the surrounding concrete requires a precise sequence.
- Center Punching: Use a solid carbide center punch to create a deep divot exactly in the center of the sheared screw shaft. This prevents the drill bit from wandering into the softer concrete.
- Left-Hand Cobalt Drilling: Select a left-hand (reverse flute) M42 cobalt drill bit that is slightly smaller than the minor diameter of the screw. For a standard #10 concrete screw, use a 5/64" left-hand bit. The reverse flutes will catch the broken shard and back it out as you drill.
- Screw Extractors: If the left-hand bit does not extract the shard, tap a spiral screw extractor (EZ-Out) into the newly drilled pilot hole. Apply slow, steady counter-clockwise torque.
Warning: Do not use excessive force on the extractor. Hardened extractors are extremely brittle; if an extractor snaps inside the concrete screw, extraction becomes nearly impossible without core drilling.
- Core Drilling (Last Resort): If extraction fails, use a diamond-tipped core bit slightly larger than the screw's major diameter to drill a shallow ring around the fastener, allowing you to collapse the surrounding concrete inward and remove the shard.
Troubleshooting Matrix: Common Concrete Screw Failures
| Symptom | Root Cause | Corrective Action |
|---|---|---|
| Screw spins freely during installation | Internal concrete threads stripped due to excessive RPM or over-torquing. | Move to the next hole size up (e.g., from 3/16" to 1/4" screw) or inject structural epoxy. |
| Screw shears flush with concrete | Lateral shear load exceeded, or screw was bottomed out and torqued against the dust plug. | Extract shard. Deepen the new hole by 1/2" beyond the screw length to allow for dust displacement. |
| Severe red rust within 6 months | Carbon steel screw used in a chloride-rich environment (coastal or de-icing salts). | Replace with 316 Stainless Steel concrete screws. 410 SS is insufficient for high-chloride zones. |
| Concrete spalling around the head | Shear cone failure due to edge distance being less than 1.5x the embedment depth. | Relocate the anchor point further from the concrete edge and patch the spall with polymer-modified mortar. |
Upgrading and Replacing: Metallurgical Selection
When maintenance dictates replacement, selecting the correct metallurgy is paramount. The Portland Cement Association notes that embedded metals require specific protection strategies based on environmental exposure. Concrete screws are generally available in three material grades:
- Carbon Steel with Zinc/Silver Coating: Suitable for dry, interior environments. The coating provides temporary sacrificial protection but will fail in high humidity.
- 410 Stainless Steel: A martensitic stainless steel. It is heat-treatable and hard enough to cut its own threads into high-psi concrete without snapping. However, its corrosion resistance is only marginally better than coated carbon steel. Use only in mild exterior environments.
- 316 Stainless Steel: An austenitic stainless steel with molybdenum added for extreme chloride resistance. Because it is softer than 410 SS, 316 concrete screws require pre-drilling with exacting precision and should not be used in concrete exceeding 6,000 PSI compressive strength, as the threads may strip before the screw fully seats.
Hole Remediation for Blown-Out Anchors
If a concrete screw is removed and the internal threads are entirely destroyed, the hole is considered "blown out." Do not simply pack the hole with wooden matchsticks or plastic plugs. For structural fixtures, inject a high-modulus epoxy anchoring adhesive, such as Simpson Strong-Tie SET-XP or Hilti HIT-RE 500 V3, into the cleaned hole. Insert a threaded rod or a new concrete screw while the epoxy is in its gel phase. This transforms the failed mechanical interlock into a chemical bond, often exceeding the original pull-out capacity of the concrete screw. Reference the International Code Council (ICC) evaluation reports for the specific epoxy to ensure compliance with local structural building codes.