How to Grout Tile Flawlessly: Step-by-Step Cement and Epoxy Guide
Master how to grout tile with our expert guide. Compare cementitious vs. epoxy mixes, learn exact mixing ratios, and avoid common grout failures.
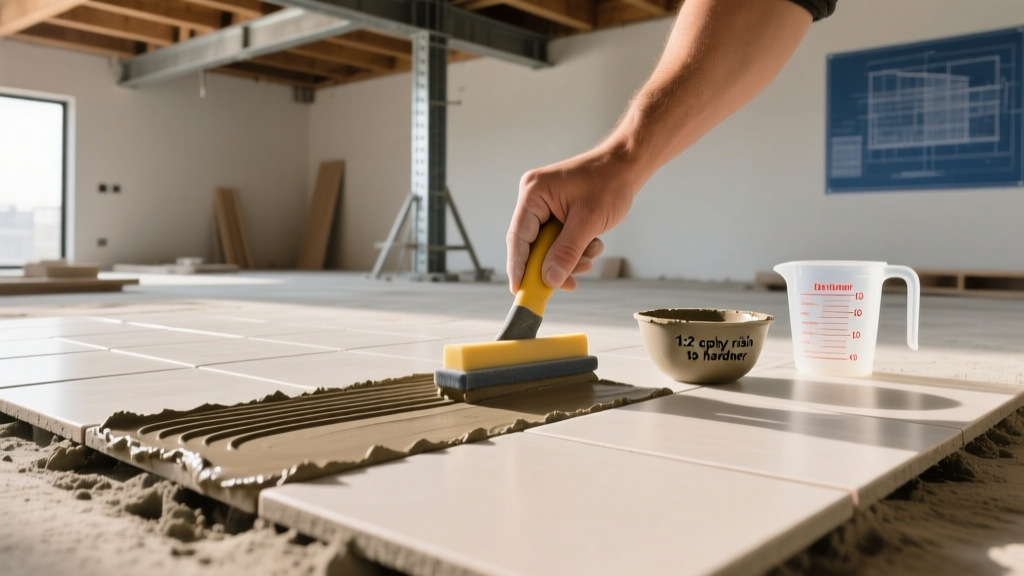
The Chemistry of Grout: Selecting the Right Base Matrix
Understanding how to grout tile begins with material science. Grout is not merely a filler; it is a structural matrix that locks tiles in place, prevents water intrusion, and distributes load across the substrate. The National Tile Contractors Association (NTCA) categorizes modern grouts into distinct chemical families, each requiring specific application protocols. Selecting the wrong chemistry for your joint width or traffic environment guarantees premature failure.
| Grout Type | Joint Width | Pot Life (at 70°F) | Cost per Sq. Ft. | Best Application |
|---|---|---|---|---|
| Sanded Cementitious | 1/8' to 1/2' | 1.5 - 2 Hours | $0.40 - $0.80 | Floors, standard wall tile, wide joints |
| Unsanded Cementitious | 1/16' to 1/8' | 1.5 - 2 Hours | $0.50 - $0.90 | Polished marble, glass tile, tight wall joints |
| Epoxy Resin (2-Part) | 1/16' to 1/2' | 45 - 60 Minutes | $1.50 - $3.00 | Commercial kitchens, showers, high-stain areas |
| Urethane (Pre-mixed) | 1/16' to 1/2' | N/A (Reusable) | $1.20 - $2.50 | Residential showers, DIY-friendly, no sealing required |
Pre-Installation: Substrate and Joint Preparation
Before mixing any compound, the tile joints must be meticulously prepared. Thinset mortar squeeze-out is the primary cause of grout shadowing and uneven color distribution. Use a carbide-tipped joint scraper or an oscillating multi-tool with a grout blade to clear the joints to a depth of at least 2/3 the tile thickness. According to ANSI A108.10 standards, joints must be free of dust, debris, and standing water. Vacuum the joints thoroughly with a HEPA-filter shop vac to remove microscopic silica dust that will otherwise act as a bond-breaker.
⚠️ Critical Warning for Natural Stone: If you are grouting unsealed, porous stone (like unpolished travertine or slate), you must apply a penetrating sealer or a temporary grout release agent to the tile face 24 hours prior. Cementitious pigments and epoxy resins will permanently stain the microscopic pores of natural stone if applied raw.
Step-by-Step: How to Grout Tile with Cementitious Mixes
Cementitious grouts (like Custom Building Products Polyblend or Mapei UltraColor Plus) rely on Portland cement, fine aggregates, and water-retention polymers. The most common installer error is improper hydration of these polymers.
1. The Mixing and Slaking Protocol
Add the powder to clean, cool water (never warm water, which accelerates the flash set). Mix with a low-speed drill (under 300 RPM) equipped with a mixing paddle to avoid whipping air into the slurry. Mix for 3 minutes, then stop and let it slake for 10 minutes. This 10-minute rest period is non-negotiable; it allows the cellulose ethers and redispersible polymer powders to fully hydrate. After slaking, remix for 1 minute without adding more water. The ideal consistency resembles thick peanut butter—it should hold a trowel ridge without slumping.
2. Forcing and Tooling
Load a hard rubber grout float. Hold the float at a strict 45-degree angle to the tile surface. Press the grout into the joints using a figure-eight or diagonal sweeping motion. Applying grout parallel to the joint will pull the material back out. You must apply enough downward pressure to force the grout to the bottom of the joint, eliminating void spaces that lead to cracking.
3. The Initial Scrape and Wash
Immediately after packing a 50-square-foot section, turn the float to a 90-degree angle and scrape the excess grout diagonally across the tiles. Wait 15 to 30 minutes for the grout in the joints to firm up (it should feel slightly damp but resist light finger pressure). Then, use a damp (not wet) hydrophilic sponge to wipe the tile faces in a circular motion, shaping the joint and removing surface haze. Rinse the sponge in a bucket of clean water after every pass.
Step-by-Step: How to Grout Tile with Epoxy Resins
Epoxy grouts (such as LATICRETE SpectraLOCK or Mapei Kerapoxy) offer near-zero water absorption and extreme chemical resistance, but their viscosity and rapid cure times demand advanced technique. Consult the LATICRETE Technical Data Sheets for exact temperature-to-pot-life ratios before starting.
1. Precision Proportioning
Unlike cement, epoxy cannot be eyeballed. You must use a digital scale to weigh Parts A (Resin) and B (Hardener) exactly to the manufacturer's ratio, before adding Part C (Color Powder). Incomplete mixing of the liquid parts results in a permanently tacky grout that will never cure.
2. Application and the 'Cheesecloth' Technique
Epoxy is highly viscous. Use a stiff, narrow rubber float to force it into the joints. Because epoxy does not shrink, you only need to fill the joint flush with the tile surface. Scrape off the bulk excess immediately. Do not use a standard wet sponge for epoxy cleanup. Instead, use a white nylon scrub pad and a specialized epoxy emulsifier (or a mixture of warm water and a few drops of Dawn dish detergent) to break down the resin film on the tile face.
3. The Final Emulsion Wipe
Within 45 minutes of application, perform a final wipe with a clean, damp microfiber cloth to remove the emulsified resin haze. If you miss this window and the epoxy flashes (begins to harden), you will need a heat gun set to 350°F and a metal scraper to physically remove the cured epoxy from the tile face.
Troubleshooting Common Grout Failures
Even experienced installers encounter anomalies. Diagnosing the root cause prevents recurring issues on subsequent jobs.
| Symptom | Root Cause | Corrective Action |
|---|---|---|
| Pinholes / Voids in Joint | Grout mixed too dry, or air trapped during application. | Mist the joint with water, forcefully re-trowel a slightly wetter batch, and strike with a damp sponge. |
| Efflorescence (White Crust) | Water-soluble salts migrating to the surface due to excess water in the mix or substrate. | Brush with a stiff nylon brush. Apply a dedicated sulfamic acid or phosphoric acid efflorescence remover. Do not use plain water. |
| Color Inconsistency / Mottling | Uneven drying, adding extra water during mixing, or inconsistent sponge moisture. | Apply a high-quality grout colorant/sealer (e.g., Aqua Mix Grout Colorant) to unify the tone permanently. |
| Powdery / Crumbly Texture | Skipped the 10-minute slake time, or grout was burned (exposed to high heat/direct sun). | Rake out the affected joints to a depth of 1/4' and re-grout. Powdered grout cannot be sealed or hardened topically. |
Curing Timelines and Sealing Protocols
Cementitious grout requires a 72-hour minimum cure time before exposing it to standing water or applying a penetrating sealer. For high-moisture environments like shower pans, extend this to 7 days. When selecting a sealer, opt for fluorochemical-based impregnators rather than topical acrylics. Fluorochemicals penetrate the cementitious matrix and lower the surface tension, repelling both water and oil-based stains without altering the natural texture or color of the grout. Epoxy and urethane grouts are inherently dense and non-porous; they do not require, and will not accept, penetrating sealers.
Mastering how to grout tile requires respecting the chemical limitations of your chosen material. By adhering to strict mixing ratios, honoring slake times, and executing precise cleanup windows, you ensure a joint system that is as structurally resilient as it is visually flawless.