Using the Quikrete Concrete Calculator for Accurate DIY Pours
Learn how to use the Quikrete concrete calculator for accurate DIY pours. Master bag estimation, waste factors, and mix selection for flawless slabs.
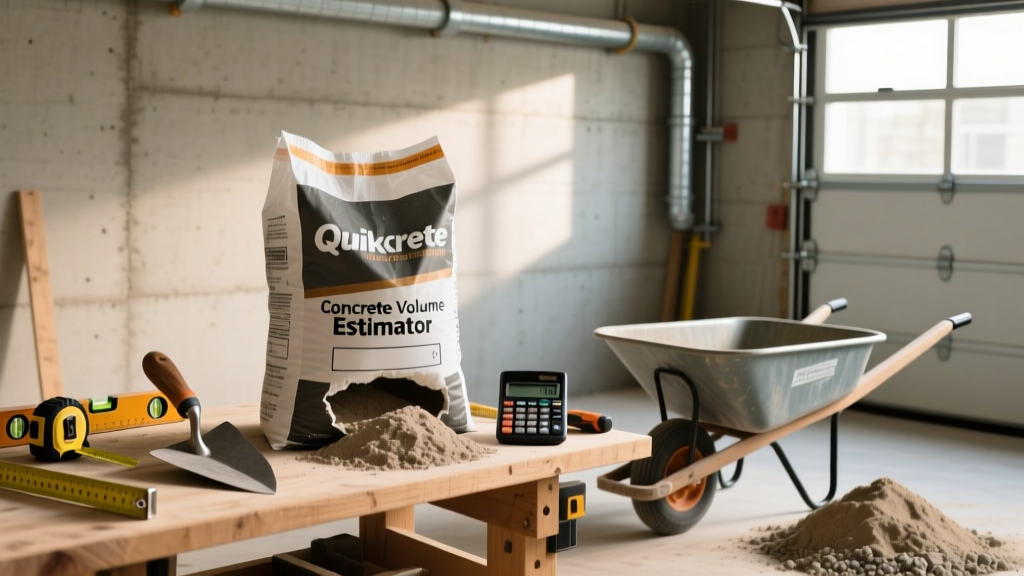
The Hidden Math Behind Flawless Concrete Pours
Relying solely on a digital tool without understanding the physical realities of your job site is the fastest way to end up with a half-finished slab or a driveway full of wasted, hardened bags. The Quikrete Concrete Calculator is an excellent baseline tool for estimating material volumes, but it assumes a mathematically perfect world. It assumes your subgrade is laser-flat, your formwork is exactly the nominal thickness you input, and your excavation depth is uniform. In real-world installation procedures, these assumptions fail. To execute a successful pour, you must use the calculator as a starting point and apply site-specific adjustment factors for waste, over-excavation, and formwork realities.
Step-by-Step: Using the Quikrete Concrete Calculator
Entering Dimensions Correctly
The calculator requires length, width, and thickness. The most common error occurs in the thickness input due to a misunderstanding of dimensional lumber. If you are building forms for a 4-inch slab using standard 2x4 lumber, the actual thickness of the form is only 3.5 inches. If you input 4 inches into the calculator but strike off your concrete flush with the top of a 2x4 form, you will over-order by roughly 12%. Conversely, if you want a true 4-inch slab, you must either rip your 2x4s down, use 2x6 forms (5.5 inches actual) and measure down, or use specialized metal form stakes. Always input the actual finished thickness of the concrete, not the nominal size of your form boards.
Adjusting for Real-World Variables
When excavating for a patio or sidewalk, the soil subgrade is never perfectly level. Even with careful grading, you will inevitably have low spots that require an extra half-inch to an inch of concrete to fill. Furthermore, the soil itself may compress under the weight of the wet concrete and the workers, effectively increasing the depth of the pour.
Translating Calculator Outputs to Specific Quikrete Mixes
Once you have your total cubic footage, you must translate that volume into specific bag sizes and mix designs. Quikrete offers several formulations, and their yields per bag differ slightly based on aggregate size and density. According to the Quikrete Concrete Mix Product Line specifications, here is how the most common mixes break down for installation planning:
| Mix Type | Bag Size | Yield per Bag | Water Ratio | Best Application |
|---|---|---|---|---|
| Standard Concrete Mix | 80 lbs | 0.60 cu ft | ~6 pints | Patios, sidewalks, steps |
| Standard Concrete Mix | 60 lbs | 0.45 cu ft | ~4.5 pints | Small repairs, post holes |
| 5000 PSI Commercial | 80 lbs | 0.60 cu ft | ~4 pints | Driveways, heavy load pads |
| Crack-Resistant Mix | 80 lbs | 0.60 cu ft | ~5.5 pints | Overlays, thin slabs, stairs |
Installation Note on Water Ratios: The water ratios listed above are maximums. Adding excess water to make the mix easier to screed destroys the cement paste matrix, reducing compressive strength by up to 500 PSI per extra inch of slump. Always mix to a stiff, workable consistency and use a magnesium float to bring the cream to the surface.
Manual Verification: The Cubic Yard Formula
Professional installers never trust a single digital output without running a manual verification. App glitches, incorrect unit toggles (inches vs. feet), and browser caching can lead to catastrophic ordering errors. Use this field-tested formula to verify your calculator results:
Total Cubic Feet = (Length in Feet × Width in Feet × Thickness in Inches) ÷ 12
Example: A 10 ft × 12 ft sidewalk at 4 inches thick.
(10 × 12 × 4) ÷ 12 = 40 cubic feet.
40 cu ft ÷ 0.60 cu ft (per 80lb bag) = 66.6 bags.
Add 10% waste (6.6 bags) = 73.2 bags. Order 74 bags.
As the Portland Cement Association (PCA) notes in their proportioning guidelines, accurate volume calculation is only the first step; ensuring the batch consistency remains uniform across dozens of manually mixed bags is what ultimately dictates the structural integrity of the slab.
Pro-Tips for Staging and Mixing Bagged Concrete
Knowing you need 74 bags is useless if you cannot physically mix and place them before the first batch sets. Bagged concrete logistics dictate the success of the installation.
- The 30-Bag Threshold: If your calculator output exceeds 30 bags of 80 lb mix (approx. 0.5 cubic yards), abandon bagged concrete. Rent a short-load ready-mix truck. The surcharge (typically $150–$250) is vastly cheaper than the labor cost and physical toll of mixing 6,000 lbs of material by hand, and it guarantees a uniform slump and PSI across the entire pour.
- Mixer Capacity Limits: A standard 3.5 cubic foot electric wheelbarrow mixer can safely handle exactly one 80 lb bag at a time. Overloading it with two bags will burn out the motor and result in dry, unmixed clumps at the bottom. A 6 to 9 cubic foot towable gas mixer (rental cost ~$65–$85/day) can handle two to three 80 lb bags simultaneously.
- Staging and Moisture Protection: Quikrete bags are paper-lined and highly susceptible to ambient humidity. If you are buying the concrete a day before the pour, stack the pallets on a dry surface and wrap them tightly in 6-mil poly sheeting. A single night of heavy dew can cause the bottom layer of bags to harden into useless concrete blocks.
- The Bucket Brigade: For pours where a mixer cannot reach the forms, pre-measure your water into 5-gallon buckets and use a heavy-duty mortar hoe in a wheelbarrow. Limit wheelbarrow mixing to a maximum of one 60 lb bag at a time to maintain leverage and prevent back injuries.
Common Calculation Mistakes That Ruin Pours
1. Forgetting the Footing Trench: When calculating for a monolithic slab or a thickened-edge slab, DIYers often input only the slab dimensions. You must calculate the deepened edge trench separately (Length × Width × Depth of trench) and add it to the slab volume.
2. Ignoring Rebar Displacement: In massive structural pours, the volume of the steel rebar cage displaces a measurable amount of concrete. For standard DIY 4-inch slabs using #3 or #4 rebar on a 2-foot grid, the displacement is negligible (less than 1%). However, if you are pouring a deep 24-inch grade beam heavily packed with steel, reduce your calculated volume by 2% to 3% to account for the steel.
3. Miscalculating Post Holes: When using the calculator's 'Post Hole' setting, remember that the hole is not empty; the wooden or steel post displaces volume. A 12-inch diameter hole with a 6-inch square post in the center requires roughly 25% less concrete than an empty hole of the same diameter. Adjust your inputs accordingly to avoid having 15 leftover bags of setting mix at the end of the day.