Stacked Stone Mortar Deep Dive: ProLite vs Sakrete vs Quikrete Mixes
Compare top stacked stone mortar brands including ProLite, Sakrete, and Quikrete. Discover polymer-modified mixes, pricing, and non-sag performance data.
The Chemistry of Adhesion: Why Standard Masonry Mortar Fails
Installing manufactured or natural stacked stone veneer requires a fundamentally different mortar chemistry than laying structural brick or block. Standard Type S or Type N masonry cements, governed by ASTM C270 standards, rely on high compressive strength and rigid crystalline structures. Stacked stone, however, demands high tensile adhesion, thixotropy (non-sag properties), and flexibility to accommodate thermal expansion and substrate deflection.
When contractors attempt to use standard brick mortar for stacked stone, two catastrophic failure modes occur. First, the heavy stone pieces slump or slide down the wall before the mortar cures, ruining the intended tight-stack aesthetic. Second, standard mortars lack the redispersible polymer powders required to bond to the smooth, low-porosity backs of manufactured concrete veneers. Polymer-modified stacked stone mortars solve this by creating a microscopic mechanical interlock and chemical bond, ensuring long-term adherence even under freeze-thaw cycling.
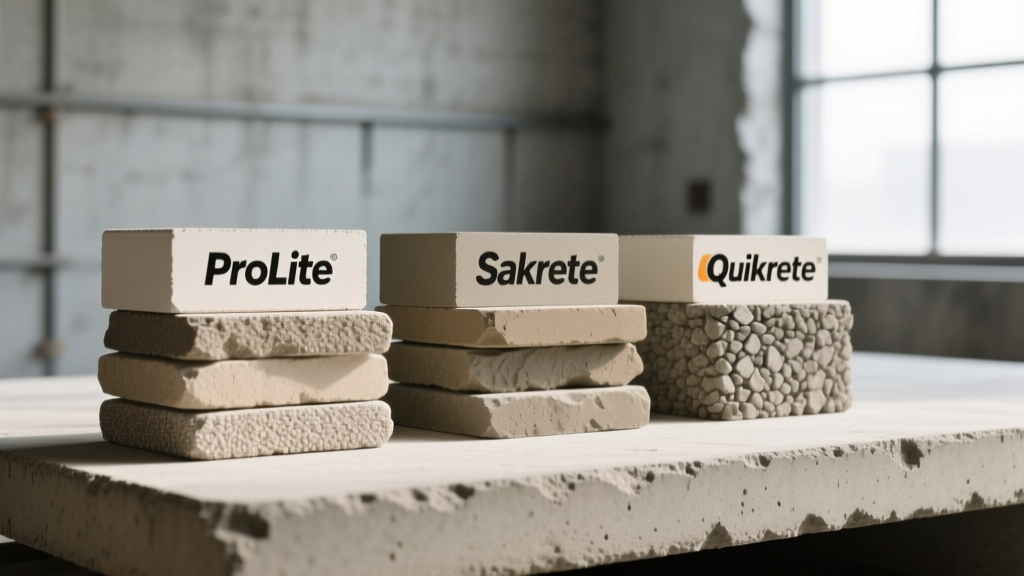
Brand Matrix: ProLite vs. Sakrete vs. QUIKRETE
The market is dominated by three primary product lines, each targeting a different tier of the construction industry. Below is a direct technical comparison of their flagship veneer mortars.
| Feature | CBP ProLite Stone Veneer | Sakrete Stone Veneer Mortar | QUIKRETE Veneer Stone Mortar |
|---|---|---|---|
| Polymer Modification | High (Proprietary blend) | Medium (Acrylic fortified) | Medium (Polymer-modified) |
| Bag Weight | 45 lbs (Lightweight aggregate) | 60 lbs (Standard sand) | 60 lbs (Standard sand) |
| Non-Sag Rating | Excellent (Zero slump) | Good (Minimal slump) | Good (Minimal slump) |
| Open Time (70°F) | Up to 45 minutes | Up to 30 minutes | Up to 30 minutes |
| Approx. Cost (2026) | $38.00 - $45.00 | $24.00 - $28.00 | $18.00 - $22.00 |
| Ideal Application | Commercial, large-format stone | Residential, standard profiles | Budget residential, DIY |
Product Line Deep Dive: Performance & Cost Breakdown
1. Custom Building Products (CBP) ProLite Stone Veneer Mortar
ProLite represents the premium tier of stacked stone mortars. Its defining characteristic is the use of lightweight aggregates (expanded shale and clay), which reduces the bag weight to 45 lbs while maintaining the coverage volume of a standard 60 lb bag. This significantly reduces installer fatigue on multi-story scaffolding.
Chemically, ProLite features a high concentration of redispersible polymers, granting it exceptional thixotropic qualities. When you notch the mortar onto the substrate with a 1/2-inch trowel, the ridges stand perfectly upright without slumping. It is specifically engineered for large-format natural stones (like heavy limestone or slate) and complex substrates like tilted concrete panels. The extended 45-minute open time allows masons to butter the back of multiple stones before setting, increasing daily installation square footage.
2. Sakrete Stone Veneer Mortar
Sakrete occupies the professional mid-tier, offering a highly reliable, acrylic-fortified mix that is widely available at big-box lumber yards and masonry supply houses. It uses standard silica sand, making it heavier to carry but providing a slightly more rigid final cure than lightweight alternatives.
The acrylic fortification provides excellent bond strength to both porous natural stone and dense manufactured concrete veneers. Sakrete's mix design is highly forgiving regarding water ratios; it achieves a smooth, peanut-butter-like consistency easily without the risk of over-watering that plagues cheaper mixes. It is the go-to choice for residential contractors installing standard ledgestone and fieldstone profiles over traditional wood-framed walls with weather-resistant barriers and metal lath.
3. QUIKRETE Veneer Stone Mortar
QUIKRETE's offering is the most cost-effective polymer-modified option on the market. While it lacks the lightweight aggregates of ProLite and the premium acrylic fortifiers of Sakrete, it still outperforms standard Type S mortar for veneer applications.
This product is heavily utilized in budget-conscious residential builds and DIY installations. It requires stricter water management during mixing—adding too much water will break the polymer emulsion and destroy the non-sag properties. When mixed precisely to the manufacturer's 4.5 to 5 pints of water per 60 lb bag specification, it provides adequate bond strength for standard manufactured stacked stone profiles up to 4 inches in depth.
Never add water to stacked stone mortar after it has begun to set in the bucket (slaking). Re-wetting breaks the chemical cross-linking of the polymers. The mortar may appear workable, but it will cure with near-zero tensile strength, leading to guaranteed delamination within the first freeze-thaw cycle. Discard any mortar that has lost its plasticity.
Substrate Pairings and Primer Requirements
According to guidelines published by the Portland Cement Association, mortar performance is entirely dependent on proper substrate preparation. The best polymer-modified mortar will fail if applied to a dusty, unprompted, or improperly flashed surface.
- Over CMU (Concrete Masonry Units): Ensure the block is free of form-release agents. If the block is highly porous (like split-face CMU), dampen it slightly before application to prevent it from sucking the moisture out of the mortar too quickly, which causes shrinkage cracking.
- Over Wood Framing: You must install a weather-resistant barrier (WRB) followed by self-furring galvanized metal lath (minimum 2.5 lb/sq yd). Apply a 1/2-inch scratch coat of the exact same veneer mortar, score it horizontally with a raking tool, and allow it to cure for 24 to 48 hours before setting the stone.
- Over Existing Concrete/Pour Walls: Unpainted concrete requires mechanical scarification (shotblasting or grinding) to open the pores. Apply a concrete bonding adhesive (like a liquid acrylic latex fortifier) mixed into your scratch coat to ensure a chemical bridge between the old concrete and the new veneer mortar.
Yield, Coverage, and Cost Projections
Calculating material requirements for stacked stone is notoriously difficult because coverage depends entirely on the stone profile and the installation technique. Tight-stack installations require less mortar than ledgestone with 1/2-inch recessed joints.
| Installation Style | ProLite (45lb) Yield | Sakrete/QUIKRETE (60lb) Yield | Mortar Cost per Sq Ft |
|---|---|---|---|
| Tight-Stack (Zero Joint) | 12 - 15 sq ft | 14 - 18 sq ft | $1.25 - $1.80 |
| Standard Profile (1/4' Joint) | 9 - 11 sq ft | 11 - 14 sq ft | $1.80 - $2.50 |
| Deep Ledgestone (1/2' Joint) | 6 - 8 sq ft | 8 - 10 sq ft | $2.50 - $3.50 |
Note: These yields assume a standard 1/2-inch mortar bed thickness and 100% back-buttering of the stone pieces, which is mandatory for exterior applications to prevent water intrusion behind the veneer.
Troubleshooting Common Mortar Failures in the Field
Even with premium products, improper field conditions can compromise the mortar matrix. Here is how to diagnose and prevent the most common stacked stone mortar failures:
1. Efflorescence (White Powdery Staining)
Cause: Water-soluble salts within the mortar or the stone are drawn to the surface by migrating moisture. This is exacerbated by using standard Portland cement mixes or applying stone to walls without proper weep screeds and flashing.
Fix: Always use polymer-modified mortars, which have lower permeability. Ensure the wall assembly includes a weep screed at the base to allow trapped moisture to escape. For existing efflorescence, dry-brush the stone and apply a specialized masonry efflorescence cleaner; never use muriatic acid on manufactured concrete veneer, as it will etch the surface pigments.
2. Stone Slumping and Sagging
Cause: Over-watering the mix, applying the mortar too thickly (exceeding 3/4 inch), or working in direct, hot sunlight which causes the mortar skin to dry before the core sets.
Fix: Strictly adhere to the water-to-bag ratio. If working in temperatures above 85°F, mix smaller batches, use cold mixing water, and store the bags in the shade. Utilize temporary mechanical fasteners or ledger boards to support heavy natural stones until the mortar achieves initial set (usually 24 hours).
3. Hollow Spots and Delamination
Cause: Failure to back-butter the stone. Simply pressing a dry stone into a notched mortar bed traps air pockets, leaving up to 40% of the stone's back unbonded.
Fix: Implement a strict 'comb and butter' protocol. Comb the mortar onto the substrate with a notched trowel, then use the flat edge of the trowel to apply a thin, uniform layer (butter coat) to the entire back of the stone piece before pressing it firmly into the combed bed with a slight twisting motion to collapse the ridges and expel air.