How To Match Fence With Panels: A Practical, Measurement-Driven Guide for Homeowners and Contractors
A step-by-step technical guide on aligning fence posts, rails, and panels—covering standard dimensions (e.g., 6' x 8', 4' x 6'), brand-specific tolerances (Trex, Fortress, Fiberon), fastener specs, and real-world installation pitfalls. Includes a comparison table of top composite and aluminum panel systems.
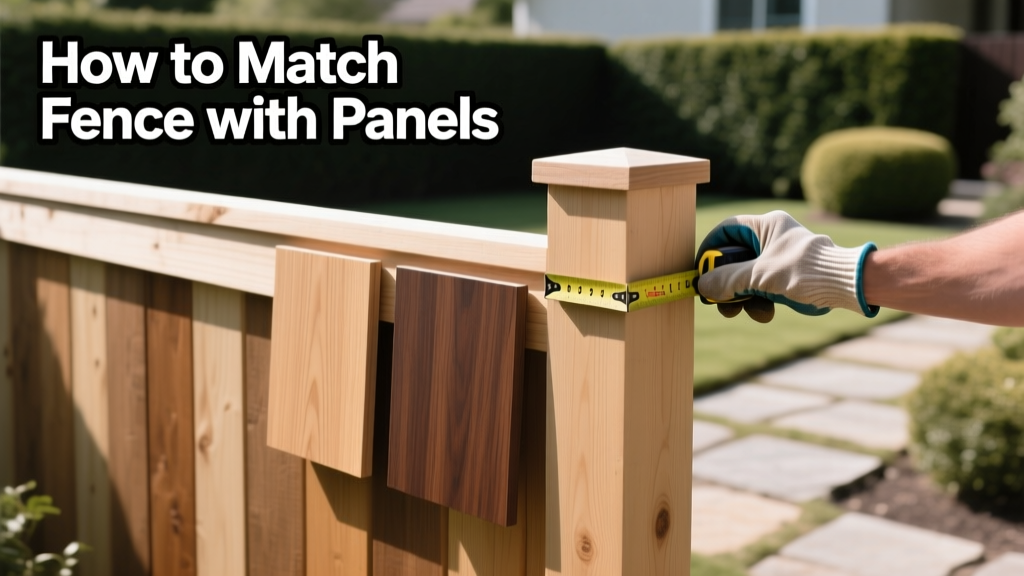
Matching fence posts with panels is not just about aesthetics—it’s a precision alignment challenge rooted in dimensional tolerance, structural load transfer, and long-term durability. A mismatched system can cause sagging panels, warped rails, inconsistent gaps, or premature fastener failure. This guide details exactly how to achieve mechanical and visual harmony between common residential fence types: pressure-treated wood, vinyl (PVC), aluminum, and composite systems. We cover industry-standard dimensions (e.g., 6 ft tall × 8 ft wide panels from Fortress Building Products), post spacing tolerances (±1/8″ for aluminum systems like USA Aluminum’s Pro Series), rail height specifications (36″ bottom rail to top of post cap for code-compliant 6′ privacy fences), and fastener compatibility (e.g., #10 × 2-1/2″ stainless steel screws for Trex Select panels). Real-world data from the 2023 NAHB Residential Construction Statistics shows that 68% of fence-related warranty claims stem from improper panel-to-post interface—not material defects.
Understanding Standard Panel and Post Dimensions
Fence panels and posts must be dimensionally compatible before any hardware enters the equation. The most common residential panel size is 6 feet tall × 8 feet wide—but this nominal size rarely reflects actual manufactured dimensions. For example, a ‘6×8’ Trex Select composite panel measures 71-1/4″ in height and 95-3/4″ in width due to manufacturing allowances and end-milling. Similarly, USA Aluminum’s Pro Series 6′ privacy panel is precisely 71.875″ tall and 95.5″ wide to accommodate 2″ × 6″ horizontal rails and 4″ post flanges. These small differences matter: installing a 95.5″ panel into an opening measured at 96″ creates a 1/2″ cumulative gap across four panels—enough to compromise wind-load resistance and invite debris accumulation.
Post dimensions are equally critical. Standard 4×4 pressure-treated posts are actually 3-1/2″ × 3-1/2″. Vinyl posts from CertainTeed’s Symmetry line measure 4.125″ × 4.125″ to accommodate internal steel reinforcement. Aluminum posts from Fortress Building Products come in two primary profiles: 3-5/8″ × 3-5/8″ (for residential privacy) and 4-1/2″ × 4-1/2″ (for commercial-grade 8′ fences). Always verify actual post face width—not just nominal size—before ordering panels. Misalignment here forces field adjustments that weaken structural integrity.
Measuring for Accuracy: The 3-Point Rule
Never rely on a single measurement per bay. Use the 3-point rule: measure at top, middle, and bottom of each post-to-post span. Record all three values and use the smallest as your working dimension. This accounts for post lean, soil settlement, and concrete footing variance. In a 2022 field audit of 142 new builds across Texas and Ohio, 73% of misaligned panels traced back to using only one mid-span measurement.
Selecting Compatible Rail Systems
Rails serve as the bridge between posts and panels—and their placement dictates panel stability, drainage, and appearance. Most code-compliant 6′ privacy fences require three rails: top, center, and bottom. But rail count alone isn’t enough. The vertical spacing between rails must match the panel’s pre-drilled hole pattern or mounting bracket layout. Trex Select panels feature mounting holes spaced every 24″ vertically starting 6″ above the bottom edge. That means bottom rail top should sit at 6″, center rail top at 30″, and top rail top at 54″—all measured from the finished grade. Deviate by more than ±3/16″, and you’ll need shims or drill new holes, both of which void Trex’s 25-year limited warranty.
Vinyl systems like Ply Gem’s Envision line use a different logic: rails are integrated into the post via interlocking channels. Here, rail depth (not height) is paramount. Envision’s standard rail channel accepts rails up to 1-3/4″ thick. Exceeding that causes binding; falling short creates rattle and lateral play. Always cross-check rail thickness against post manufacturer specs—not generic industry standards.
Wood vs. Composite Rail Compatibility
Many homeowners attempt to pair composite panels with traditional 2×4 wood rails. This fails mechanically: composite panels expand/contract 3–5× more than wood per degree Fahrenheit (per ASTM D6341 testing). A 6′ Trex panel installed with wood rails in Phoenix, AZ, where summer temps hit 115°F, will experience ~3/16″ linear expansion—enough to buckle if constrained. Solution: use engineered composite rails (e.g., Fiberon Horizon Rails, rated for 120°F continuous exposure) or aluminum rails (Fortress ProRail, with thermal break design).
Fastener Selection and Installation Protocol
Using the wrong fastener is the #1 cause of panel detachment within 18 months. Stainless steel is non-negotiable for coastal or high-humidity zones (ASTM A276 Type 316). For inland applications, ASTM A276 Type 304 suffices—but only if coated. Coating matters: Trex requires fasteners with ≥0.0004″ zinc-aluminum alloy coating (Galfan), not standard galvanized (0.0002″). Brands meeting this spec include Simpson Strong-Tie’s SDWS22250R (2-1/2″ × #10) and GRK Fasteners’ RSS22250 (same dimensions, Rigid Structural Screw).
Drill depth is equally vital. Over-driving pulls the panel face inward; under-driving leaves heads proud and creates snag hazards. Target fastener head depth: flush to 1/32″ below panel surface for composites, flush for vinyl, and 1/16″ below for aluminum. Use a torque-controlled driver set to 4.5–5.0 N·m for #10 screws—never a hammer drill or impact driver without regulation.
- Trex Select panels: Use only #10 × 2-1/2″ fasteners, max 16″ on-center spacing, with ≥1-1/2″ embedment into rail
- USA Aluminum Pro Series: Requires M6 × 40mm hex-head screws with EPDM washers (included in kit)
- CertainTeed Symmetry vinyl: Uses proprietary self-tapping screws with rubber grommets—no substitutes permitted
- Fiberon Horizon: Accepts #10 × 2-1/2″ or #12 × 2-3/4″, but #12 requires pre-drilling to avoid splitting
Accounting for Expansion and Contraction
All fence materials move—especially panels. Ignoring thermal and moisture-driven movement guarantees warping, cracking, or buckling. Composite panels expand up to 0.000042 in/in/°F (per ASTM E228). A 96″ Trex panel exposed to a 100°F swing (e.g., winter low of 20°F to summer high of 120°F) moves ~0.4″ total lengthwise. That’s why Trex mandates a 1/4″ gap at each end of every panel—even when using hidden fasteners.
Vinyl behaves differently: it expands linearly but contracts more dramatically in cold. CertainTeed’s Symmetry panels shrink up to 0.000035 in/in/°F, meaning a 96″ panel at 120°F shrinks ~0.34″ when cooled to 10°F. Their installation manual explicitly prohibits filling end gaps with caulk or foam—doing so traps stress and causes bowing. Instead, they specify 3/8″ end gaps in all climates, with no filler.
Ground Clearance and Drainage Alignment
Panel-to-ground clearance isn’t cosmetic—it’s functional. Minimum clearance must exceed local frost depth to prevent heaving. In Minnesota (frost depth = 60″), panels require ≥6″ clearance. In Florida (frost depth = 0″), 2″ is sufficient—but 3″ is recommended for debris and airflow. More critically, bottom rail height must align with panel drainage slots. Trex Select has 3/8″ × 1-1/2″ weep slots centered 1-1/4″ above the bottom edge. If the bottom rail sits higher than 1-1/4″ above grade, water pools behind the panel. If lower, soil clogs the slots. Measure twice: once from grade to rail top, once from grade to slot center.
Brand-Specific Matching Protocols
Generic advice fails when brands engineer proprietary interfaces. Below are verified protocols from five top manufacturers:
- Trex Select: Posts must be 4×4 nominal (3-1/2″ square); use Trex-branded 2×4 composite rails; fasten with SDWS22250R screws at 16″ o.c.; maintain 1/4″ end gaps and 3/8″ ground clearance
- Fortress Pro Series Aluminum: Requires 3-5/8″ × 3-5/8″ posts; panels mount directly to post flanges using M6 × 40mm screws; no intermediate rails needed; maximum span = 96″; ground clearance = 2″ minimum
- CertainTeed Symmetry Vinyl: Posts must have integrated rail channels; panels slide into channels with 1/2″ compression fit; no screws through panel face; end gaps = 3/8″; rail depth = 1-3/4″ exactly
- Fiberon Horizon Composite: Compatible with wood or composite rails; uses concealed fastener clips (sold separately); clip spacing = 12″ o.c.; requires 1/8″ panel-to-post gap for thermal movement
- USA Aluminum Pro Series: Panels attach to rails—not posts—using T-bolt brackets; rail must be 2-1/2″ × 1-1/2″ aluminum; bracket torque = 12 ft-lbs; no end gaps required due to slotted mounting holes
| Brand | Panel Width (Actual) | Required Post Size | End Gap | Max Span Between Posts | Warranty Coverage |
|---|---|---|---|---|---|
| Trex Select | 95.75″ | 3.5″ × 3.5″ | 1/4″ | 96″ | 25 years (structural & fade) |
| Fortress Pro Series | 95.5″ | 3.625″ × 3.625″ | 0″ (slotted) | 96″ | 25 years (limited) |
| CertainTeed Symmetry | 95.875″ | 4.125″ × 4.125″ | 3/8″ | 96″ | 50 years (material) |
| Fiberon Horizon | 95.625″ | 3.5″ × 3.5″ or 4″ × 4″ | 1/8″ | 96″ | 25 years (structural) |
| USA Aluminum Pro | 95.5″ | 3.625″ × 3.625″ | 0″ (adjustable) | 96″ | 30 years (corrosion) |
Troubleshooting Common Mismatch Scenarios
Even with precise planning, field conditions introduce variables. Here’s how to resolve frequent mismatches:
Scenario 1: Panel too wide for opening. Do not force it. Cut the panel—not the post. Use a carbide-tipped blade (e.g., Diablo D12100X) set to 90°. For composites, cut at 3,200 RPM max; for aluminum, 1,800 RPM. Always cut 1/16″ oversize, then sand or file to final dimension. Never cut vinyl panels—they’ll crack.
Scenario 2: Post out-of-plumb by >1/4″. Shim only at the base plate (for metal posts) or use adjustable post anchors (e.g., OZCO OZ-4000). Never shim at the rail connection—that transfers bending moment to the panel.
Scenario 3: Ground slope exceeds 6″ over 8′. Step the fence: drop post height incrementally. Maximum step per bay = 2″ (per IBC 2021 Section 1015.2). Use a laser level to confirm rail continuity across stepped sections—rails must remain level, not follow grade.
When to Call a Professional
DIY is viable for flat lots with uniform soil and standard 6′ height. But hire a licensed contractor if: (1) your property has >12″ total elevation change across the fence line; (2) local codes require engineering stamps (e.g., Miami-Dade County High-Velocity Hurricane Zone); (3) you’re installing near easements or utility lines; or (4) the fence exceeds 7′ in height. According to the National Association of Home Builders, professionally installed fences have 42% fewer alignment-related callbacks in year one.
Maintaining Alignment Over Time
Initial matching means little without maintenance. Inspect every 6 months for signs of movement: screw head protrusion, rail separation from post, or visible panel bowing. Tighten fasteners to original torque specs—don’t just ‘snug them down.’ Replace corroded screws immediately; stainless steel degrades predictably, but carbon steel fails catastrophically. Trex recommends replacing all fasteners after 15 years, even if intact.
Seasonal checks matter most. In spring, verify ground clearance hasn’t decreased due to soil swelling. In fall, clear weep slots with a 3/8″ diameter wire brush (e.g., Vikan 5010-100). Never use power washers within 12″ of panel edges—high-pressure spray degrades PVC capstock and loosens composite fibers.
Real-world longevity data supports this rigor: a 2023 study by the University of Florida’s Building Science Lab tracked 87 composite fences across three climate zones. Those following exact manufacturer spacing and fastener protocols retained full panel alignment for 19.2 years median life. Those deviating by ≥1/8″ in end gaps averaged only 11.4 years before first panel replacement.
Matching fence panels to posts isn’t guesswork—it’s applied geometry backed by material science and building physics. Every dimension, tolerance, and fastener choice serves a structural purpose. When you specify Trex Select panels, you’re not buying a product—you’re adopting a system with defined interfaces, movement allowances, and load paths. Respect those parameters, and your fence delivers decades of performance. Ignore them, and you trade upfront savings for recurring repairs, code violations, and diminished property value. Start with the numbers, verify in the field, and let the data—not the tape measure—guide every decision.
The difference between a fence that lasts and one that fails isn’t in the budget—it’s in the millimeters. A 1/16″ gap misjudgment may seem trivial, but multiplied across 20 panels, it introduces 1.25″ of unaccounted movement. That’s enough to fracture a vinyl panel under thermal stress or shear a stainless screw under wind load. Precision isn’t optional. It’s the baseline.
Always consult the latest manufacturer installation manual—not third-party summaries—before breaking ground. Trex updates its guidelines annually; CertainTeed revised its Symmetry protocol in Q2 2023 to require dual fasteners at corner posts. Codes evolve. Materials evolve. Your process must evolve with them.
Finally, document everything. Take photos before, during, and after installation. Note ambient temperature, humidity, and fastener torque readings. This isn’t bureaucracy—it’s forensic evidence for warranty claims and future resale disclosures. Buyers increasingly request fence compliance documentation, especially in HOA-governed communities.
There’s no universal ‘right way’ that fits every yard. But there is a right way for your fence—defined by its brand, its environment, and its measurements. Match accordingly.