Panels Wooden Fence: 2026 Cost & Quantity Calculator
Calculate exact material quantities and 2026 costs for panels wooden fence projects. Includes formulas for posts, concrete, and waste factors.
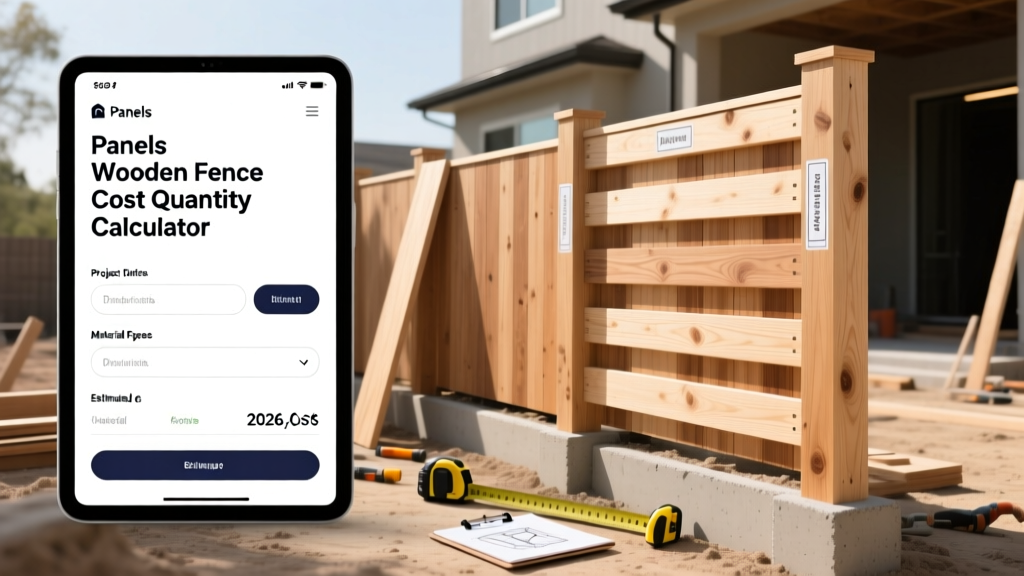
Estimating the exact materials and costs for a fencing project is the difference between a profitable, smooth installation and a budget-blowing headache. When calculating requirements for panels wooden fence configurations, homeowners and contractors often fall into the trap of simple linear division. However, real-world variables like gate deductions, post displacement, slope waste, and wood species pricing drastically alter the final bill of materials. This comprehensive 2026 estimator guide breaks down the exact mathematical formulas, current material costs, and substructure requirements needed to plan a flawless wood fence installation.
The Core Linear Footage Formula
The foundation of any fence estimate is the linear footage (LF). However, simply dividing your total LF by the width of a panel will result in a material shortage. You must account for the 'waste factor'—the inevitable cuts required to fit the final sections of a run, as well as factory defects or transit damage.
Step-by-Step Panel Calculation
- Measure Total Run: Measure the exact linear footage of the fence line. For this example, we will use a 150-foot perimeter.
- Determine Panel Width: Standard pre-assembled wood panels come in 6-foot and 8-foot widths. Let us use 8-foot panels.
- Base Division: Divide 150 LF by 8 feet = 18.75 panels.
- Round Up: You cannot buy a fraction of a panel, so round up to 19 panels.
- Apply the Waste Factor: Add 10% to your total for cuts and breakage. 19 panels x 1.10 = 20.9.
- Final Order Quantity: Round up to the nearest whole number. You need 21 panels for a 150-foot run.
2026 Material Cost Matrix for Wood Panels
Wood prices fluctuate based on lumber market conditions, regional availability, and treatment processes. As of 2026, pressure-treated pine remains the most economical choice, while Western Red Cedar and Redwood command premium prices due to their natural rot resistance and aesthetic appeal. The table below outlines the current market rates for standard 6-foot-tall by 8-foot-wide pre-assembled panels.
| Wood Species | Cost Per 6x8 Panel | Cost Per Linear Foot | Expected Lifespan |
|---|---|---|---|
| Pressure-Treated Pine | $85 - $125 | $10.60 - $15.60 | 15 - 20 Years |
| Western Red Cedar (STK Grade) | $130 - $185 | $16.25 - $23.10 | 20 - 25 Years |
| Redwood (Clear Grade) | $190 - $260 | $23.75 - $32.50 | 25 - 30+ Years |
| Composite-Wood Hybrid | $160 - $220 | $20.00 - $27.50 | 25 - 30 Years |
According to Angi's Wood Fence Cost Guide, the national average for a professionally installed wood fence ranges from $18 to $35 per linear foot, which includes both materials and labor. Choosing Select Tight Knot (STK) cedar provides the best balance of natural tannins (which resist insect damage) and structural integrity without the premium price tag of clear-grade redwood.
Substructure Math: Posts, Gravel, and Concrete
The panels are only half the equation. The substructure dictates the longevity of your fence. A common failure mode in wooden fencing is post rot at the ground line, which is entirely preventable with proper depth and drainage calculations.
The 1/3 Rule and Post Sizing
For a 6-foot-tall fence, industry standards dictate that 1/3 of the post must be buried underground. Therefore, you need a 9-foot post (6 feet above ground, 3 feet below). For 8-foot-tall fences, or installations in high-wind zones, upgrade from standard 4x4 posts to 6x6 posts to prevent wind-load snapping.
Concrete and Displacement Calculation
To calculate concrete volume, you must determine the hole size and account for the volume displaced by the wooden post itself. The USDA Forest Service Wood Handbook emphasizes that wood in direct contact with soil requires specific preservative treatments, making a gravel base and concrete collar essential for moisture management.
- Hole Dimensions: Dig holes 3 times the width of the post (e.g., a 12-inch diameter hole for a 4x4 post) and 6 inches deeper than your required burial depth.
- Gravel Base: Add 6 inches of 3/4-inch crushed gravel at the bottom of the hole. This allows water to drain away from the end-grain of the post.
- Concrete Yield: A standard 50lb bag of high-strength concrete mix yields approximately 0.375 cubic feet. For a 30-inch deep, 12-inch wide hole with a 4x4 post displacing space, you will need roughly 2.5 to 3 bags of 50lb concrete per post. Always use the Quikrete Concrete Calculator to verify yields based on your exact hole dimensions.
The 'Gate Deduction' and Hardware Variables
The most frequent error in fence estimation is forgetting the 'Gate Deduction.' If your 150-foot run includes a 4-foot pedestrian gate and a 10-foot double driveway gate, you are not installing panels in those spaces. You must subtract 14 linear feet from your total run before calculating panel quantities. Failure to do so results in over-ordering expensive wood panels.
Furthermore, hardware costs add up quickly. Do not rely on the cheap, painted hinges included with pre-hung gates. For a 2026 installation, specify heavy-duty, powder-coated or galvanized steel hardware. Budget an additional $45 to $85 per gate for heavy-duty drop pins, structural T-hinges, and secure latches. Fasteners should be 18-gauge galvanized ring-shank nails or structural screws (like Simpson Strong-Tie) to prevent rust streaks from bleeding down the wood grain over time.
Labor vs. DIY Installation Cost Matrix
Deciding whether to self-perform the installation or hire a licensed contractor depends on your property's topography and your access to specialized tools. Below is a decision matrix to help you evaluate the true cost of your project.
| Factor | DIY Installation | Professional Contractor |
|---|---|---|
| Material Cost (150 LF) | $1,800 - $2,500 | $1,800 - $2,500 (Wholesale markup may apply) |
| Labor Cost | $0 (Sweat Equity) | $1,200 - $2,250 ($8-$15 per LF) |
| Tool Rental | $150 - $300 (Auger, Mixer) | Included |
| Timeframe | 3 - 5 Weekends | 2 - 4 Days |
| Warranty | None | 1 - 5 Years on Workmanship |
Frequently Asked Questions
Do I need a permit to install a wooden fence?
In most municipalities, fences under 6 feet in the backyard and 4 feet in the front yard do not require a building permit. However, you must always call 811 before digging to have underground utilities marked. Hitting a gas or fiber-optic line can result in tens of thousands of dollars in liability.
How do I handle a fence line with a severe slope?
For slopes exceeding 15 degrees, pre-assembled panels cannot be 'racked' (tilted to follow the ground) without breaking the rigid frame. You must switch to a 'stick-built' method, installing individual posts and cutting custom pickets on-site to follow the contour of the hill. This increases labor and material waste by approximately 25%.
Should I stain or seal the panels immediately?
If you are using pressure-treated pine, the wood is often saturated with chemical preservatives and moisture. You must wait 3 to 6 months for the wood to dry out before applying a penetrating oil-based stain or sealer. Cedar and Redwood, however, can be sealed immediately to preserve their natural color before UV rays turn them silvery-gray.