The Complete Fence Stain Playbook: Prep, Apply, and Protect
Master wood fence maintenance with this fence stain playbook. Learn exact prep steps, moisture thresholds, and top product picks for lasting protection.
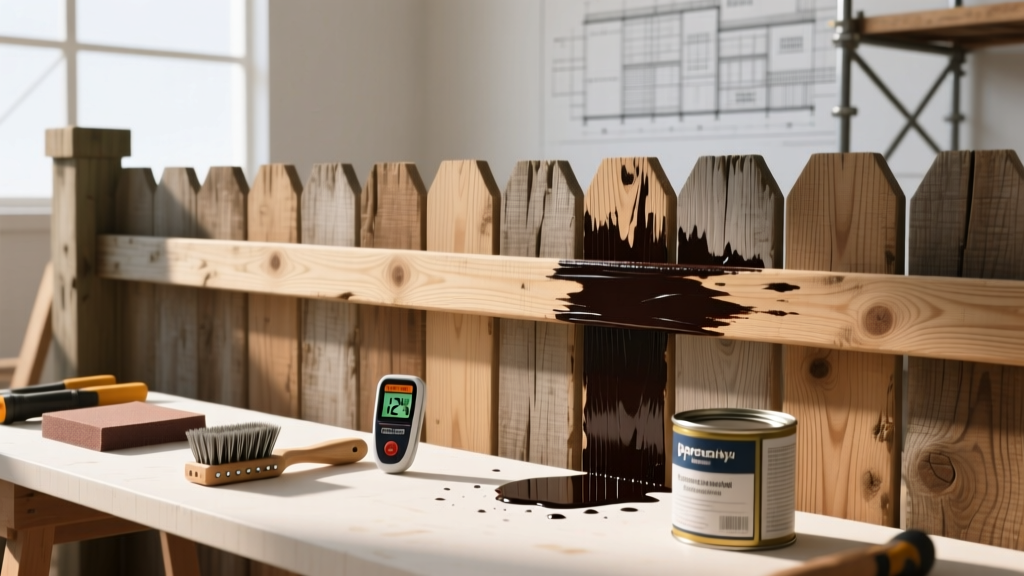
The Science of Wood Porosity and Moisture Thresholds
Applying a high-quality fence stain to wood that has not reached the correct moisture equilibrium is the leading cause of premature coating failure. Wood is a hygroscopic material; its cellular structure (xylem and phloem) constantly exchanges moisture with the surrounding environment. If you trap excess moisture inside the wood cells with a film-forming or heavily pigmented stain, the subsequent vapor pressure will push the coating off the surface, resulting in peeling and blistering.
According to data from the USDA Forest Products Laboratory, exterior wood finishes perform optimally only when the substrate moisture content is stabilized. For most North American climates, this means the wood must read below 15% on a pin-type moisture meter before any stain is applied. In high-humidity coastal regions, aiming for 12% to 14% is a safer threshold.
Step-by-Step Surface Preparation Protocol
Surface preparation accounts for 70% of a stain's lifespan. Skipping this phase or using the wrong chemicals will result in a finish that fails within 12 months.
Alkaline Cleaning and Mold Eradication
Never use standard household bleach (sodium hypochlorite) to clean a fence before staining. Bleach destroys the lignin in wood, leaving a fuzzy, degraded surface that cannot properly absorb stain binders. Instead, use an oxygenated cleaner based on sodium percarbonate (e.g., Restore-A-Deck Step 1 or EFC-38). Sodium percarbonate breaks down into hydrogen peroxide and sodium carbonate, effectively lifting gray oxidized wood fibers, dirt, and mildew spores without damaging the wood's structural integrity.
- Mixing Ratio: 3 to 4 ounces of sodium percarbonate powder per gallon of warm water (100°F - 120°F for maximum activation).
- Dwell Time: Allow 15 to 20 minutes. Do not let the solution dry on the wood.
- Rinsing: Pressure wash at a maximum of 1,200 PSI using a 25-degree (green) tip, keeping the wand 12 inches from the surface to prevent etching.
pH Neutralization and Brightening
Cleaners raise the wood's pH to an alkaline level (often pH 9 or 10), which prevents oil-based stains from curing properly. You must neutralize the wood using an oxalic acid-based brightener (e.g., Restore-A-Deck Step 2). This drops the pH back to an ideal 4.5 to 5.5, opens the wood pores, and dissolves tannin stains and rust marks. Apply the brightener, let it dwell for 10 minutes, and rinse thoroughly.
Fence Stain Chemistry: Oil vs. Water-Based Penetrants
The University of Minnesota Extension notes that penetrating stains vastly outperform film-forming finishes (like solid body stains or paints) for vertical wood fencing, as they do not trap moisture and peel. However, the chemistry of the penetrant dictates your maintenance cycle.
| Feature | Oil-Based (Alkyd/Linseed) | Water-Based (Acrylic/Polyurethane) |
|---|---|---|
| Penetration Depth | Deep (soaks into cellular structure) | Shallow (coats the surface and top pores) |
| UV Protection | Moderate (relies on heavy pigment load) | High (often includes zinc nano-technology) |
| VOC Levels | High (Restricted in states like CA, NY per EPA regulations) | Low (Compliant nationwide) |
| Maintenance | Fades gracefully; no sanding required for recoat | Can peel if over-applied; may require light sanding |
| Top Pro Brands | TWP 1500 Series, Armstrong Clark | Defy Extreme, TWP Aqua Series |
Application Techniques for Maximum Penetration
How you apply the fence stain is just as critical as the product you choose. The goal is to force the stain deep into the wood grain before the solvents flash off.
Airless Spraying and Back-Brushing
For large privacy fences, an airless sprayer (such as the Graco Magnum X5) is the most efficient tool. Equip the sprayer with a 0.015 to 0.017-inch tip and operate at 1,500 to 2,000 PSI. Thin, penetrating stains do not require high pressure or large tip orifices.
However, spraying alone leaves the stain sitting on the surface. You must immediately back-brush the stain using a synthetic bristle brush or a stain pad. This manual friction pushes the product into the microscopic pores and ensures an even distribution, eliminating lap marks and drips. Work in manageable sections (3 to 4 pickets at a time) to maintain a wet edge.
The "Wet-on-Wet" Method for Softwoods
If you are staining rough-sawn cedar, spruce, or pine, the wood will often absorb the first coat of stain within 20 minutes. For products like TWP 1500 or Armstrong Clark, apply the second coat "wet-on-wet" (within 15 to 45 minutes of the first coat). This ensures the wood reaches total saturation without creating a surface film. If you wait until the next day to apply the second coat, the first coat will have already sealed the pores, and the second coat will sit on top, leading to a sticky, tacky finish that attracts dirt.
Calculating Coverage and Material Costs
Budgeting for a fence staining project requires accurate coverage calculations. A common mistake is underestimating the porosity of rough-sawn wood.
- Rough-Sawn Cedar/Redwood: Expect 150 to 200 square feet of coverage per gallon for the first coat.
- Smooth Pine/Fir: Expect 250 to 300 square feet of coverage per gallon.
- Material Cost: Professional-grade penetrating stains cost between $55 and $85 per gallon in 2026.
Example Calculation: A 100-linear-foot, 6-foot-tall privacy fence has 600 square feet per side. Staining both sides equals 1,200 square feet. For rough-sawn cedar, you will need 6 to 8 gallons for the first coat, and 4 to 5 gallons for the second coat (approx. 12 gallons total). At $65 per gallon, your material cost will be roughly $780. Professional contractors typically charge $2.50 to $4.50 per linear foot for a 6-foot fence, making the labor cost for this project $250 to $450.
Troubleshooting Common Stain Failures
Cause: Over-application, applying a water-based stain over an existing oil-based stain, or staining wood with >15% moisture content.
Fix: Strip the fence using a heavy-duty alkaline stripper (like Dumond Peel Away), neutralize, and switch to a true penetrating oil-based stain.
Cause: Failure to use an oxalic acid brightener after cleaning, or allowing the stain to dry before back-brushing.
Fix: Lightly sand the blotchy areas with 80-grit sandpaper, clean with a mild detergent, and apply a single, carefully brushed maintenance coat.
Maintenance Cycles and Reapplication Timelines
A properly applied semi-transparent fence stain will last 2 to 4 years on horizontal surfaces and 4 to 7 years on vertical surfaces (since vertical wood sheds water and receives less direct UV pooling). Do not rely on a calendar to determine when to re-stain; rely on the Water Drop Test.
Sprinkle a few drops of water on the fence pickets in various areas (especially on the south-facing side). If the water beads up, the stain's hydrophobic properties are intact. If the water immediately absorbs into the wood and darkens it, the cellular structure is exposed, and it is time to clean, brighten, and apply a fresh maintenance coat.