Commercial Planks Flooring Installation: Pro Application Guide
Master commercial planks flooring installation with our pro guide. Covers subfloor prep, adhesive selection, ASTM standards, and rolling load limits.
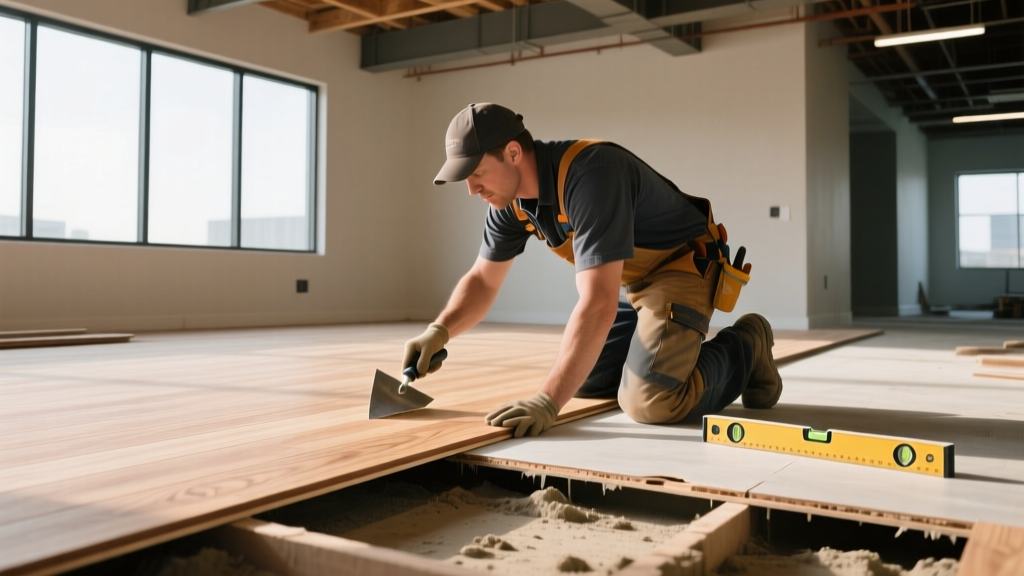
Pre-Installation Subfloor Diagnostics and Tolerances
Installing commercial planks flooring in high-traffic environments requires strict adherence to subfloor tolerances. Unlike residential applications, commercial spaces subject flooring to continuous rolling loads (pallet jacks, hospital beds, heavy carts) and extreme static point loads (server racks, industrial shelving). Any subfloor deviation will telegraph through the plank, causing adhesive bond failure or click-lock seam separation.
According to the ASTM F710 Standard Practice for Preparing Concrete Floors, concrete subfloors must meet specific flatness, moisture, and alkalinity criteria before any resilient commercial plank can be installed.
Never install commercial LVT or SPC planks over concrete with a pH above 10. High alkalinity combined with moisture causes saponification—a chemical reaction that breaks down water-based adhesives, turning them back into a liquid, soap-like state. This results in catastrophic bond failure and plank migration under rolling loads.
Mandatory Testing Matrix
| Test Parameter | ASTM Standard | Commercial Limit | Testing Method |
|---|---|---|---|
| Moisture (RH) | ASTM F2170 | ≤ 80% (or mfr spec) | In-situ RH Probes |
| Moisture (MVER) | ASTM F1869 | ≤ 5 lbs / 1,000 sq ft | Calcium Chloride Kit |
| Alkalinity (pH) | ASTM F710 | 7.0 to 10.0 | Distilled water pH strips |
| Flatness | ASTM F710 | 3/16" in 10 ft radius | 10-ft straightedge |
Material Acclimation and Environmental Controls
Commercial plank materials, particularly Stone Plastic Composite (SPC) and Luxury Vinyl Tile (LVT), are highly sensitive to thermal expansion and contraction. As of 2026, major commercial manufacturers like Shaw Contract and Interface mandate strict HVAC operational windows prior to installation.
- Temperature: The ambient room temperature must be maintained between 65°F and 85°F (18°C - 29°C) for at least 48 hours before, during, and 72 hours after installation.
- Material Staging: Planks must be staged in the installation area for a minimum of 48 hours. Do not stack pallets higher than three units high to allow proper air circulation around the cartons.
- Direct Sunlight Mitigation: If the commercial space features floor-to-ceiling glass facades, temporarily shade the area. Unmitigated solar heat gain can push localized floor temperatures past 110°F, causing irreversible thermal expansion and seam peaking.
Adhesive Selection vs. Click-Lock Systems for Commercial Use
A common error in commercial specification is selecting click-lock (floating) planks for areas subjected to heavy rolling loads. While click-lock SPC planks offer rapid installation, they are fundamentally unsuited for environments with continuous heavy point or rolling loads.
Decision Framework: Glue-Down vs. Floating
Choose Glue-Down LVT (2.5mm - 3.0mm) when:
- The space requires heavy rolling loads (e.g., hospital corridors, retail stockrooms, airport terminals).
- Static point loads exceed 250 PSI (e.g., high-density server racks, heavy industrial shelving).
- Wheelchair or heavy cart traffic is continuous, which can sheer click-lock mechanisms over time.
Choose Click-Lock SPC (5.0mm+) when:
- The space is a low-traffic corporate office, boutique retail space, or executive suite.
- Installation must occur over an existing, non-asbestos hard surface where adhesive bonding is compromised.
- The project timeline requires immediate foot traffic post-installation.
For comprehensive commercial specifications, always refer to the Shaw Contract Installation Guidelines, which detail exact adhesive pairings for their commercial LVT and SPC lines.
Step-by-Step Glue-Down Installation Procedure
When executing a full-spread glue-down installation for commercial LVT, precision in trowel selection and open-time management is non-negotiable.
- Subfloor Priming: Apply a manufacturer-approved moisture mitigation system (such as Mapei Primer PU or Bostik MVP) if RH levels are between 80% and 95%. Allow to cure fully, creating a glass-like vapor barrier.
- Adhesive Application: Use a 1/16" x 1/16" x 1/16" square-notched trowel for standard dry-back LVT. Hold the trowel at a consistent 45-degree angle to ensure uniform adhesive ridges. Incomplete coverage leads to hollow spots and plank debonding.
- Flash-Off (Open Time): Allow the pressure-sensitive adhesive to flash off. This typically takes 30 to 60 minutes depending on ambient humidity. The adhesive is ready when it is dry to the touch but aggressively tacky, leaving no wet transfer on your finger.
- Plank Placement: Stagger end joints by a minimum of 6 inches. Never force planks together; slide them into place to prevent pushing adhesive up into the seams, which causes permanent staining and joint failure.
- The 100-lb Rolling Protocol: Immediately after laying a 100-square-foot section, roll the entire area with a 100-pound, three-section floor roller. The three-section design ensures the edges and seams receive the exact same downward pressure as the center of the plank, forcing the adhesive into the backing texture.
"Skipping the 100-lb roller is the single most common cause of commercial plank failure. Hand-rolling or walking on the floor to set the adhesive only achieves 20% of the required bond strength, leading to edge curling within six months under heavy foot traffic."
— World Floor Covering Association (WFCA) Technical Bulletin
Troubleshooting Common Installation Failures
| Symptom | Root Cause | Corrective Action |
|---|---|---|
| Adhesive ridges telegraphing through plank | Wrong trowel notch size; failing to replace worn trowels. | Switch to correct 1/16" notch; discard trowels when teeth are worn down by 20%. |
| Seam peaking / lifting edges | Subfloor moisture exceeded 80% RH; saponification. | Remove planks, diamond grind concrete, apply two-part epoxy moisture mitigation system. |
| Planks shifting / migrating | Insufficient flash-off time; adhesive applied too wet. | Allow extended open time; use a moisture meter to verify slab dryness before spreading. |
Managing Transitions and Expansion Gaps
In expansive commercial footprints exceeding 5,000 square feet, thermal expansion must be mechanically managed. Even glue-down LVT expands under solar loading. For floating SPC commercial planks, leave a strict 1/4-inch expansion gap at all vertical obstructions (walls, columns, elevator shafts).
Install heavy-duty, surface-mounted T-moldings at all doorways and every 30 linear feet. Do not use caulk or color-matched silicone in commercial transitions; silicone lacks the shear strength to withstand commercial floor scrubbers and pallet jack wheels, leading to rapid degradation and trip hazards.
Post-Installation Curing and Traffic Timelines
Commercial project schedules are notoriously aggressive, but forcing traffic onto uncured adhesive destroys the bond. Adhere strictly to the following curing timeline for standard commercial wet-set and pressure-sensitive adhesives:
- 0 to 24 Hours: Strictly no foot traffic. The adhesive is still cross-linking and displacing residual moisture.
- 24 to 48 Hours: Light foot traffic only. No rolling loads, no dragging of equipment.
- 72 Hours: Full foot traffic and light rolling loads (carts, wheelchairs) permitted.
- 5 to 7 Days: Heavy static loads (server racks, heavy machinery, industrial shelving) and aggressive floor scrubbing machines can be introduced.
For further technical data on commercial flooring standards and maintenance protocols, consult the Resilient Floor Covering Institute (RFCI) technical bulletins, which provide exhaustive guidelines on post-installation commercial floor care and adhesive curing science.