The Ultimate Playbook for Fixing Cracks in Basement Floor Concrete
Master the playbook for fixing cracks in basement floor concrete. Learn exact prep steps, epoxy vs. polyurethane selection, and injection techniques.
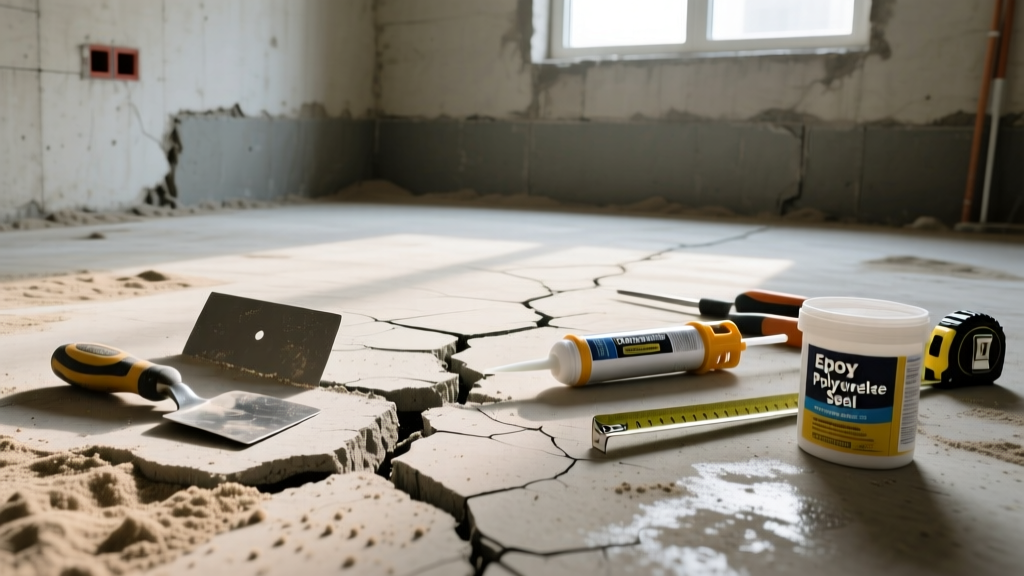
The Diagnostic Matrix: Identify Your Crack
Before selecting a repair material, you must accurately diagnose the crack's behavior. Basement floor slabs are typically unreinforced or lightly reinforced with wire mesh, making them susceptible to shrinkage, differential settlement, and hydrostatic uplift. Applying a rigid epoxy to an actively moving joint will result in immediate adhesive failure. Use the matrix below to map your crack to the correct chemical solution.
| Crack Classification | Physical Characteristics | Movement Status | Required Repair Material |
|---|---|---|---|
| Dormant Shrinkage | Less than 1/16' wide, meandering pattern | Stable (No vertical displacement) | Low-viscosity 100% solids epoxy |
| Active Structural | Greater than 1/8' wide, straight lines | Active (Seasonal expansion/contraction) | Hydrophobic polyurethane foam |
| Hydrostatic Leak | Any width, visible water seepage or efflorescence | Active under water pressure | Hydrophilic polyurethane or hydraulic cement plug |
| Joint Failure | Occurs exactly at control joints or cold pours | Highly active | Polyurethane sealant with backer rod |
Phase 1: The Cleaning and Routing Protocol
The most common reason DIY crack repairs fail is inadequate substrate preparation. Concrete dust, laitance, and efflorescence act as a bond-breaker. For a permanent fix, you must mechanically route and chemically clean the fissure.
Step 1: Mechanical V-Groove Routing
Do not simply caulk over the surface. Equip an angle grinder with a 4.5-inch diamond V-groove blade. Trace the crack to rout a channel exactly 1/4-inch wide and 1/2-inch deep. This increases the surface area for mechanical interlock and removes the weak, crumbling concrete at the surface level. Immediately follow with a HEPA-filtered shop vacuum to extract all silica dust from the void.
Step 2: Chemical Efflorescence Removal
If you see white, crusty mineral deposits (efflorescence), the concrete has been subjected to moisture migration. Epoxy will not adhere to calcium carbonate. Scrub the routed channel with a stiff nylon brush and a 10:1 dilution of muriatic acid and water.
Phase 2: Material Selection Framework
Selecting the wrong chemistry guarantees a callback. Here is the technical breakdown of the three primary injection and patching compounds used by foundation specialists in 2026.
1. Hydrophobic Polyurethane Foam (The Leak Stopper)
Polyurethane reacts with moisture to expand up to 20 times its liquid volume, creating a watertight, flexible gasket deep within the slab. Because it remains flexible (elongation >300%), it accommodates seasonal thermal expansion without tearing. Top Specification: RadonSeal Crack-Pipe Kit or SikaFlex Polyurethane Foam. Ideal for active leaks and mitigating soil gas intrusion, which the EPA identifies as the primary pathway for indoor radon accumulation.
2. 100% Solids Epoxy (The Structural Weld)
Epoxy provides a tensile strength exceeding 7,000 PSI, effectively welding the concrete back together. However, it is rigid and requires a bone-dry substrate. If the crack is damp, the epoxy will emulsify and fail. Top Specification: PC-Products PC-Epoxy or Sika AnchorFix-2. Use exclusively for dormant, dry shrinkage cracks where structural monolithic restoration is required.
3. Hydraulic Cement (The Emergency Plug)
Hydraulic cement sets in 3 to 5 minutes and expands slightly as it cures, making it the only material capable of stopping a gushing, active hydrostatic leak. However, it lacks long-term adhesive strength and will eventually crack out due to vibration and slab movement. Use it only as a temporary plug to stop water flow before executing a permanent polyurethane injection.
Phase 3: The Injection Execution Playbook
For cracks penetrating the full 4-inch depth of a standard residential slab, surface patching is insufficient. You must use the surface-port injection method to force the resin through the entire cross-section.
- Port Placement: Adhere plastic injection ports along the routed crack every 8 to 12 inches using a fast-setting epoxy paste. Ensure the port's center hole aligns perfectly with the crack fissure.
- Surface Seal: Trowel the same epoxy paste over the entire crack between the ports, creating a 1/8-inch thick cap. This prevents the injection resin from blowing out onto the floor during pressurization. Allow 45 minutes for the paste to cure.
- Bottom-Up Injection: Load your polyurethane or low-viscosity epoxy into a standard caulking gun. Inject into the lowest port until the resin purges from the port directly above it.
- Sequential Capping: Plug the first port with a vinyl cap, move your gun to the second port, and repeat the process upward until the entire crack is filled.
- Curing and Grinding:Allow 24 hours for full chemical cure. Snap off the plastic ports and use a diamond cup wheel grinder to flush the epoxy surface seal level with the surrounding slab.
2026 Cost & Time Expectations
Project Economics: DIY vs. Professional
- DIY Material Costs: $45 to $120 per linear crack (includes routing blades, port kits, and injection resin).
- Professional Foundation Repair: $450 to $850 per crack (includes high-pressure commercial injection pumps and structural warranties).
- Time Investment (DIY): 3 hours active labor + 24 hours cure time.
- Time Investment (Pro): 1 to 2 hours on-site.
Post-Repair Maintenance & Monitoring
A repaired crack requires ongoing monitoring to ensure the hydrostatic pressure or soil settlement hasn't shifted the slab further. Implement this 6-month maintenance checklist:
- Install a Moisture Sensor: Place a smart water leak detector (e.g., Moen Flo or Ring Alarm) within 3 feet of the repaired zone to catch micro-seepage before it damages finished walls.
- Monitor Efflorescence: If white mineral deposits reappear adjacent to the repair line, the water table has risen, and exterior French drain maintenance is required.
- Check Radon Levels: Because basement floor cracks are primary entry points for soil gases, the EPA and CDC recommend re-testing your basement for radon and mold spores 30 days after sealing major slab fissures.
- Evaluate Sump Pump Cycling: If your sump pump is short-cycling, the hydrostatic relief system is overwhelmed, which will eventually cause new cracks to form in weaker areas of the slab.
By adhering to this mechanical and chemical protocol, you transition from a temporary cosmetic patch to a permanent, structural-grade restoration of your basement slab.