Laying Engineered Hardwood: 2026 Cost & Material Calculator
Calculate the exact cost of laying engineered hardwood in 2026. Break down material, labor, underlayment, and hidden prep expenses per square foot.
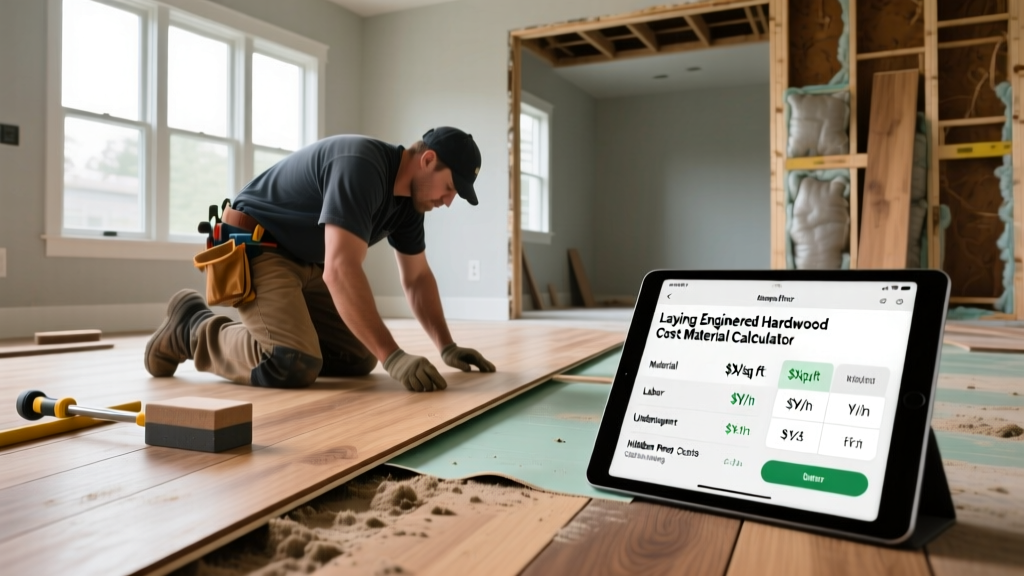
The Core Calculation Formula
Accurately estimating the cost of laying engineered hardwood requires moving beyond simple square-footage multiplication. The baseline formula for any flooring project in 2026 must account for the gross measurable area, the specific waste factor dictated by your layout, and the linear footage of perimeter transitions.
(Total Square Footage × Waste Factor Multiplier) + 10% Buffer = Total Planks Required
Adjusting for Layout Complexity
The waste factor is where most DIY calculators fail, leading to mid-project material shortages. Engineered hardwood planks must be staggered, and off-cuts are frequently unusable depending on the pattern.
- Straight Parallel Layout: 5% to 7% waste factor. Standard for most rectangular rooms.
- Diagonal (45-Degree) Layout: 10% to 12% waste factor. Every perimeter cut generates angled off-cuts that cannot be reused.
- Herringbone or Chevron Patterns: 15% to 20% waste factor. Requires precise miter cuts and generates significant unusable scrap. Furthermore, many manufacturers require you to purchase specific "left" and "right" tongue-and-groove planks for true herringbone, which alters procurement logistics.
2026 Material Cost Matrix by Tier
Engineered hardwood pricing has stabilized following the supply chain fluctuations of the early 2020s, but premium wide-plank formats continue to command a premium. The thickness of the top veneer (the wear layer) is the primary driver of cost and longevity. A 4mm wear layer allows for 2-3 future sandings, whereas a 1.2mm veneer is strictly a "wear-and-replace" product.
| Tier & Brand Examples | Wear Layer | Cost per Sq. Ft. (2026) | Best Application |
|---|---|---|---|
| Entry-Level (e.g., Home Depot LifeProof, Lowe's Style Selection) |
1.2mm - 2mm | $3.50 - $5.50 | Low-traffic rentals, quick flips, budget-conscious flips. |
| Mid-Range (e.g., Shaw Repel, Bruce Hydropel) |
2mm - 3mm | $6.00 - $9.50 | Primary residences, kitchens, moderate moisture areas. |
| Premium / Architectural (e.g., Duchateau, Carlisle Floors) |
4mm - 6mm | $11.00 - $18.00+ | Luxury builds, historical restorations, lifelong homes. |
Installation Method Cost Impacts
The method you choose for laying engineered hardwood fundamentally alters both the labor cost and the required subfloor preparation. According to industry data tracked by Forbes Home Improvement, labor typically accounts for 40% to 60% of the total project cost, heavily dependent on the installation technique.
1. Floating Installation (Click-Lock)
Labor Cost: $2.00 - $4.00 per sq. ft.
Floating floors are not attached to the subfloor. The planks lock together and "float" over an underlayment pad. This is the fastest and cheapest method. However, it requires a highly level subfloor (typically no more than 3/16-inch deviation over a 10-foot radius). If the subfloor is uneven, the click-lock joints will experience sheer stress and eventually snap, leading to a spongy feel and audible clicking.
2. Glue-Down Installation
Labor Cost: $4.50 - $7.50 per sq. ft. (Plus $0.40 - $0.60 per sq. ft. for adhesive)
Glue-down is mandatory for concrete subfloors below grade (basements) and highly recommended for wide-plank engineered hardwood (planks wider than 7 inches) to prevent edge-curling. Installers use moisture-curing urethane adhesives, such as Bostik GreenForce or Roberts 1408. These adhesives double as a moisture vapor barrier, eliminating the need for a separate 6-mil poly sheeting layer, but they require meticulous trowel-notch sizing and strict open-time management.
3. Nail/Staple-Down Installation
Labor Cost: $3.50 - $5.50 per sq. ft.
Reserved exclusively for plywood or OSB wood subfloors. Installers use pneumatic flooring nailers, typically driving 18-gauge cleats or 15-gauge staples at a 45-degree angle through the tongue of the plank. Blind-nailing provides a incredibly secure, squeak-free floor, but requires a minimum 5/8-inch tongue-and-groove profile to prevent splitting the wood.
The Hidden Cost Trap: Subfloor Preparation
The most common cause of budget overruns when laying engineered hardwood is unforeseen subfloor remediation. The National Wood Flooring Association (NWFA) strictly mandates moisture testing and flatness verification before any installation begins. Ignoring these protocols will void almost all manufacturer warranties.
For concrete slabs, you must perform an ASTM F2170 Relative Humidity (RH) probe test, not just a surface calcium chloride test. RH probes measure moisture deep within the slab. If the RH reading exceeds 75% (or the specific manufacturer's threshold, which can be as low as 65% for some European brands), you must apply a penetrating epoxy moisture mitigation system (like Mapei Primer ET) before gluing. This adds $2.50 to $4.00 per square foot to your budget but prevents catastrophic adhesive failure and plank cupping.
Leveling and Demolition Costs
- Existing Floor Demolition: $1.50 - $3.00 per sq. ft. to remove old carpet, tile, or glued-down vinyl, plus $0.50 per sq. ft. for disposal and hauling.
- Subfloor Leveling (Plywood): Sanding down high seams or adding 1/4-inch luan underlayment over damaged areas costs roughly $1.50 per sq. ft.
- Subfloor Leveling (Concrete): Applying self-leveling underlayment (SLU) to correct low spots costs $3.00 - $5.00 per sq. ft., depending on the depth of the pour. SLU requires a specific primer coat to ensure it bonds to the concrete and doesn't dust-up, which would ruin the flooring adhesive.
Calculating Perimeter and Transition Accessories
Planks are only half the material equation. You must calculate the linear footage of all doorways, stairs, and perimeter gaps to order the correct moldings. Engineered hardwood expands and contracts with seasonal humidity shifts, requiring a 1/2-inch expansion gap at all vertical obstructions (walls, cabinets, fireplaces).
| Accessory Type | Purpose | 2026 Avg. Cost per Linear Ft. |
|---|---|---|
| T-Molding | Transitions between two floors of equal height. | $12.00 - $25.00 |
| Reducer Strip | Transitions from hardwood down to a lower floor (e.g., tile). | $14.00 - $28.00 |
| Stair Nosing (Flush) | Covers the edge of stair treads for a seamless, modern look. | $35.00 - $65.00 |
| Base Shoe / Quarter Round | Covers the 1/2-inch expansion gap against existing baseboards. | $2.50 - $5.00 |
Expert Procurement & Acclimation Protocol
When ordering materials, always purchase all required planks from the same manufacturing batch or "dye lot." Engineered hardwood features a real wood veneer, and natural variations in staining and grain mean that planks from different batches will not match perfectly. If you run short and have to order a new batch weeks later, the visual discrepancy will be glaring.
Once the materials arrive on-site, they must acclimate to the interior environment. According to installation guidelines published by major retailers and the NWFA, the HVAC system must be fully operational and maintaining a consistent temperature (60°F to 80°F) and relative humidity (30% to 50%) for at least 5 to 7 days prior to delivery. The flooring boxes should be opened, cross-stacked to allow air circulation, and left to acclimate for a minimum of 48 to 72 hours. Skipping this step traps manufacturing moisture inside the planks, guaranteeing seasonal gapping and joint failure once the floor is installed and the home's humidity normalizes.
If you are laying engineered hardwood in a continuous open-concept space exceeding 30 feet in any direction, most manufacturers require a transition strip or a specialized expansion break to prevent the floor from buckling in the center. If a physical T-molding ruins your design aesthetic, consult with your installer about using a "slip joint" or hidden expansion track system, which allows for lateral movement while maintaining a continuous visual flow.