How to Remove Carpet: A Deep Dive Into Pro Tool Brands & Kits
Learn how to remove carpet efficiently with our deep dive into pro-grade tool brands like Roberts, QEP, and Kraft Tool for staple and pad removal.
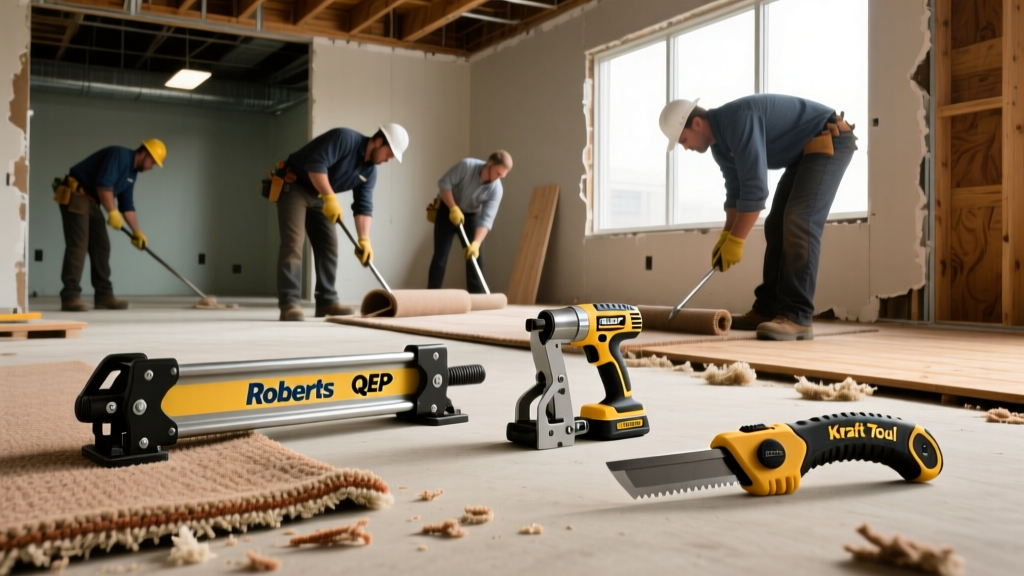
The Pro-Tool Paradigm: Why Brand Selection Dictates Removal Speed
Removing wall-to-wall carpet is a highly physical process where tool quality directly correlates to subfloor preservation and labor time. While big-box hardware stores sell generic $30 carpet removal kits, professional flooring contractors rely on specialized product lines from brands like Roberts, QEP, and Kraft Tool. These brands engineer their removal tools with specific metallurgy and ergonomic leverage points designed to extract thousands of staples and yards of padding without gouging OSB or plywood subfloors. Understanding how to remove carpet efficiently requires moving beyond basic utility knives and investing in a brand-specific toolkit tailored to each phase of demolition.
The 'Big Three' Carpet Removal Brands: Core Competencies
| Brand | Product Line Focus | Best-In-Class Removal Tool | Primary Use Case |
|---|---|---|---|
| Roberts | Heavy-duty leverage tools & long-handled scrapers | Roberts 10-252 Floor Scraper | Shearing carpet pad and popping rows of staples |
| QEP | Precision hand tools & specialized extractors | QEP 50-100 Staple Puller | Extracting stubborn staples without splintering wood |
| Kraft Tool | Premium high-carbon steel cutting & prying edges | Kraft Tool ST242 Carpet Knife | Slicing dense woven backings and jute padding |
Phase 1: Sectioning and Cutting (Knife Brand Deep-Dive)
The first step in carpet demolition is detaching the material from the tack strips and cutting it into manageable rolls. The most common failure mode here is using a standard snap-off blade utility knife. These blades lack the rigidity to cut through dense polypropylene backings, leading to snapped tips and laceration risks.
Milwaukee Fastback vs. Kraft Tool Hook Blades
For rapid sectioning, the Milwaukee 48-22-3500 Fastback utility knife is the industry standard. Its fold-out design and tool-free blade changer allow installers to swap dull blades in seconds—a necessity when cutting through abrasive carpet backings that dull high-carbon steel in under 50 linear feet. However, for the initial cut to free the carpet from the wall edge, professionals prefer a Kraft Tool ST242 heavy-duty hook knife. The hooked blade geometry prevents the knife from slipping off the carpet edge and scoring the drywall or baseboards.
When cutting carpet into 36-inch wide strips perpendicular to the longest wall, angle your blade at 45 degrees and rely on the tension of the carpet rather than downward pressure. Pushing down too hard will score the plywood subfloor, creating grooves that will telegraph through rigid core LVP or engineered hardwood installed later.
Phase 2: Pad Extraction and Staple Pulling (The Subfloor Savers)
Once the carpet face is rolled and removed, the underlying polyurethane or rebond foam padding remains, typically secured by hundreds of ring-shank staples. This is where the Roberts and QEP product lines prove their ROI.
Step-by-Step Pad Removal Using Pro Scrapers
- Detach the Perimeter: Use a QEP tack strip puller or a flat pry bar to lift the padding away from the edge tack strips.
- Deploy the Roberts 10-252: The Roberts 10-252 Heavy-Duty Floor Scraper features a 4-inch replaceable steel blade and a 54-inch fiberglass handle. Position the blade at a 30-degree angle to the floor.
- Use Body Weight, Not Arm Strength: Push the scraper forward using your legs and core. The 4-inch blade is specifically sized to slide under the pad and shear the staples cleanly at the wood line without digging into the subfloor.
- Roll and Dispose: Roll the sheared padding tightly and secure it with contractor tape before moving to the next 36-inch section.
Dealing with Rusted or Bent Staples
No scraper removes 100% of staples. For the remaining 10% that bend or rust into the OSB, avoid using flathead screwdrivers or needle-nose pliers, which will crush the staple and splinter the surrounding wood fibers. Instead, use the QEP 50-100 Staple Puller. This tool features a forked, angled steel head that slides under the staple crown and uses a built-in fulcrum to pop the staple straight up, leaving the subfloor intact.
Phase 3: Tack Strips, Adhesive, and Subfloor Rehab
The final perimeter hurdle is removing the wooden tack strips and any residual adhesive. Tack strips are nailed into the subfloor every 4 to 6 inches. Prying them up haphazardly will tear out large chunks of the top plywood veneer.
The Fulcrum Block Technique
Place a 2x4 wood block flat against the subfloor, resting your Stanley 65-098 Wonder Bar on top of it. This elevates the fulcrum point of the pry bar, distributing the downward force over a 12-inch area rather than a single 2-inch point. This single technique, championed by the National Wood Flooring Association (NWFA) subfloor preparation guidelines, reduces subfloor gouging by over 80% during strip removal.
Carpet padding older than 15 years often harbors degraded polyurethane dust, dust mites, and fungal spores. According to the EPA's guidelines on indoor mold, disturbing old, damp padding can aerosolize spores. Always wear a NIOSH-approved P100 respirator (such as the 3M 8511) and safety goggles during pad extraction, especially in basements or ground-floor slab-on-grade environments.
Concrete Subfloors: Mechanical Adhesive Removal
If you are removing glued-down carpet from a concrete slab, chemical adhesive removers are largely obsolete due to VOC regulations and the sealing issues they cause for subsequent flooring adhesives. Professionals use mechanical grinding. The Bosch SDS-Max 11316EVS rotary hammer equipped with a 3-inch scaling chisel is the preferred tool for knocking down high spots of dried carpet glue. If large-scale grinding is required, be aware that grinding concrete generates respirable crystalline silica. Contractors must adhere strictly to OSHA's silica dust standards (29 CFR 1926.1153), which mandate the use of HEPA-filtered dust extraction shrouds attached to the grinder.
Cost vs. Time ROI: Hardware Store Kits vs. Pro Brand Lines
Is the investment in specialized brand lines worth it for a single-room DIY project? The data below illustrates the time and material cost differential when removing a standard 300-square-foot bedroom.
| Metric | Generic Hardware Store Kit | Pro Brand Toolkit (Roberts/QEP/Kraft) |
|---|---|---|
| Initial Tool Cost | $35 - $50 | $140 - $185 |
| Blade Replacement Cost | $12 (frequent snapping) | $4 (longer edge retention) |
| Labor Time (300 sq ft) | 5.5 - 7 Hours | 1.5 - 2.5 Hours |
| Subfloor Repair Needed | High (gouges, splintering) | Minimal to None |
| Physical Fatigue Level | Severe (kneeling, poor leverage) | Moderate (standing, long handles) |
For a single room, renting a Roberts 10-252 scraper from a local equipment yard (typically $15/day) combined with purchasing a QEP staple puller ($22) offers the best hybrid approach for DIYers. For multi-room renovations or whole-house flips, purchasing the pro lines outright pays for itself in saved labor hours and avoided subfloor sanding costs.
Transitioning to New Flooring
Once the carpet, pad, staples, and tack strips are removed, the subfloor must be prepped for the new material. Run a 6-foot metal straightedge across the floor to check for deflection or high spots left by adhesive. For plywood subfloors, any gouges deeper than 1/8-inch must be filled with a Portland cement-based patching compound (like Henry 547 Unipro) rather than standard wood filler, which lacks the compressive strength to support rigid core flooring. Proper tool selection during the removal phase ensures this final prep step takes minutes rather than hours.