Peel and Stick Kitchen Backsplash: Scenario Matching Guide
Match the right peel and stick kitchen backsplash to your specific cooking habits, heat zones, and moisture levels with this scenario guide.
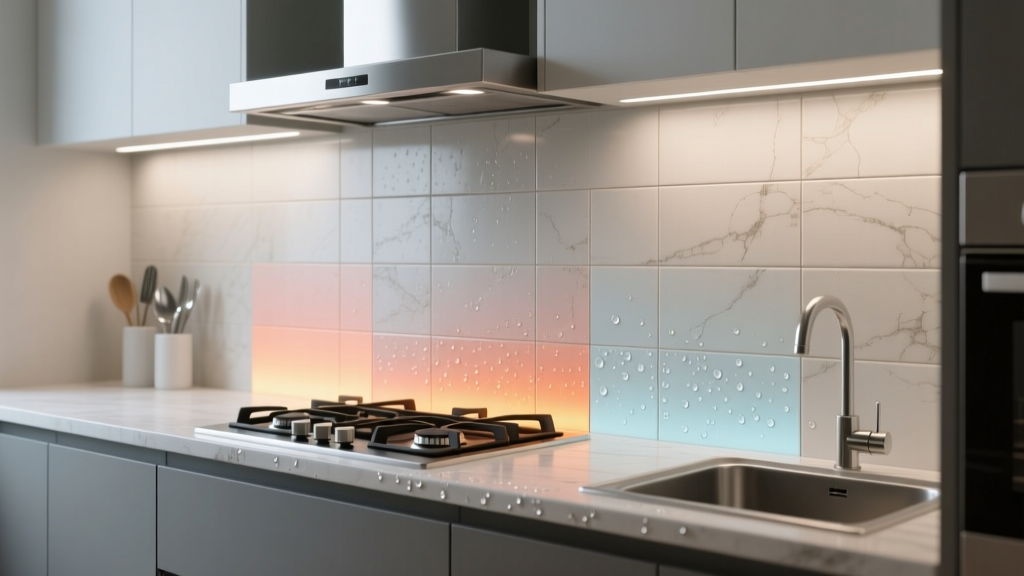
Selecting a peel and stick kitchen backsplash requires more than choosing a pattern that complements your cabinetry. The long-term viability of these adhesive-backed surfaces depends entirely on matching the material's physical properties and adhesive chemistry to your kitchen's specific micro-climates. A gel-vinyl tile that performs flawlessly behind an electric induction cooktop will warp and delaminate if installed too close to a high-BTU gas burner. This guide breaks down the technical specifications, thermal limits, and installation protocols required to match the right peel-and-stick material to your exact kitchen scenario.
Beyond the Aesthetic: Adhesive Chemistry and Bond Strength
The failure of most peel-and-stick installations stems from a misunderstanding of pressure-sensitive adhesives (PSAs). Unlike traditional thinset mortar or mastic, which cure through a chemical or evaporative process, PSAs rely on viscoelastic properties to create a bond. When you press a tile against the wall, you are initiating a 'wet-out' process where the adhesive flows into the microscopic pores of the wall surface.
Most premium peel and stick kitchen backsplash products utilize acrylic-based PSAs. Acrylic adhesives offer superior resistance to UV yellowing and thermal degradation compared to rubber-based alternatives. However, they require a 24- to 48-hour curing window to achieve maximum shear strength. During this period, the adhesive is vulnerable to lateral shifting. If you are installing in a high-humidity environment, the moisture in the air can temporarily inhibit the adhesive's ability to wet-out properly, necessitating the use of a dehumidifier to drop ambient humidity below 50% during the initial 48-hour bond phase.
Scenario Matrix: Matching Material to Kitchen Micro-Climates
Not all peel-and-stick materials are created equal. The table below maps specific material compositions to their ideal kitchen scenarios based on thermal and moisture tolerances.
| Material Composition | Ideal Scenario | Max Temp Tolerance | Moisture Resistance | Removal Difficulty |
|---|---|---|---|---|
| Gel-Coated Vinyl (e.g., Smart Tiles) | Electric stove backsplashes, low-splash zones | 140°F (60°C) | High (face only) | Moderate |
| PVC Composite 3D Panels | Dry bar backsplashes, pantry walls, rentals | 120°F (49°C) | Moderate | High |
| Brushed Aluminum/Metal (e.g., Aspect) | Behind gas ranges, high-heat zones | 250°F+ (121°C+) | High | Very High |
| Glass Mosaic on Mesh Backing | Sink surrounds, wet bars, high-moisture | 180°F (82°C) | Very High | Moderate |
High-Heat Zones: Navigating Gas Range Clearances
The most critical failure point for a peel and stick kitchen backsplash is the lateral heat generated by gas burners. Standard vinyl and PVC materials have a glass transition temperature—the point where the polymer softens and loses structural integrity—between 140°F and 175°F. When the material softens, the acrylic adhesive liquefies, leading to edge curling and eventual delamination.
If you are installing behind a gas range, you must adhere to strict clearance protocols. According to manufacturer specifications from leading brands like Smart Tiles, you must maintain a minimum 12-inch lateral clearance from the edge of the outermost burner to the backsplash material if there is no rear control panel. If the stove has a built-in rear control panel, the vertical clearance from the cooking surface to the tile must be at least 15 inches. For high-heat scenarios where these clearances cannot be met, you must abandon vinyl entirely and opt for metal peel-and-stick panels, such as Aspect brushed aluminum tiles, which utilize a foam-tape backing capable of withstanding much higher thermal loads without adhesive degradation.
High-Moisture Zones: Defeating Capillary Action
While the face of a vinyl or glass peel-and-stick tile is entirely waterproof, the seams between the tiles are highly vulnerable. In sink surround scenarios, repeated water splashing leads to capillary action, where water is drawn into the micro-gaps between tiles. Once water breaches the seam, it travels behind the tile, compromising the PSA bond and promoting mold growth on the underlying drywall paper.
To mitigate this in high-moisture zones, you must implement a two-step sealing protocol:
- Overlapping Installation: Install tiles with a slight 1/16-inch overlap rather than a butt joint. This forces water to travel uphill against gravity to reach the adhesive layer.
- Perimeter Sealing: Apply a continuous bead of 100% silicone caulk (never acrylic latex or siliconized acrylic, which will shrink and crack) along the bottom seam where the backsplash meets the countertop, and at all inside corners. Tool the silicone with a damp finger to ensure it fully penetrates the seam gap.
Edge Profiles: Managing the Transition to Bare Drywall
Unlike traditional tile, which uses bullnose pieces or Schluter strips to finish edges, a peel and stick kitchen backsplash presents a unique challenge at its terminating edges. The abrupt transition from a 2mm-thick tile to bare drywall creates a visual ledge that collects dust and grease.
For a clean architectural finish, avoid standard plastic trim pieces. Instead, use anodized aluminum L-channel trim. Apply a thin bead of clear construction adhesive (like Liquid Nails Fuze*It Max, which has low VOC emissions and bonds well to both drywall and metal) to the back of the L-channel, and slide it over the raw edge of the peel-and-stick tile. This creates a crisp, metallic boundary that mimics the look of custom-fabricated metal edging found in high-end commercial kitchens.
The Renter and Flipper Scenario: Non-Destructive Removal
One of the primary value propositions of a peel and stick kitchen backsplash is its temporary nature. However, 'peelable' does not mean 'damage-free.' If an acrylic PSA bonds fully to the paper face of standard drywall, pulling the tile off will tear the drywall paper, requiring extensive skimming and mudding to repair.
Renter's Removal Protocol
To remove peel-and-stick tiles without destroying the underlying drywall, follow this exact thermal-mechanical process:
- Use a variable-temperature heat gun set to 200°F (93°C). Keep the gun moving continuously, holding it 3 inches from the tile surface to soften the adhesive without scorching the vinyl face.
- Once the tile is warm to the touch, insert a piece of unflavored dental floss or high-test fishing line behind the top corner of the tile.
- Use a sawing motion to slice horizontally through the foam or adhesive layer, separating the tile from the wall while leaving the bulk of the adhesive on the drywall.
- Remove the residual adhesive from the wall using a citrus-based solvent (d-Limonene) rather than harsh chemical strippers that can damage the drywall paper.
Critical Surface Preparation: The TSP Protocol
The leading cause of premature adhesive failure is invisible kitchen grease. Even in kitchens that appear clean, aerosolized cooking oils coat the walls, creating a microscopic barrier that prevents the PSA from wetting out into the drywall. Wiping the wall with a standard all-purpose cleaner is insufficient, as these products often leave behind a surfactant residue that actually weakens acrylic adhesives.
You must clean the installation area using Trisodium Phosphate (TSP) or a heavy-duty TSP substitute. TSP acts as a powerful degreaser and deglosser, stripping away lipid barriers and slightly etching semi-gloss paints to provide mechanical tooth for the adhesive. After washing with TSP, rinse the wall twice with clean water and allow it to dry completely for 24 hours.
Furthermore, if you are applying the backsplash to freshly painted drywall, you must respect the paint's cure time. While paint may feel dry to the touch in hours, it takes up to 21 to 30 days for the acrylic polymers in the paint to fully cross-link and cure. If you apply a peel and stick kitchen backsplash to uncured paint, the PSA will bond to the paint film rather than the drywall, and the weight of the tiles will eventually pull the paint right off the wall. When selecting your cleaning agents and primers, be mindful of indoor air quality; the Environmental Protection Agency (EPA) notes that many heavy-duty solvents and adhesives emit volatile organic compounds (VOCs) that can linger in poorly ventilated spaces, making proper cross-ventilation essential during both the prep and installation phases.