The Complete Maintenance Playbook for Vinyl Tile Sheets
Master the chemistry and daily routines for cleaning vinyl tile sheets. Learn exact pH ratios, stain removal matrices, and wear-layer restoration.
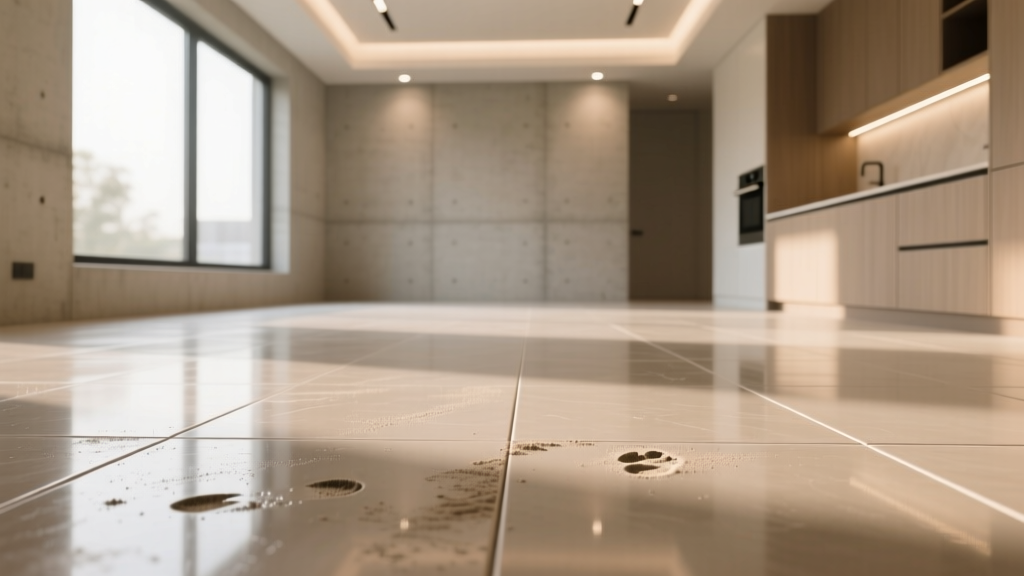
Maintaining vinyl tile sheets requires a fundamentally different approach than caring for standard luxury vinyl plank (LVP) or ceramic tile. When industry professionals refer to vinyl tile sheets, they are typically describing continuous sheet vinyl that has been precision-printed and embossed to mimic the look of individual tiles, complete with faux grout lines. While this format eliminates the physical grout joints that harbor mold and bacteria, the embossed texture and the chemical composition of the PVC wear layer introduce unique maintenance challenges.
Improper cleaning protocols will rapidly degrade the urethane topcoat, leading to micro-scratches, hazing, and irreversible plasticizer migration. This playbook provides exact chemical parameters, tool specifications, and troubleshooting matrices to preserve the structural and aesthetic integrity of your flooring.
The Chemistry of Vinyl: Critical Warnings
Never use steam mops on vinyl tile sheets. Steam reaches 212°F (100°C), which exceeds the glass transition temperature of the PVC binder. This causes the wear layer to delaminate from the fiberglass core. Furthermore, avoid alkaline cleaners (pH > 8.5) and ammonia-based solutions, which chemically strip the factory-applied urethane topcoat, leaving a permanent cloudy residue.
According to the Resilient Floor Covering Institute (RFCI), the most common cause of premature wear layer failure is the use of highly alkaline degreasers and abrasive mechanical agitation. Vinyl sheet flooring relies on a microscopic polyurethane or aluminum oxide wear layer (typically 12 to 20 mils thick in residential applications). Once this layer is compromised by harsh chemicals, the printed decorative layer beneath becomes vulnerable to UV fading and physical abrasion.
Daily and Weekly Maintenance Protocol
Routine maintenance for vinyl tile sheets focuses on removing abrasive silica dust without introducing excess moisture into the heat-welded or chemical seams.
Daily Dry Soil Removal
- Tool: Use a dual-action microfiber dust mop (minimum 300 GSM density). Avoid cotton string mops, which leave behind lint that gets trapped in the embossed faux-grout lines.
- Technique: Employ a figure-eight sweeping motion to keep soil on the leading edge of the mop head. Do not lift the mop between strokes.
- Vacuuming: If using a vacuum, ensure the beater bar (rotating brush) is disengaged. The stiff bristles will micro-scratch the urethane finish over time.
Weekly Damp Mopping
- Solution Preparation: Mix exactly 1 ounce of a neutral-pH (7.0 to 8.0) hard-surface cleaner per 1 gallon of warm water (85°F to 95°F). Trusted formulations include Bona Hard-Surface Floor Cleaner or Armstrong Manning's Once 'n Done Resilient Floor Cleaner.
- Application: Dip a flat-woven microfiber mop pad into the solution and wring it out until it is only slightly damp. The floor should dry within 60 to 90 seconds. Standing water will eventually wick into the sheet seams and degrade the adhesive bond.
- Rinsing: If using a concentrated neutral cleaner, a second pass with a clean, water-dampened mop is required to prevent surfactant buildup, which attracts future soil.
Deep Cleaning Embossed Faux-Grout Lines
The defining feature of vinyl tile sheets is the textured embossing that simulates grout joints. While not porous like real cementitious grout, these recessed channels act as magnets for fine particulate dirt and oily kitchen aerosols.
For heavily soiled faux-grout lines, spray a neutral cleaner directly into the channels and allow a 3-minute dwell time. Agitate using a soft-bristle nylon grout brush (not a wire brush or melamine pad). Wipe the suspended soil away immediately with a dry terry cloth towel before it can resettle into the texture.
Stain Removal Matrix
Different chemical compounds require specific solvents to break down without damaging the vinyl plasticizers. Refer to this matrix for targeted spot treatments.
| Stain Type | Chemical Agent | Dwell Time | Agitation Tool |
|---|---|---|---|
| Iodine / Mercurochrome | Isopropyl Alcohol (70%) | 1-2 Minutes | White Microfiber Cloth |
| Rubber Scuff Marks | Mineral Spirits | 30 Seconds | Non-Abrasive Nylon Pad |
| Candle Wax / Tar | Ice Pack + Plastic Scraper | Until Brittle | Blunt Plastic Putty Knife |
| Asphalt Tracking | D-Limonene Solvent | 2-3 Minutes | Soft Bristle Nylon Brush |
| Lipstick / Grease | Dish Detergent (Degreasing) | 5 Minutes | White Microfiber Cloth |
Note: Always test solvents like mineral spirits or D-Limonene in an inconspicuous area (e.g., inside a closet) to ensure they do not soften the specific PVC formulation of your sheet vinyl.
Restoring the Urethane Wear Layer
If your vinyl tile sheets have lost their factory sheen and appear dull despite thorough cleaning, the urethane topcoat has likely sustained micro-scratches from foot traffic and silica. You cannot 'polish' vinyl; you must apply a sacrificial acrylic or polyurethane floor finish.
- Strip the Floor: Use a commercial vinyl floor stripper to remove any old wax or acrylic buildup. Wax is strictly prohibited on modern no-wax urethane vinyl, as it creates a slippery, yellowing film.
- Apply Refresher: Use a product specifically engineered for resilient flooring, such as Hilway Direct Plus or Bona Refresher. Apply using a flat microfiber applicator pad in thin, even coats.
- Cure Time: Allow 24 hours of zero foot traffic for the polymers to cross-link and harden. This restores the scratch resistance and provides a uniform satin or semi-gloss sheen.
Troubleshooting Common Failure Modes
When standard maintenance fails, diagnose the issue using these specific failure modes:
1. Yellowing Under Area Rugs (Plasticizer Migration)
The Cause: Rubber-backed or latex-backed rugs contain antioxidants that chemically react with the phthalate or DOTP plasticizers in the vinyl sheet. This reaction creates a permanent yellow or brown stain that penetrates the entire wear layer.
The Fix: Unfortunately, this chemical reaction is irreversible. The stained section cannot be bleached or cleaned out. You must replace the rug and exclusively use 100% cotton, felt, or vinyl-backed mats labeled as 'colorfast' and 'non-staining' for resilient floors.
2. Hazy, Cloudy Patches in High-Traffic Zones
The Cause: This is almost always caused by surfactant buildup from using too much soap, or the use of oil-soaps (like Murphy's) which leave a lipid film that scatters light.
The Fix: Perform a deep extraction using a mixture of 1 cup white vinegar to 1 gallon of warm water to cut the lipid film, followed by two strict water-only rinsing passes with a well-wrung mop.
3. Lifting or Curling at the Sheet Seams
The Cause: Moisture intrusion from excessive wet-mopping has degraded the pressure-sensitive adhesive beneath the sheet, or heat from direct sunlight has caused localized thermal expansion.
The Fix: Lift the curling edge slightly and clean out any debris. Apply a flexible, heat-activated vinyl seam sealer or a thin bead of cyanoacrylate-based vinyl adhesive. Place a weighted, flat object over the seam for 12 hours to re-establish the bond.
Summary Checklist for Longevity
- Verify all floor cleaners have a pH between 7.0 and 8.0.
- Ban steam mops, ammonia, and bleach from your cleaning arsenal.
- Inspect all area rugs to ensure they lack rubber or latex backing.
- Use soft-bristle nylon brushes for embossed faux-grout lines.
- Reapply a commercial urethane refresher every 18 to 24 months in high-traffic zones.
By adhering to these chemical and mechanical parameters, vinyl tile sheets will maintain their dimensional stability and aesthetic realism for the entirety of their 15 to 25-year lifecycle.