How to Measure and Install Sliding Glass Door Blinds Properly
Learn exact measurements, hardware specs, and step-by-step procedures to measure and install sliding glass door blinds without handle interference.
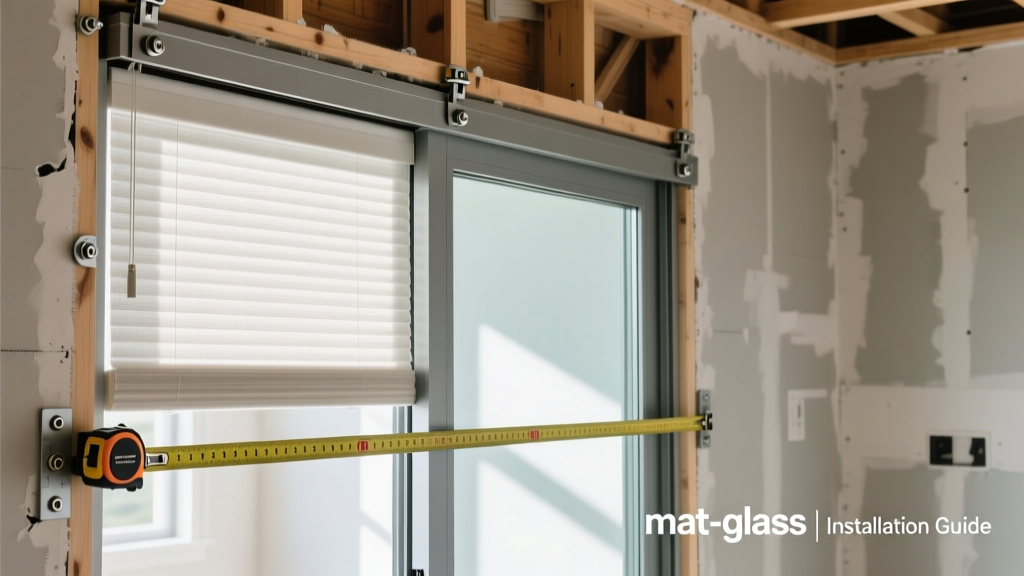
The Unique Challenges of Sliding Glass Door Window Treatments
Sliding glass doors present a distinct set of mechanical and spatial challenges that standard windows do not. Unlike fixed casements or double-hung windows, sliders are high-traffic portals subject to constant vibration, wide spans (typically 60 to 96 inches), and protruding hardware. The most common installation failure for sliding glass door blinds is inadequate clearance for the door handle, resulting in the blind fabric tearing or the track warping when the door is operated. Furthermore, the dynamic load of pulling wide blind panels across a track requires robust overhead anchoring that standard drywall anchors cannot support.
According to the U.S. Department of Energy, properly fitted window treatments on large glass expanses can reduce solar heat gain by up to 45%, but this thermal efficiency is entirely negated if the blinds are poorly sized and leave large gaps at the header or jambs. This guide details the exact measurements, hardware specifications, and installation procedures required for a flawless, long-lasting application.
Pre-Installation: Measuring for Inside vs. Outside Mount
Accuracy is non-negotiable. Use a steel tape measure—never a cloth or flexible tape, which can stretch and yield errors of up to 1/4 inch over a 6-foot span. Always measure the width at the top, middle, and bottom, and the height at the left, center, and right.
Inside Mount Specifications
An inside mount sits within the door frame, offering a clean, architectural look. However, it requires specific frame depths to function.
- Minimum Depth Requirement: Vertical blinds require a minimum frame depth of 2.5 inches. Panel track systems require at least 3.0 inches to accommodate the multi-channel tracks.
- The Deduction Rule: Take the narrowest width measurement and the shortest height measurement. Deduct exactly 1/4 inch from the width and 1/8 inch from the height. This ensures the blind operates without scraping the side jambs or dragging on the door threshold.
- Handle Clearance Check: Measure the distance from the glass to the furthest protruding point of the door handle. If the handle protrudes 2.5 inches and your blind mechanism requires 2.0 inches of depth, an inside mount is impossible without risking mechanical interference.
Outside Mount Specifications
Outside mounts are the preferred choice for sliding doors with shallow frames or bulky handles. They are mounted directly to the drywall or wood trim above the door.
- Overlap Rule: Add a minimum of 3 inches to the left and right of the glass opening (6 inches total to the width) to prevent light bleed. Add 4 inches to the top height to accommodate the track and valance.
- Projection: Ensure the outside mount bracket projects far enough from the wall to clear any baseboards, crown molding, or door handles below it.
Selecting the Right Blind Mechanism for Wide Spans
Not all blind styles are engineered for the 60-to-96-inch spans typical of patio doors. The Window Covering Manufacturers Association (WCMA) strongly recommends cordless or motorized systems for large doors to eliminate strangulation hazards and improve operational ergonomics. Below is a comparison of the three most viable options for sliding glass doors in 2026.
| Blind Type | Min. Header Depth | Max Span Width | Traffic Flow Impact | 2026 Avg. Cost (per sq. ft.) |
|---|---|---|---|---|
| Panel Track Blinds | 3.0 inches | 168 inches | Low (stacks neatly to one side) | $22 - $38 |
| Vertical Blinds (Vinyl/Fabric) | 2.5 inches | 120 inches | Medium (wider stack depth) | $8 - $16 |
| Dual Roller Shades (Zebra) | 2.0 inches | 96 inches (per unit) | High (blocks top clearance) | $18 - $28 |
Step-by-Step Installation Procedure for Panel Track Blinds
Panel track blinds are the industry standard for modern sliding doors due to their clean sightlines and superior stacking capabilities. Because the panels are heavy and the track spans a wide distance, structural anchoring is the most critical phase of installation.
Step 1: Locating and Marking Structural Supports
Use a stud finder to locate the ceiling joists or wooden header framing above the sliding door. Mark the center of each joist. For a standard 72-inch slider, you should ideally hit three studs. If the header is steel framing or concrete, you will need specialized toggle bolts or masonry anchors.
Step 2: Securing the Mounting Brackets
Never use standard plastic expansion anchors for overhead blind tracks. The dynamic lateral force of sliding the panels will eventually pull plastic anchors out of the drywall.
- For Wood Studs: Use #8 x 1-1/2 inch flat-head wood screws. Pre-drill a 3/32 inch pilot hole to prevent the wood from splitting.
- For Drywall/Hollow Headers: Use 1/4 inch metal toggle bolts (such as SnapToggles). These require a 1/2 inch drill bit for insertion but provide up to 250 lbs of shear strength per anchor in 1/2 inch drywall.
Ceilings and headers above sliding doors are rarely perfectly level. Before fully tightening the bracket screws, place a 48-inch torpedo level across the installed brackets. If there is a gap, insert composite shims between the bracket and the ceiling to ensure the track sits perfectly horizontal. A sloped track will cause the panels to drift to one side and derail.
Step 3: Track Assembly and Panel Hanging
Slide the multi-channel track into the secured brackets and tighten the thumb screws. Next, insert the panel carriers into the tracks. Hang the fabric or woven wood panels onto the carriers using the integrated Velcro or hook systems. Adjust the bottom weights to ensure the panels hang plumb without bowing.
Post-Installation Calibration and Troubleshooting
Even with precise installation, wide-span blinds often require calibration. Use this decision matrix to resolve common operational issues.
| Symptom | Root Cause | Corrective Action |
|---|---|---|
| Panels drag or scrape the floor threshold | Track is sagging in the center; panels are too long | Add a center support bracket; trim 1/4 inch from the bottom of the panels |
| Wand twists or binds when opening | Wand is not perfectly vertical; carrier hooks are misaligned | Adjust the wand length; ensure all carriers are facing the exact same direction |
| Panels fail to stack evenly when fully open | Track is not level; floor is sloped | Shim the track to level; adjust individual panel heights to compensate for floor slope |
Motorization and Smart Home Integration
For 2026 construction and remodeling projects, motorizing sliding door blinds is highly recommended. Systems like Somfy RTS or Hunter Douglas PowerView allow the blinds to sync with solar sensors, automatically closing when direct UV radiation hits the glass. When installing motorized tracks, you must plan for power delivery. Low-voltage (12V-24V) systems require a transformer hidden in the ceiling or an adjacent closet, while rechargeable lithium-ion wand batteries eliminate the need for hardwiring but require bi-annual charging. Ensure the motor drive is mounted on the side of the track opposite to the door handle to maintain clear access to the sliding mechanism.
Cost Breakdown and Material Sourcing
Budgeting for sliding glass door blinds requires accounting for both the material span and the specialized hardware. As of 2026, a standard 72-inch by 80-inch sliding door (40 square feet) will cost between $880 and $1,520 for high-quality panel tracks, including professional installation. Vertical blinds remain the budget option, averaging $320 to $640 for the same opening. When sourcing materials, prioritize manufacturers that offer UV-stabilized fabrics and aluminum tracks rather than PVC, which becomes brittle and warps under prolonged solar exposure.