Thin Brick Installation Guide: Step-by-Step Veneer Application Tips
Master thin brick installation with our step-by-step guide. Learn substrate prep, mortar selection, and layout techniques for flawless interior and exterior veneer.
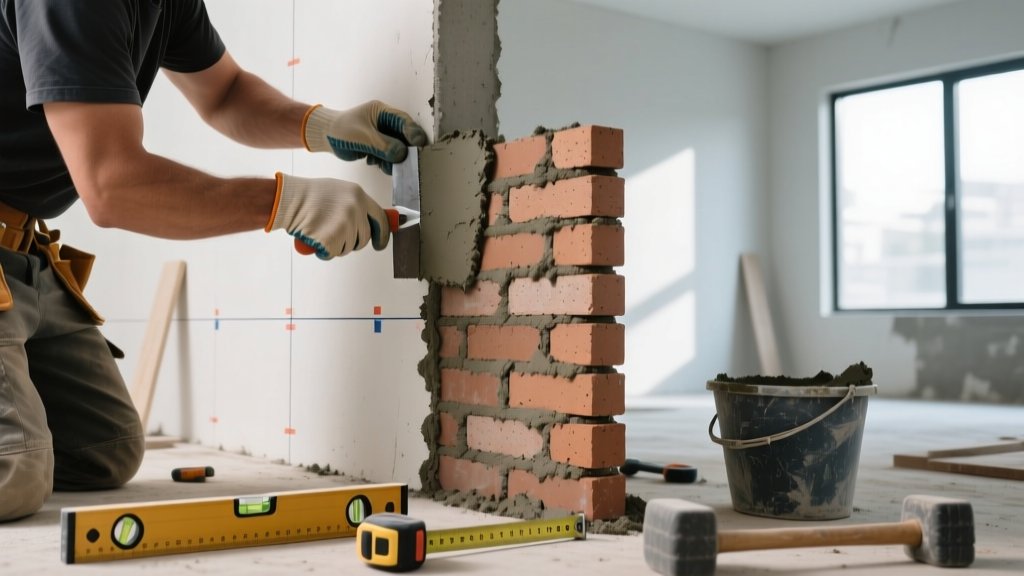
The Physics of Thin Brick Veneer: Why Substrate Prep Dictates Success
Thin brick veneer—typically extruded or wire-cut to a thickness of 1/2" to 9/16"—provides the authentic thermal mass aesthetic and tactile texture of full modular brick without requiring structural footings or wall ties. However, its reduced mass and high surface-area-to-volume ratio make it highly susceptible to moisture migration and substrate deflection. Unlike full brick, which is self-supporting, thin brick relies entirely on the adhesive bond to the substrate. If the substrate flexes beyond L/360 deflection limits, the mortar bond will fracture, leading to catastrophic delamination.
Never apply thin brick directly to standard or moisture-resistant drywall (green board). The weight of the veneer (approx. 6-8 lbs per square foot) combined with lateral shear forces will compromise the paper facing of the drywall, causing the entire assembly to peel away from the studs. Always use a minimum 1/2" cement backer board (e.g., USG Durock or HardieBacker) for interior applications.
Exterior Substrate Assembly
For exterior applications over wood or steel framing, the assembly must manage bulk water and vapor. The required layering sequence is:
- Sheathing: Minimum 7/16" OSB or 1/2" plywood, properly gapped at 1/8" per panel.
- Weather-Resistive Barrier (WRB): Two layers of Grade D asphalt felt or a high-performance fluid-applied membrane (e.g., Prosoco R-Guard).
- Corrosion-Resistant Lath: Minimum 2.5 lb/sq yd self-furring galvanized steel lath, fastened with 1-1/2" galvanized roofing nails or screws penetrating the studs by at least 1".
- Scratch Coat: A 1/2" layer of Type S mortar, scored horizontally with a rake to provide a mechanical key for the setting bed.
Mortar Selection Matrix for Thin Brick Applications
Selecting the correct bonding mortar is critical. The Brick Industry Association (BIA) categorizes mortars by compressive strength and flexibility. For thin brick, you must balance high bond strength with the ability to accommodate minor thermal expansion.
| Mortar Type | Compressive Strength | Best Application | Limitations |
|---|---|---|---|
| Type N | 750 psi | General exterior/interior above-grade veneer. | Not suitable for high-wind seismic zones or below-grade. |
| Type S | 1,800 psi | Exterior scratch coats, high-load areas, parapets. | High rigidity can cause cracking if substrate deflects. |
| Polymer-Modified Thin-Set (ANSI A118.4) | 400+ psi (Shear bond) | Interior installations over cement board or cured concrete. | Cannot be used for exterior joint grouting; UV sensitive if exposed. |
Step-by-Step Thin Brick Application Procedure
Proper installation requires meticulous attention to moisture management and joint spacing. Follow this sequence to ensure 100% mortar coverage and structural integrity.
Step 1: Layout and Snap Lines
Do not rely on the ceiling or floor as a level baseline; they are rarely true. Use a laser level to snap a horizontal control line exactly one brick height plus one joint width (typically 2-1/4" + 3/8" = 2-5/8") above the finished floor. Snap vertical plumb lines every 4 feet to maintain running bond alignment. For exterior walls, consult TCNA guidelines regarding expansion joint placement at all changes in substrate and every 20 feet horizontally.
Step 2: Brick Conditioning
Extruded thin brick is highly porous. If applied dry, it will rapidly draw moisture out of the mortar bed (a process called "burning"), resulting in a powdery, weak bond. Submerge the bricks in clean water for 5 to 10 minutes before laying, then allow them to drain until they are damp (saturated surface dry) but not dripping.
Step 3: Mortar Application and Back-Buttering
Using a 1/2" x 1/2" square-notched trowel for exterior or a 1/4" x 1/4" notched trowel for interior, comb the mortar onto the substrate in a single direction to prevent air entrapment. Critical Step: You must "back-butter" every single thin brick. Use the flat edge of the trowel to scrape a thin, 1/16" layer of mortar onto the back of the brick. This guarantees 100% coverage and eliminates voids where water could pool and freeze.
Step 4: Placement and Spacing
Press the brick firmly into the combed mortar bed, twisting it slightly (about 1/8") to collapse the ridges and squeeze out excess mortar. Insert 3/8" T-spacers at the corners of each brick to maintain uniform joints. Do not remove the spacers until the mortar has set enough to support the brick's weight (usually 2-4 hours).
Because thin brick lacks the dimensional uniformity of machined ceramic tile, lippage (uneven edges) is common. Use a manual brick trowel to gently tap high bricks flush. For large-format thin brick panels, employ a mechanical lippage control system (wedge and clip) designed for natural stone.
Grouting, Tooling, and Cleaning Protocols
The jointing process seals the assembly against moisture ingress and defines the visual character of the wall.
- Grouting: Once the setting mortar is thumbprint-hard (typically 24 hours), remove spacers. Pack the joints using a mortar bag (similar to a pastry bag) filled with Type N jointing mortar or a specialized sanded masonry grout. Avoid smearing mortar across the face of the brick during this step.
- Tooling: Wait until the joint mortar loses its surface sheen and is firm to the touch. Run a 3/8" convex steel jointer along the horizontal joints first, followed by the vertical joints. This compresses the mortar against the brick edges, creating a watertight seal.
- Cleaning: Never use muriatic (hydrochloric) acid to clean thin brick. Acid burns the clay surface, opens the pores, and accelerates future efflorescence. Instead, use a specialized, low-alkali masonry cleaner (e.g., Prosoco Sure Klean 600) diluted according to manufacturer specs, applied with a stiff natural-bristle brush, and rinsed thoroughly with low-pressure water.
Common Failure Modes and Troubleshooting
Even experienced masons encounter issues when transitioning from full brick to veneer. Recognize these failure modes to prevent costly callbacks.
Efflorescence (White Powdering)
Cause: Water-soluble salts within the clay or mortar are dissolved by moisture and deposited on the surface as the water evaporates.
Solution: Prevent it by using low-alkali Portland cement, ensuring capillary breaks (flashing) above and below the veneer, and avoiding acid washing. If it occurs, dry-brush the surface; do not use water, which will drive the salts back into the pores.
Delamination and Hollow Sounds
Cause: Lack of back-buttering, applying mortar to a dusty substrate, or mortar skinning over before the brick was placed.
Solution: Tap the wall with a wooden mallet. A hollow sound indicates a void. The affected bricks must be carefully chiseled out, the substrate cleaned and primed, and the bricks reset using a high-bond epoxy mortar.
Corner Cracking
Cause: Thermal expansion of the clay brick pushing against rigid 90-degree intersections without relief.
Solution: Install soft expansion joints at all inside and outside corners. Rake out the mortar at the corner to a depth of 3/4", insert a closed-cell backer rod, and seal with a high-performance polyurethane sealant (e.g., Sikaflex-1a) color-matched to the mortar.
Cost and Material Estimation Framework
Budgeting for thin brick requires accounting for the hidden costs of substrate preparation and specialized mortars, which often exceed the cost of the brick itself.
| Component | Material Cost (Per Sq. Ft.) | Labor Cost (Per Sq. Ft.) | Notes |
|---|---|---|---|
| Thin Brick Veneer | $6.00 - $14.00 | N/A | Wire-cut clay; extruded is cheaper. |
| Substrate Prep (Cement Board/Lath) | $2.50 - $4.50 | $4.00 - $7.00 | Includes WRB and fasteners. |
| Mortar, Grout, and Sealants | $1.50 - $3.00 | Included in masonry labor | Polymer-modified adds ~$0.50/sqft. |
| Masonry Installation Labor | N/A | $12.00 - $22.00 | Highly dependent on pattern complexity. |
By adhering to strict substrate preparation protocols, utilizing the correct mortar chemistry, and executing meticulous back-buttering and joint tooling, thin brick veneer will deliver decades of durable, maintenance-free performance that is indistinguishable from full-scale structural masonry.