Stucco Siding Maintenance: A Seasonal Cleaning Playbook
Master stucco siding maintenance with our seasonal cleaning playbook. Learn exact pressure washing PSI, efflorescence removal, and crack repair steps.
The Anatomy of Stucco Vulnerability
Stucco siding is a cementitious matrix composed of Portland cement, sand, lime, and water. While inherently durable against impact and fire, its porous nature makes it highly susceptible to moisture retention, efflorescence, and biological growth. Improper maintenance—specifically high-pressure washing and the application of vapor-impermeable coatings—causes more structural degradation than weather itself. This playbook details the exact chemical, mechanical, and seasonal protocols required to maintain stucco siding integrity.
The Core Cleaning Protocol: Low-Pressure Chemical Washing
Never use high-pressure water on stucco. Pressures exceeding 1,500 PSI will etch the cementitious binder, expose the aggregate, and force water behind the WRB. According to exterior maintenance guidelines outlined by Bob Vila's expert team, chemical softening combined with low-pressure rinsing is the only safe method for deep cleaning.
- Pre-Wet Landscaping: Saturate all adjacent plants and soil with clean water to prevent chemical absorption.
- Apply Oxygen Bleach: Mix 1 cup of powdered oxygen bleach (sodium percarbonate) per gallon of warm water. Avoid chlorine bleach (sodium hypochlorite); it degrades the lime in the stucco matrix and destroys surrounding soil biology.
- Agitate: Apply the solution using a pump sprayer. Agitate heavily soiled areas with a soft-bristle nylon brush on an extension pole. Allow the solution to dwell for 10 to 15 minutes, but do not let it dry on the surface.
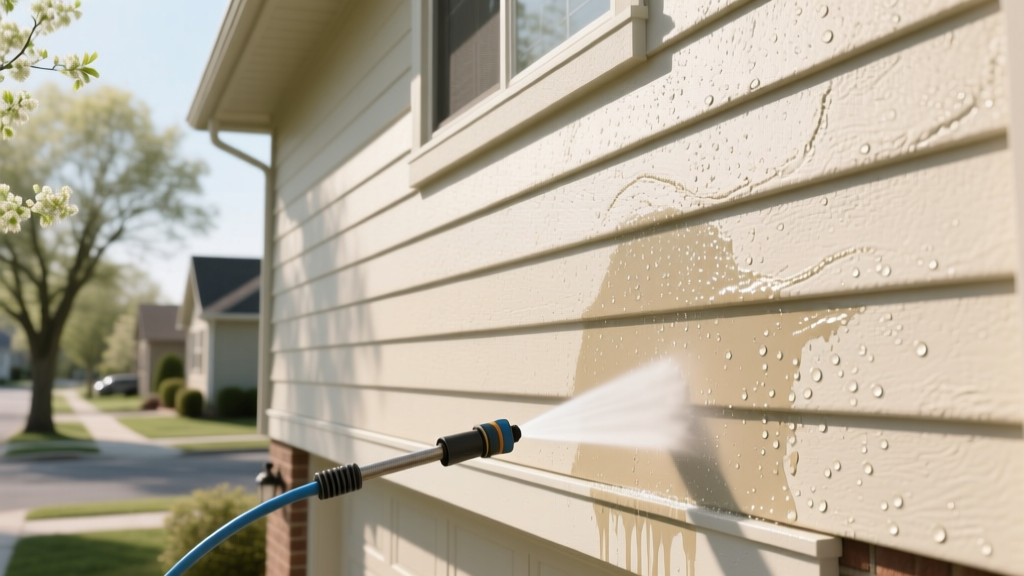
- Low-Pressure Rinse: Use a pressure washer set to a maximum of 1,500 PSI. Equip it with a 40-degree fan tip and maintain a strict 24-inch standoff distance from the wall.
Seasonal Maintenance Matrix
Stucco requires different interventions depending on the season and prevailing weather patterns. Use this matrix to schedule your annual maintenance.
| Season | Primary Threat | Action Item | Frequency |
|---|---|---|---|
| Spring | Algae & Mildew Bloom | Oxygen bleach wash and fungicidal treatment | Annually |
| Summer | Thermal Cracking | Inspect and patch hairline cracks with elastomeric sealant | Bi-annually |
| Fall | Debris & Moisture Trapping | Clear weep screeds, trim back vegetation 12 inches | Annually |
| Winter | Freeze-Thaw Spalling | Verify sealant integrity at window/door penetrations | Pre-winter |
Troubleshooting Common Stucco Pathologies
When stucco exhibits distress, it is usually communicating a specific moisture or structural issue. Addressing the symptom without understanding the pathology leads to recurring failures.
Efflorescence Extraction
Efflorescence presents as white, powdery salt deposits on the stucco surface. It occurs when water moves through the stucco matrix, dissolves naturally occurring salts, and evaporates on the exterior. To remove it:
- Dry Brush: Always start with a stiff, non-metallic bristle brush to remove loose surface salts.
- Acid Wash: If deposits persist, use a diluted muriatic acid solution (1 part acid to 10 parts water). Crucial Safety Rule: Always add acid to water, never water to acid, to prevent violent exothermic splashing.
- Neutralize: Immediately neutralize the wall with a baking soda and water solution (1 cup per gallon) to halt the acid from etching the cement.
Hairline Crack Remediation
Cracks under 1/8 inch are primarily cosmetic but act as direct vectors for wind-driven rain. Do not use standard acrylic caulk; it lacks the elasticity required for the thermal expansion and contraction of cementitious materials. Instead, use a polyurethane-based sealant like Sikaflex-11 FC or a dedicated elastomeric stucco patch (e.g., Quikrete Stucco Repair). Tool the joint with a putty knife and stipple the wet patch with a damp sponge to match the surrounding dash or sand finish texture.
Mold and Mildew Eradication
Biological growth on stucco indicates chronic shade and moisture retention. The EPA guidelines for mold cleanup recommend removing the biological matter and addressing the moisture source. Apply a commercial quaternary ammonium-based fungicidal wash. Unlike bleach, which only bleaches the color out of mold, quaternary ammonium compounds penetrate the porous stucco and kill the root structure (hyphae), preventing rapid regrowth.
Weep Screed and Flashing Integrity Checks
The bottom edge of a stucco wall must terminate in a weep screed, as mandated by ASTM C1063 and detailed in InterNACHI's stucco inspection standards. The weep screed features small holes designed to allow incidental moisture that gets behind the WRB to drain out of the wall cavity.
If dirt, mulch, concrete patios, or adjacent siding overlaps the weep screed, capillary action will draw water back up into the wall cavity. This is the number one cause of hidden wood rot in stucco-clad homes.
The Fix: Maintain a strict 2-inch vertical clearance between the grade/mulch line and the bottom of the weep screed. If a patio was poured too high, a masonry saw must be used to cut a drainage channel away from the wall.
Sealing and Painting: The Vapor Permeability Imperative
Stucco must breathe. If you apply a standard exterior latex paint or a vapor-impermeable masonry sealer, you trap moisture inside the wall cavity. When the sun heats the wall, the trapped moisture turns to vapor, creating hydrostatic pressure that will literally blow the paint off the wall in sheets (a failure known as blistering and delamination).
When painting stucco, mandate an elastomeric coating with a high vapor transmission rate. Products like Sherwin-Williams SherLastic or BEHR Premium Elastomeric Masonry, Stucco & Brick Paint are formulated to stretch and bridge micro-cracks (up to 1/16 inch) while maintaining a high perm rating, allowing water vapor to escape the wall assembly. Apply these coatings at a minimum of 12 to 16 wet mils thickness using a 3/4-inch to 1-1/4-inch nap roller to ensure the paint fills the deep texture of the stucco.
2026 Cost Breakdown: Professional vs. DIY Maintenance
Budgeting for stucco maintenance requires understanding the delta between DIY material costs and professional labor rates. Below is a realistic cost matrix for a standard 2,000-square-foot exterior.
| Maintenance Task | DIY Material Cost | Professional Service Cost | ROI / Value Add |
|---|---|---|---|
| Chemical Wash & Rinse | $80 - $150 | $400 - $700 | Prevents biological etching |
| Crack Patching & Sealing | $50 - $120 | $300 - $500 | Prevents structural water intrusion |
| Elastomeric Painting | $1,200 - $1,800 | $3,500 - $5,500 | Extends lifespan by 10-15 years |
While DIY cleaning and patching offer significant savings, professional elastomeric painting is often worth the premium due to the specialized spray equipment and scaffolding required to achieve a uniform, mil-thickness-compliant finish on multi-story elevations.