How Top Siding Contractors Execute Flawless Exterior Installs
Discover the exact installation procedures, flashing techniques, and material clearances top siding contractors use to prevent moisture damage and warping.
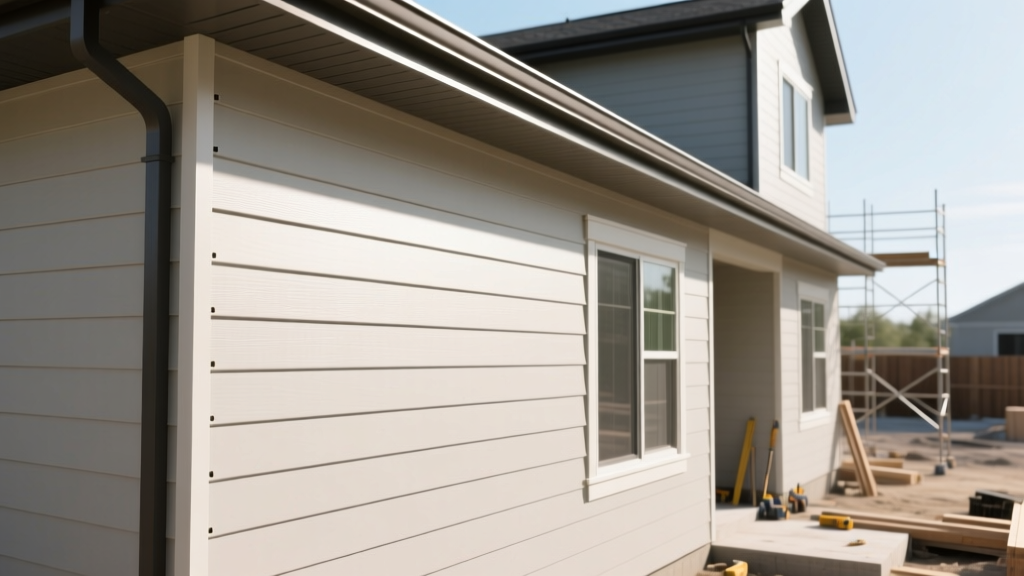
The Hidden Mechanics of Professional Siding Installation
Most homeowners evaluate siding contractors based on aesthetic portfolios and bottom-line quotes. However, the longevity of an exterior cladding system is dictated entirely by what happens behind the visible material. A premium fiber cement or engineered wood installation will suffer catastrophic moisture failure within five years if the weather-resistive barrier (WRB) and flashing details are compromised. Top-tier siding contractors distinguish themselves through rigorous substrate preparation, precise clearance tolerances, and material-specific fastening protocols that exceed minimum building codes.
Phase 1: Substrate Preparation and Weather-Resistive Barriers
Amateur installers often rely on standard #15 asphalt felt or loosely stapled house wrap, leaving seams vulnerable to wind-driven rain. Expert siding contractors utilize advanced fluid-applied membranes or self-adhered sheets like Henry BlueSkin VP100 or Huber Zip System. These materials provide a continuous, monolithic air and water barrier that integrates directly with window and door flanges.
Implementing Rainscreen Gaps
For high-performance builds, particularly in humid or coastal climates, leading contractors incorporate a ventilated rainscreen gap. By installing vertical furring strips (typically 1/4-inch to 3/8-inch thick) or a specialized drainage mat like Keene DriWall over the WRB, contractors create a capillary break. This gap allows hydrostatic pressure to equalize and provides a drainage channel for any water that penetrates the cladding, significantly extending the life of wood-based sidings and fiber cement. The Building Science Corporation heavily advocates for this pressure-equalized design to prevent mold and rot in wall assemblies.
Phase 2: Flashing and Moisture Diversion Protocols
Flashing is the most critical, yet frequently overlooked, component of exterior cladding. Professional contractors never rely on caulk to seal horizontal-to-vertical transitions. Instead, they employ a shingled flashing strategy, ensuring water is always directed outward and downward over the layer below it.
| Flashing Material | Best Application | Contractor Preference & Rationale |
|---|---|---|
| Pre-formed Aluminum | Kick-out flashing at roof-to-wall intersections | Highly durable, easily bent on-site for custom angles; does not degrade under UV exposure. |
| Peel-and-Stick Butyl | Window heads, sills, and complex penetrations | Conforms to irregular shapes, self-seals around fasteners, and integrates seamlessly with Zip/BlueSkin WRBs. |
| PVC / Vinyl Drip Caps | Above windows and doors under lap siding | Cost-effective and rot-proof, but requires precise integration with the WRB tape to prevent bypass leaks. |
Phase 3: Material-Specific Fastening and Clearance Tolerances
Every cladding material expands, contracts, and reacts to moisture differently. Professional siding contractors adjust their pneumatic tools and layout strategies based on the specific manufacturer's engineering requirements.
Fiber Cement Clearances and Fastening
When installing fiber cement (such as James Hardie or Allura), contractors must maintain strict clearances to prevent wicking. The industry standard mandates a minimum 2-inch clearance from rooflines, 6 inches from soil grade, and 1 to 2 inches from decks and steps. For fastening, pros use 0.113-inch diameter hot-dipped galvanized or stainless steel ring-shank nails. Pneumatic nail guns must be carefully calibrated—typically between 70 and 90 PSI. If the pressure is too high, the nail will blow through the face of the board, creating a permanent moisture entry point; if too low, the nail sits proud, preventing proper seating.
Vinyl Siding Expansion Dynamics
Vinyl expands and contracts significantly with temperature fluctuations. Expert contractors never drive nails tight. They center the nail in the nailing hem and leave a 1/32-inch gap between the nail head and the vinyl. Furthermore, they ensure panels are locked together loosely enough to slide laterally by hand. At J-channels and corner posts, a 1/4-inch to 3/8-inch expansion gap is left at the ends of the panels to prevent buckling during peak summer heat.
Evaluating Bids: What Line Items Separate Amateurs from Pros
When reviewing quotes, homeowners should look beyond the total price. A suspiciously low bid often indicates the contractor is cutting corners on substrate preparation and moisture management. Below is a breakdown of the line items that differentiate a professional, code-exceeding installation from a bare-minimum approach.
| Installation Procedure | Amateur / Bare-Minimum Bid | Professional / High-Performance Bid |
|---|---|---|
| Weather-Resistive Barrier | Standard Tyvek house wrap, stapled, untaped seams. | Fluid-applied membrane or Zip System, fully taped seams, integrated window flashing. |
| Rainscreen / Drainage | None (direct applied to WRB). | 1/4-inch furring strips or drainage mat applied vertically. |
| Flashing Details | Heavy reliance on exterior silicone caulk. | Pre-formed aluminum kick-outs, butyl peel-and-stick at all penetrations. |
| Labor Cost (Fiber Cement) | $5.00 - $7.00 per sq. ft. | $8.50 - $14.00 per sq. ft. (reflects precise cutting, blind nailing, and detailing). |
Post-Installation Verification Checklist
Before making the final payment, conduct a walkthrough with the lead siding contractor to verify the following critical installation details:
- Butt Joint Sealing: Verify that fiber cement butt joints are either gapped at 1/8-inch and filled with color-matched exterior caulk, or backed by manufacturer-approved joint flashing strips.
- Utility Trim Usage: Ensure vinyl siding is secured with utility trim under all windows and at the soffit lines to prevent wind uplift.
- Clearance Verification: Measure the gap between the bottom course of siding and the soil/mulch. It must be a full 6 inches to prevent termite access and capillary moisture wicking.
- Fastener Inspection: Check a random sampling of face-nailed areas (if applicable) to ensure no nail heads are driven below the surface of the material.
- House Wrap Integration: If an addition or repair was done, confirm that the new WRB overlaps the existing WRB by at least 6 inches at all vertical and horizontal seams.
'The exterior cladding is merely the first line of defense. The true weatherproofing of a structure relies on the meticulous integration of the WRB, flashing, and drainage planes executed by the installer.'
By understanding these technical procedures, homeowners can accurately vet siding contractors, ensuring their investment is protected by installation practices that prioritize structural longevity over mere cosmetic appeal.