Mastering Installation for All Common Types of Siding Materials
Learn the specific installation requirements, fastener types, and clearance gaps for the most common types of siding materials to prevent moisture failure.

The Critical Role of Material-Specific Installation
Selecting the right exterior cladding is only half the battle. The longevity of any facade depends entirely on how well the installer respects the physical properties of the chosen medium. While manufacturers provide baseline instructions, real-world application requires an understanding of material-specific expansion rates, moisture tolerances, and fastener chemistry. Installing different types of siding materials using a one-size-fits-all approach guarantees premature callbacks, moisture intrusion, and structural decay. This guide breaks down the exact installation parameters for the most common exterior claddings, focusing on the critical tolerances that separate master craftsmen from amateur contractors.
Weather-Resistive Barriers (WRB) and Drainage Planes
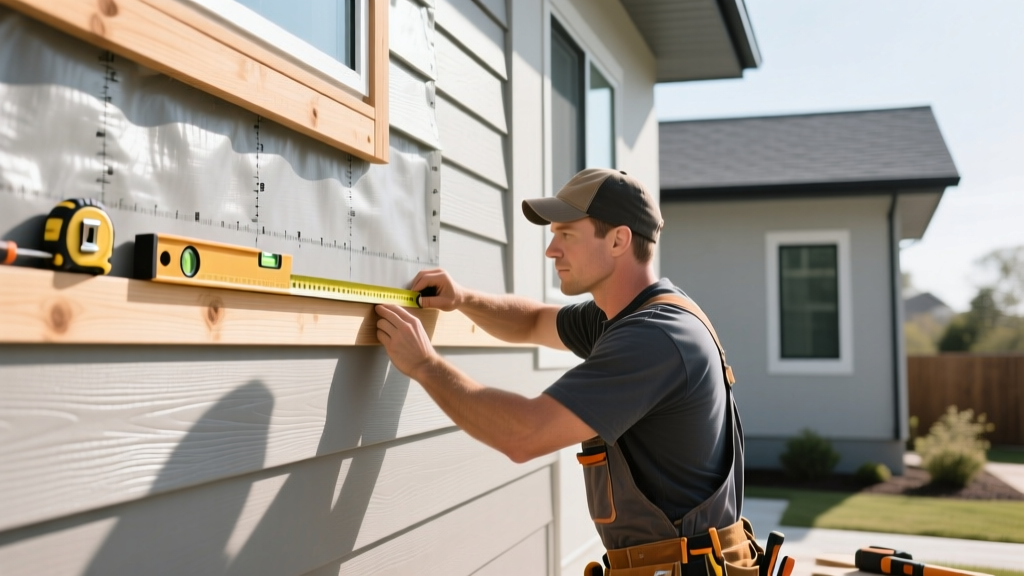
Before any cladding touches the sheathing, the weather-resistive barrier (WRB) must be correctly detailed. According to the PNNL Building America Solution Center, a WRB must manage both liquid water and water vapor. The days of simply stapling flat 60-minute asphalt paper or basic polyethylene housewrap are over for high-performance builds.
For highly absorbent materials like fiber cement, stucco, or manufactured stone veneer, a dimpled drainage mat (such as Benjamin Obdyke HydroGap or Keene DriWall) is mandatory. These mats provide a 1mm to 3mm capillary break that flat housewraps cannot achieve, allowing bulk water to drain freely to the weep screed. For complex geometries with numerous penetrations, consider a fluid-applied membrane like Prosoco R-Guard, which eliminates seam-taping errors entirely.
Tape all vertical and horizontal seams on sheet goods with manufacturer-approved acrylic tape. Never use standard duct or sheathing tape, which degrades rapidly under UV exposure and temperature fluctuations. Furthermore, integrate all window and door flashings using a shingle-lap method to ensure water always flows outward and downward.
Installation Specs by Material Type
Fiber Cement (e.g., James Hardie, Allura)
Fiber cement is dimensionally stable regarding temperature swings but highly susceptible to moisture wicking if installed improperly. The James Hardie Installation Manual provides strict parameters that must be followed to maintain the product warranty.
- Clearances: Maintain a strict 6-inch clearance from grade, decks, and patios. Maintain a 2-inch clearance from intersecting rooflines. Never allow fiber cement to rest directly on flashing or concrete.
- Fastening: Use 6d or 8d hot-dipped galvanized or stainless steel ring-shank nails. Electro-galvanized nails will rust and bleed through the finish within three to five years. Blind-nail 3/4-inch down from the top edge, or face-nail 1-inch up from the bottom edge, ensuring the fastener penetrates the studs by at least 1 inch.
- Joints: Leave a 1/8-inch gap at all end joints to accommodate minor seasonal movement and prevent buckling. Seal these joints with a high-grade, paintable polyurethane caulk, or install H-bar aluminum flashing behind the joint for a dry-stack look.
Vinyl and Polypropylene Siding
Vinyl expands and contracts significantly with temperature changes—up to 5/8-inch per 12-foot panel between winter and summer extremes. The installation technique must allow the material to float freely.
- Nailing Technique: Drive aluminum or galvanized roofing nails (1/2-inch to 3/4-inch head diameter) precisely into the center of the nailing slots. Crucially, leave a 1/32-inch gap between the nail head and the vinyl. If you drive the nail flush or tight, the panel will buckle, warp, and create a wavy appearance when it expands in the heat.
- Clearances: Leave a 1/4-inch expansion gap at all J-channels, corner posts, and trim pieces. In extreme cold climates, increase this gap to 3/8-inch to allow for summer expansion.
- Locking: Ensure the bottom lock of the panel fully engages the top lock of the panel below, but do not pull upward tightly while nailing. Let the panel hang naturally.
Engineered Wood (e.g., LP SmartSide)
Engineered wood offers the aesthetic of natural wood with superior dimensional stability, but the cut edges remain highly vulnerable to moisture and fungal decay.
- Cut Treatment: Every single field cut, drill hole, or notch must be immediately treated with a zinc borate-based end-sealer or the manufacturer's proprietary sealant. Failure to seal cuts voids the warranty and invites rot.
- Fastening: Keep fasteners at least 3/8-inch from the edges and ends of the boards to prevent the engineered strands from blowing out or splitting. Use 8d or 10d hot-dipped galvanized nails with a minimum 0.113-inch shank diameter.
- Spacing: Maintain a 3/16-inch gap at vertical end joints and a 1/8-inch gap at horizontal lap joints.
Metal and Corrugated Steel Panels
Modern architectural metal siding (typically 26-gauge or 24-gauge steel) requires careful accommodation for thermal movement and strict water-sealing protocols at the fastener heads.
- Screw Placement: Use color-matched self-drilling screws with EPDM or neoprene washers. Drive them perfectly straight; an angled screw will pinch the washer unevenly, creating an immediate leak path. Do not overtighten—the washer should compress to just kiss the metal edge without squeezing out the sides.
- Laps and Stitch Screws: Where panels overlap horizontally or vertically, use stitch screws with neoprene gaskets spaced no more than 12 inches apart to prevent wind-driven rain from entering the laps.
- Thermal Expansion: When using concealed fastener clips for standing seam profiles, ensure the clips are centered in their slotted holes at the time of installation to allow equal movement in both directions.
Fastener Selection Matrix
Using the wrong fastener chemistry is the most common cause of siding failure. Galvanic corrosion occurs when dissimilar metals interact in the presence of moisture, destroying both the nail and the surrounding cladding.
| Siding Material | Required Fastener Type | Minimum Length | Head / Washer Style |
|---|---|---|---|
| Fiber Cement | Stainless Steel (304/316) or Hot-Dipped Galvanized | 1-3/4" (6d) or 2-1/2" (8d) | Minimum 1/4" head, ring-shank |
| Vinyl / Polypropylene | Aluminum or Hot-Dipped Galvanized Roofing Nails | 1-1/2" to 2" | 3/8" to 1/2" diameter head |
| Engineered Wood | Hot-Dipped Galvanized (ASTM A153) | 2-1/2" (8d) or 3" (10d) | 0.28" head, ring or screw-shank |
| Corrugated Metal | Carbon Steel with Zinc/Aluminum Coating | 1" to 1-1/2" (Self-drilling) | Hex head with EPDM washer |
Common Installation Failures and Troubleshooting
Even premium materials will fail if the building envelope is compromised. According to research published by Building Science Corporation, unsealed siding penetrations and poor moisture management drastically accelerate structural degradation through the stack effect and wind-driven rain intrusion. Here is how to diagnose and prevent the most frequent field errors:
- Symptom: Wavy, distorted vinyl siding on sun-facing walls.
Cause: Fasteners driven flush or tight, restricting thermal expansion.
Fix: Remove affected panels, re-nail centered in slots with a strict 1/32-inch gap. Never reuse panels that have been permanently deformed by heat stress. - Symptom: Dark stains, swelling, or rot at the bottom edge of fiber cement or engineered wood.
Cause: Capillary action drawing ground moisture into the unsealed bottom edge, or lack of a kick-out flashing at roof-to-wall intersections dumping water directly onto the siding.
Fix: Enforce a 6-inch ground clearance, install kick-out flashings at all roof transitions, and back-prime all boards with an exterior-grade primer before installation. - Symptom: Rust streaks below fastener heads on painted wood or engineered siding.
Cause: Use of electro-galvanized or bright-finish nails instead of hot-dipped galvanized.
Fix: Pull the offending nails, replace them with hot-dipped galvanized or stainless steel, fill the old holes with exterior wood filler, and prime over the new nail heads before repainting. - Symptom: Moisture buildup and mold behind metal panels.
Cause: Installing metal siding directly over flat housewrap without a rainscreen gap, trapping condensation against the sheathing.
Fix: Always install vertical furring strips (1x3 or 1x4) or a manufactured drainage mat over the WRB to create a ventilated air space behind metal cladding.
Mastering the installation of various types of siding materials requires abandoning shortcuts and adhering strictly to the physics of the chosen cladding. By respecting expansion gaps, selecting the correct fastener chemistry, and integrating a robust drainage plane, you ensure the building envelope remains watertight, energy-efficient, and visually flawless for decades.
Written by
James ThorntonJames Thornton is a construction industry veteran with 25 years of hands-on experience in wood framing, lumber grading, and residential building codes. He started as a framing carpenter in rural Oregon, earned his ICC Residential Building Inspector certification, and eventually became a senior plan reviewer for the City of Portland Bureau of Development Services. James holds a B.S. in Wood Science & Technology from Oregon State University and is a certified lumber grader through the West Coast Lumber Inspection Bureau (WCLIB). He has inspected over 3,000 residential construction sites and authored the city's internal guide on advanced framing techniques (2x6 at 24" O.C.). James lives in Bend, OR, where he builds custom timber-frame cabins and competes in lumberjack sports.
More from James Thornton
View all
Insulation
Best Home Insulation Materials: Complete 2026 Guide
Compare top home insulation materials for 2026. Find R-values, installed costs per square foot, and best uses for fiberglass, spray foam, and mineral wool.
Aug 4, 2026

Sustainable Building
Certify Your Green Building Material for LEED and WELL
Step-by-step guide to certifying a green building material for LEED v5 and WELL v2. Master EPDs, HPDs, and VOC limits for 2026 project specifications.
Aug 4, 2026

Stone & Masonry
Veneer Stacked Stone Panels: Interior Design & Style Showcase
Discover how veneer stacked stone panels transform interiors. Explore modern design profiles, material pairings, and technical installation specs.
Aug 4, 2026