Acid Stain Concrete Application: Pro Step-by-Step Guide
Master acid stain concrete application with this pro guide. Learn surface diagnostics, chemical mixing, spraying techniques, and sealing protocols.
The Chemistry of Acid Staining: Why Surface Prep Dictates Success
Unlike topical dyes or pigmented sealers, acid stain concrete relies on a chemical reaction. The stain contains metallic salts and phosphoric or hydrochloric acid. When applied, the acid opens the concrete pores and the metallic salts react with the calcium hydroxide (free lime) present in the cement paste. This reaction creates permanent, insoluble color compounds within the slab.
Because the color is chemically generated rather than painted on, the presence of calcium hydroxide is non-negotiable. If a slab has been acid-etched, power-troweled to a burn, or treated with lithium densifiers prior to staining, the free lime is either depleted or locked away, resulting in a failed application. According to The Concrete Network, understanding this chemical dependency is the dividing line between a vibrant, variegated finish and a pale, blotchy failure.
Pre-Application Surface Diagnostics
Before unsealing a single gallon of stain, you must verify the slab's readiness. Perform these three diagnostic tests:
- The Water Drop Test: Sprinkle clean water across the floor. If it beads up, a sealer, cure-and-seal compound, or excess form oil is present. The slab must be stripped using a heavy-duty alkaline cleaner (like Kemiko Klean & Strip) or mechanically ground.
- The Scratch Test: Score the surface with a masonry nail. If it flakes or powders excessively, the surface is too weak (laitance) and requires light grinding to reach a sound Concrete Surface Profile (CSP 1 or 2).
- The Fly Ash Check: Review the concrete batch ticket. Slabs poured with high volumes of Class F fly ash often lack sufficient calcium hydroxide for a robust reaction. If Class F fly ash is present, you may need to apply a calcium-rich primer or switch to a water-based reactive stain alternative.
Many contractors mistakenly use muriatic acid to clean a floor before staining. Acid etching dissolves the exact calcium hydroxide required for the stain to react. If the floor is heavily soiled, use mechanical diamond grinding (40-grit to 80-grit metal bonds) or an alkaline degreaser instead.
Essential Tools and Chemical Inventory
Acid stains are highly corrosive. Standard metal pump sprayers will degrade within minutes, contaminating your stain with rust. Use only acid-resistant, all-plastic sprayers.
| Category | Recommended Product / Spec | Estimated Cost (2026) | Purpose |
|---|---|---|---|
| Acid Stain | Kemiko Stone Tone or Direct Colors Artist Grade | $45 - $65 / gallon | Primary color reaction agent |
| Sprayer | Chapin 1949 (1-Gallon Plastic Pump Sprayer) | $25 - $35 | Corrosion-resistant application |
| Neutralizer | Arm & Hammer Baking Soda (Sodium Bicarbonate) | $15 / 13lb bag | Halts the acid reaction |
| PPE | Tyvek suit, nitrile gloves, full-face respirator | $80 - $120 | Protection against acid mist and silica |
| Residue Removal | Nilfisk or Hoover Commercial Wet/Dry Vac | $150 - $250 | Extracts neutralized metallic sludge |
The 5-Phase Application Protocol
Phase 1: Deep Cleaning and Profiling
Sweep and vacuum the slab to remove all dust. Mop with a pH-neutral cleaner and allow it to dry completely. The concrete must be cured for a minimum of 28 days. If the slab is new and a cure-and-seal membrane was used, strip it chemically and rinse thoroughly. For older slabs, For Construction Pros recommends diamond grinding with a 100-grit resin pad to open the pores without destroying the surface cream needed for the reaction.
Phase 2: Stain Dilution and Spraying
Acid stains are typically sold concentrated. For standard interior concrete, dilute the stain 1:1 with clean water. For a lighter, more washed-out look, dilute 1:2. Pour the mixture into your plastic pump sprayer.
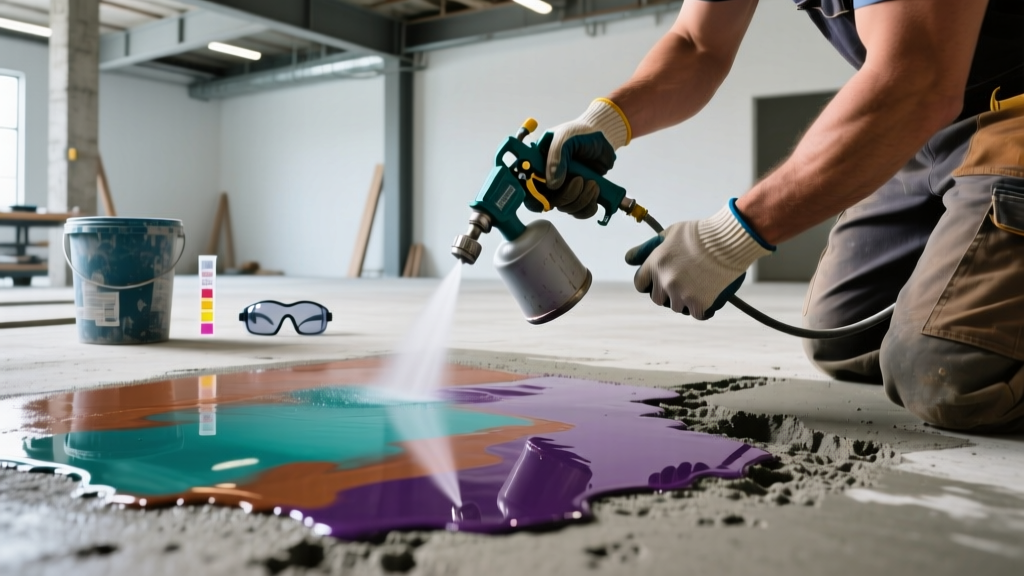
Application Technique: Hold the sprayer nozzle 18 to 24 inches from the floor. Apply using overlapping circular motions. Do not spray in straight lines, as this creates visible lap marks and striping. The floor should look wet, but not puddled. Puddling causes the acid to eat too deeply into the paste, creating dark, muddy spots that are impossible to blend.
Phase 3: Dwell Time and Reaction Monitoring
Allow the stain to dwell on the surface for 2 to 8 hours. The reaction will begin to fizz immediately. You will notice the color shift from the liquid's original hue (often bright blue or green) to its final earthy tone (brown, terra cotta, or black) as the metallic salts oxidize and react with the lime. Keep the area ventilated; the off-gassing produces a sharp, chlorine-like odor.
Phase 4: Neutralization
This is the most frequently botched step. If you fail to neutralize the acid, it will continue to eat the concrete and prevent topical sealers from bonding. Mix 1 cup of baking soda per 5 gallons of clean water. Mop this solution generously over the stained floor. You will see a secondary fizzing as the alkaline baking soda neutralizes the residual phosphoric/hydrochloric acid.
Scrub the floor with a stiff-bristle nylon brush to lift the metallic sludge (the powdery residue left behind by the reaction). Use a wet vac to extract the slurry. Rinse with clean water and extract again. Test the floor's pH with litmus paper; it must read between 7.0 and 8.0 before proceeding.
Phase 5: Drying and Sealing
Allow the slab to dry completely (minimum 24 hours, or use high-velocity air movers). Acid stain leaves the concrete highly porous. Apply a penetrating densifier or a thin coat of solvent-based acrylic sealer (like Eagle Armor Seal) to lock in the color and provide a base for the final topcoat. Follow with two coats of a high-solids polyurethane or polyaspartic topcoat for commercial-grade abrasion resistance.
Troubleshooting Common Application Failures
Even with meticulous prep, variables in the concrete mix can cause anomalies. Use this diagnostic matrix to address issues before sealing.
| Symptom | Root Cause | Corrective Action |
|---|---|---|
| Chalky white powder remains after neutralizing | Incomplete neutralization or failure to extract slurry | Re-neutralize with ammonia/water mix (1 cup per gallon), scrub, and wet-vac immediately. |
| Stain did not change color (remains liquid hue) | Lack of calcium hydroxide (fly ash mix or acid-etched slab) | Apply a water-based reactive stain over the top, or use a tinted sealer to fake the color. |
| Dark, muddy, almost black spots | Puddling during application or over-troweled concrete areas | Lightly sand the dark spots with a 200-grit diamond pad to blend them into the surrounding area. |
| Sealer peeling or turning white (blushing) | Trapped moisture or residual acid preventing adhesion | Strip the sealer with a chemical stripper, re-neutralize, dry for 48 hours, and reapply. |
Safety and Silica Compliance
When mechanical prep (grinding or sanding) is required to fix application errors or prep the slab, airborne crystalline silica becomes a severe hazard. The Occupational Safety and Health Administration (OSHA) mandates strict silica exposure limits. Always use HEPA-filtered dust extractors attached directly to your grinder shrouds, and wear N95 or P100 respirators. Never dry-grind an acid-stained floor without localized dust containment.
Final Inspection Criteria
Before handing over the project, inspect the floor under both natural and artificial light. Acid stain is inherently variegated; it will not look like a solid piece of linoleum. Educate the client beforehand that the "mottled" appearance and minor color shifts are the hallmark of genuine chemical staining, not application errors. Ensure the final polyurethane topcoat has achieved a uniform mil thickness (typically 2.5 to 3 mils dry) and exhibits no roller marks or trapped dust nibs.