Cement Retaining Wall Blocks: Cleaning and Maintenance Guide
Learn expert techniques to clean, seal, and maintain cement retaining wall blocks. Prevent efflorescence, weed growth, and structural bulging.
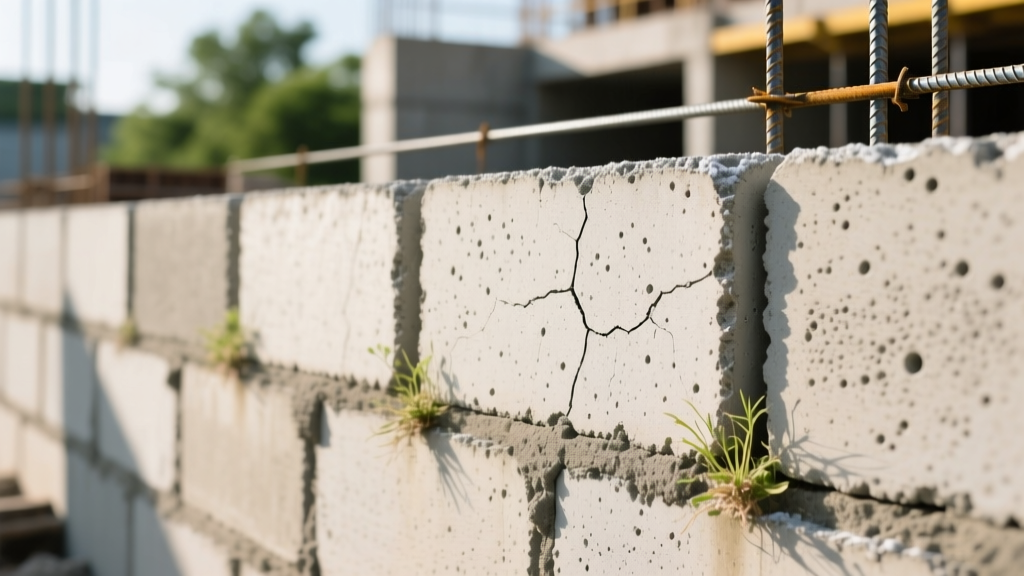
The Reality of Segmental Retaining Wall Degradation
Cement retaining wall blocks—technically classified as Segmental Retaining Wall (SRW) units—are engineered for high compressive strength and interlocking stability. However, exposure to freeze-thaw cycles, hydrostatic pressure, and biological growth inevitably compromises their aesthetic and structural integrity. While the National Concrete Masonry Association (NCMA) designs these systems to last decades, improper maintenance accelerates joint erosion, efflorescence buildup, and face spalling. This playbook provides exact, field-tested protocols for inspecting, cleaning, and sealing cement retaining wall blocks to maximize their lifecycle.
Phase 1: Annual Structural and Drainage Inspection
Before applying any chemical cleaners or sealers, you must verify the wall's structural health. Cleaning a failing wall masks critical defects. Perform this inspection in early spring after the ground thaws.
The 4-Point SRW Inspection Checklist
- Batter and Alignment: Use a 4-foot level to check the wall's batter (the backward lean). Standard SRW blocks have a built-in batter of 1/8 to 1/4 inch per course. If any section leans forward (negative batter), it indicates geogrid failure or base settlement.
- Weep Hole Clearance: Insert a 3/8-inch masonry bit or use compressed air (at 90 PSI) to clear weep holes located at the base course. Blocked weep holes trap hydrostatic pressure, leading to catastrophic blowouts.
- Joint Sand Depth: Probe the vertical and horizontal joints with a screwdriver. If joint sand is more than 1/2 inch below the block surface, the wall is vulnerable to water infiltration and insect nesting.
- Capstone Adhesion: Test the top capstones for lateral movement. Capstones secured only by gravity or degraded polyurethane adhesive are prime candidates for displacement.
If you detect a horizontal bulge exceeding 1 inch across a 4-foot span, do not attempt to clean or seal the wall. This indicates a collapse of the ASTM No. 57 crushed stone backfill or geogrid tension failure. Remediation requires removing the top courses, excavating the saturated backfill, and rebuilding the drainage zone.
Phase 2: The Efflorescence Eradication Protocol
Efflorescence is the white, powdery calcium carbonate deposit that migrates to the surface of cement retaining wall blocks as moisture evaporates. It is a natural byproduct of Portland cement hydration, but it severely degrades the wall's appearance.
Step-by-Step Chemical Removal
- Dry Brushing: Use a stiff, non-metallic nylon bristle brush to remove loose surface deposits. Never use wire brushes, as steel bristles will embed in the concrete pores and rust, creating permanent orange stains.
- Pre-Wetting: Saturate the wall with clean water using a garden hose. Pre-wetting prevents the cleaning acid from penetrating too deeply into the block's core, keeping the chemical reaction on the surface.
- Chemical Application: Apply a dedicated, non-acidic efflorescence remover (such as those formulated by PROSOCO or equivalent masonry cleaners). If dealing with severe, calcified deposits, a diluted muriatic acid solution (1 part acid to 10 parts water) can be used, but it risks etching the block face and altering the pigment.
- Agitation and Dwell Time: Scrub the surface with the nylon brush and allow the solution to dwell for 3 to 5 minutes. Do not let the solution dry on the wall.
- Thorough Rinsing: Rinse from the top down with a high-volume, low-pressure water stream to flush the dissolved salts out of the wall system.
Phase 3: Joint Sand Stabilization and Weed Defense
The interlocking friction of cement retaining wall blocks relies entirely on the jointing sand. Over time, wind, rain, and biological growth wash this sand out.
Upgrading to Polymeric Sand
For joints wider than 1/8 inch, standard masonry sand is insufficient. Upgrade to high-performance polymeric sand, which contains water-activated polymers that bind the sand grains together into a flexible, semi-rigid matrix. A 50-pound bag of premium polymeric sand costs between $35 and $45 and covers approximately 40 to 60 square feet of wall face, depending on joint depth.
When activating polymeric sand in vertical retaining wall joints, use a shower-nozzle setting on your hose. A high-pressure stream will wash the polymers out of the joint before they can cross-link. Mist the wall lightly three times, waiting 10 minutes between each misting, to ensure proper polymer activation without washout.
Biological Growth and Weed Control
Moss, algae, and broadleaf weeds compromise joint integrity. To clear existing growth, apply a 30% white vinegar solution or a commercial d-limonene-based organic herbicide. For long-term prevention, apply a granular pre-emergent herbicide (such as prodiamine) along the top capstone and base drainage swale in early spring to stop weed seeds from germinating in the joint crevices.
Phase 4: Pressure Washing Parameters and Limits
Pressure washing is highly effective for removing embedded dirt, tire marks (on driveway walls), and biological stains, but excessive pressure will destroy the block face and blow out the joint sand. According to guidelines referenced by the American Concrete Institute (ACI), improper high-pressure cleaning is a leading cause of premature surface spalling in architectural concrete masonry.
| Equipment Parameter | Safe Specification for SRW Blocks | Risk of Exceeding Limits |
|---|---|---|
| Maximum Pressure | 1,500 PSI | Etches the cement paste, exposing aggregate and fading integral pigments. |
| Nozzle Angle | 25° (Green) or 40° (White) | 0° (Red) or 15° (Yellow) nozzles will instantly blow out polymeric sand joints. |
| Wand Distance | Minimum 12 inches from surface | Close-range spraying creates localized high-impact craters in the block face. |
| Spray Pattern | Consistent, overlapping horizontal sweeps | Holding the wand in one spot causes 'tiger striping' and uneven weathering. |
Phase 5: Sealer Selection and Application Matrix
Applying a sealer to cement retaining wall blocks is optional but highly recommended for walls exposed to heavy de-icing salts or intense UV radiation. The critical rule for SRW sealers is breathability. The wall must be able to expel internal moisture vapor; otherwise, trapped water will freeze and cause the block face to delaminate (spall).
Penetrating vs. Film-Forming Sealers
Never use film-forming acrylic sealers on retaining walls. Acrylics create a plastic-like membrane on the surface that traps hydrostatic vapor and turns milky white when moisture gets trapped underneath. Instead, use penetrating silane/siloxane sealers.
- Silane/Siloxane Penetrating Sealers: These reactive chemicals penetrate up to 1/4 inch into the concrete pores and form a hydrophobic resin. They do not change the appearance or traction of the block. Expect to pay $60 to $90 per gallon, with coverage rates of 150 to 250 square feet per gallon. Reapplication is required every 3 to 5 years.
- Color-Enhancing Penetrating Sealers: If the wall's integral pigment has faded due to UV exposure and efflorescence cleaning, a color-enhancing siloxane sealer will restore the original hue without creating a glossy, artificial film. These cost approximately $85 to $110 per gallon.
Application Best Practices
Apply sealer only when the wall is completely dry (minimum 48 hours after rain or cleaning) and when ambient temperatures are between 50°F and 85°F. Use a low-pressure pump sprayer to apply an even, wet coat, and back-roll immediately with a 3/8-inch nap roller to work the sealer into the pores and eliminate drip marks. Do not over-apply; puddled sealer that dries on the surface will create permanent, sticky residues that attract dirt.