Concrete Anchor Taxonomy: Selecting the Right Fastener
Master concrete anchor selection with our structural taxonomy. Compare mechanical vs. chemical anchors, load matrices, and 2026 pricing data.
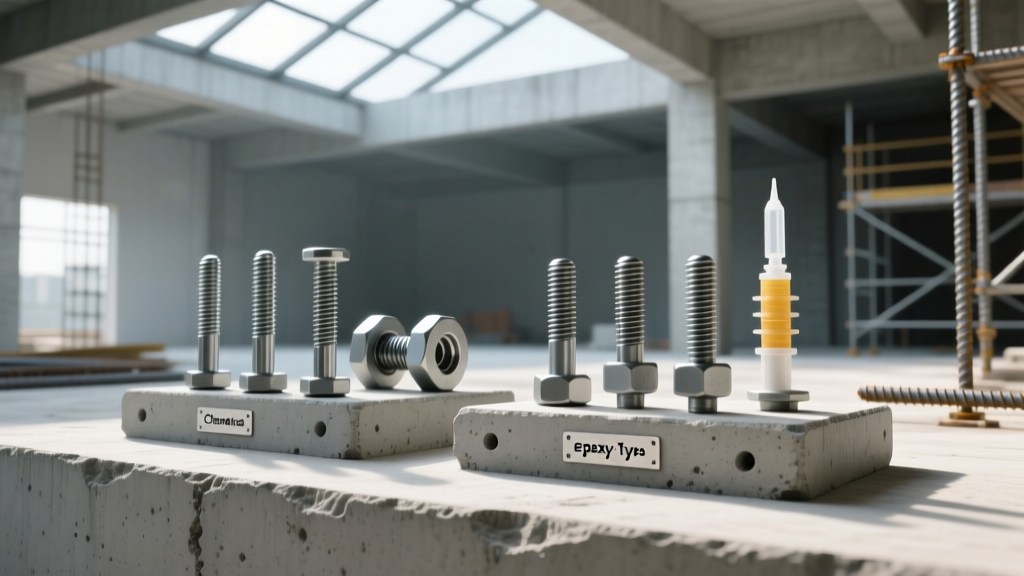
The Structural Taxonomy of Concrete Anchors
Selecting a concrete anchor is rarely about simply picking the bolt with the highest tensile rating. It is an exercise in matching the load transfer mechanism to the substrate's micro-fracture state, environmental exposure, and edge constraints. A 3/4-inch wedge anchor might hold 10,000 lbs in pristine laboratory concrete, but it can fail catastrophically under dynamic shear loads in a cracked seismic zone. To engineer reliable connections, structural professionals and contractors must categorize anchors by their fundamental mechanical behavior.
Mechanical Expansion Anchors
Mechanical anchors transfer load through friction or mechanical interlock against the concrete walls of the drilled hole. They are divided into two primary sub-categories:
- Torque-Controlled Expansion (Wedge & Sleeve): As the nut is tightened, a conical plug is pulled into an expansion sleeve, generating radial force against the concrete. Models like the Simpson Strong-Bolt 2 or Hilti Kwik Bolt 6 (KB-6) dominate this space. They are fast to install but highly sensitive to the concrete's compressive strength and crack width.
- Displacement-Controlled (Drop-In & Machine Screw Anchors): These require a setting tool to drive an internal plug, expanding the sleeve before the bolt is even inserted. They are ideal for flush-mount applications but offer lower overall shear capacities than torque-controlled variants.
Chemical Adhesive Anchors
Chemical anchors bypass radial expansion entirely, transferring load through a high-strength polymer bond between the threaded rod (or rebar) and the concrete. This eliminates expansion stress, making them the only viable choice for anchoring near edges or in brittle, low-strength concrete. Modern formulations include:
- Pure Epoxy (e.g., Hilti HIT-RE 500 V4, Simpson SET-3G): Offers the highest bond strength and longest working times. Ideal for deep embedments and seismic zones.
- Vinylester & Acrylates: Faster curing times and better tolerance to damp holes, but generally lower temperature thresholds and reduced long-term creep resistance compared to pure epoxies.
Decision Matrix: Substrate Condition vs. Anchor Type
The most critical variable in anchor selection is the assumed state of the concrete. Under ACI 318-19 Chapter 17, structural anchors in tension zones must be designed assuming the concrete is cracked, unless specific detailing proves otherwise. Use this matrix to narrow your taxonomy:
| Anchor Category | Uncracked Concrete | Cracked Concrete (ACI 318) | Seismic / Dynamic Loads | Moisture / Flooded Hole Tolerance |
|---|---|---|---|---|
| Wedge / Sleeve (Mechanical) | Excellent | Poor (unless ICC-ES certified) | Not Recommended | High |
| Undercut (Mechanical) | Excellent | Good (Interlock based) | Moderate | High |
| Pure Epoxy (Chemical) | Excellent | Excellent | Excellent (with seismic gel) | Low (requires dry hole) |
| Vinylester (Chemical) | Good | Good | Moderate | Moderate (damp hole rated) |
A frequent failure in field engineering is specifying standard wedge anchors for overhead or tension-zone applications without verifying ICC-ES certification for cracked concrete (per ICC-ES AC308). If an anchor lacks the specific "cracked concrete" reduction factor ($\psi_{c,P}$), the allowable load capacity must be reduced by up to 40-50% by the structural engineer, often resulting in undersized connections and failed municipal inspections.
Edge Distance and the Breakout Cone Multiplier
Concrete anchors fail most commonly via "concrete breakout"—a conical chunk of concrete pulling out of the slab. The capacity of this breakout cone is heavily dependent on edge distance ($c_{a1}$). If an anchor is placed closer to the edge than $1.5 \times h_{ef}$ (where $h_{ef}$ is the effective embedment depth), the breakout cone is truncated, and the load capacity drops linearly.
Rule of Thumb: For a 6-inch deep epoxy anchor, the minimum edge distance to achieve 100% breakout capacity is 9 inches. If you must anchor 4 inches from the edge, you must apply an edge reduction multiplier ($\psi_{ed,N}$) which can slash your tensile capacity by more than 30%. In tight-edge scenarios, always pivot from mechanical expansion anchors to chemical adhesive anchors, which do not generate radial expansion stress that would otherwise blow out the concrete edge.
Corrosion Taxonomy & Environmental Selection
Galvanic corrosion and environmental degradation dictate the lifespan of the anchor. Selecting the wrong metallurgy for the environment is a leading cause of facade and racking failures.
- Zinc-Plated (Clear/Yellow): Strictly for interior, climate-controlled environments. Will rust rapidly if exposed to condensation.
- Hot-Dipped Galvanized (HDG): Suitable for exterior, non-coastal applications. Note that HDG coatings are thick and can interfere with the tight tolerances of mechanical expansion sleeves; always use HDG-specific anchor bodies.
- Type 304 Stainless Steel: Standard for exterior architectural elements and mild chemical exposure.
- Type 316 Stainless Steel: Mandatory for coastal environments (salt spray), wastewater treatment plants, and direct contact with pressure-treated wood (which contains corrosive copper azoles).
Real-World Pricing & Specification Data (2026 Estimates)
Budgeting for anchor systems requires looking beyond the unit cost of the fastener. Chemical anchors require proprietary dispensing tools, specific carbide bits, and threaded rod stock. Below is a baseline pricing matrix for commercial-grade systems:
| Product Type | Brand / Model Reference | Size / Volume | Est. Unit Cost | Primary Application |
|---|---|---|---|---|
| Wedge Anchor (Zinc) | Powers Fasteners / Simpson | 1/2" x 5-1/2" | $1.45 - $1.85 | Interior structural steel base plates |
| Undercut Anchor (SS 316) | Hilti HUS3 / HST3 | 3/8" x 4" | $8.50 - $11.00 | Coastal facade brackets, tight edges |
| Pure Epoxy Adhesive | Simpson SET-3G / Hilti RE 500 | 10 oz Cartridge | $42.00 - $55.00 | Seismic retrofitting, deep embedments |
| Threaded Rod (ASTM A307) | Generic / Strong-Tie | 5/8" x 36" (HDG) | $14.50 - $18.00 | Paired with epoxy for structural rods |
Critical Installation Protocol for Structural Epoxy
The highest-performing chemical concrete anchor systems will fail if the hole preparation is compromised. Epoxy bonds to the concrete matrix, not to concrete dust. Field failures are almost exclusively traced back to improper hole cleaning. Follow this strict 4-step protocol:
- Drill with Precision: Use only ANSI B94.11M compliant 4-flute carbide hammer drill bits. Worn bits create oversized, out-of-round holes that destroy the epoxy's bond thickness tolerances.
- Initial Air Blow: Use an oil-free air compressor (minimum 90 PSI) with a wand that reaches the bottom of the hole. Blow out the bulk dust.
- Wire Brush: Insert a rotary wire brush attached to a drill, spinning it at the bottom of the hole to scour the walls and break up compacted silica dust.
- Final Air Blow & Inspect: Blow the hole a second time until no visible dust cloud exits. Wipe the threaded rod with a solvent (like MEK or acetone) to remove factory oils before injecting the epoxy.
By treating concrete anchoring as a precise structural taxonomy rather than a generic hardware selection, engineers and contractors can eliminate catastrophic pullout failures, pass rigorous municipal inspections, and ensure the long-term integrity of the built environment.