How to Drill Into Concrete: Preserving Slab Durability and Lifespan
Learn how to drill into concrete without causing micro-fractures. Expert guide on preserving slab durability, maximizing anchor lifespan, and preventing spalling.
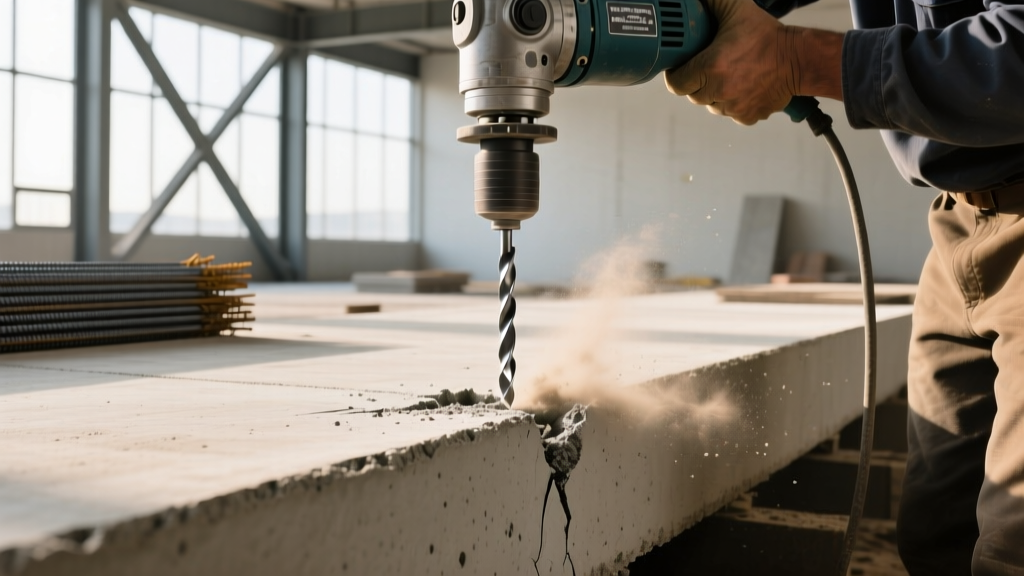
The Hidden Cost of Improper Drilling on Concrete Lifespan
Drilling into a cured concrete slab is often treated as a simple mechanical task, but from a structural engineering perspective, it is a localized disruption of the concrete matrix. When you drill into concrete, you are removing aggregate and cement paste, inherently creating a stress concentration point. If executed improperly, this process generates radial micro-fissures that extend far beyond the visible hole diameter.
These micro-cracks are the primary catalyst for premature concrete degradation. According to the Portland Cement Association, the durability of concrete is heavily dependent on its permeability. Micro-fractures caused by excessive lateral vibration during drilling create direct pathways for moisture, chlorides, and sulfates to penetrate the slab. Once these corrosive agents reach the embedded steel rebar, oxidation begins. Rust occupies up to seven times the volume of the original steel, generating immense internal tensile stresses that ultimately lead to catastrophic spalling and a drastically reduced structural lifespan.
To preserve the long-term integrity of the slab and ensure the installed anchors achieve their rated pull-out strength, the drilling process must be optimized to minimize matrix disruption, manage thermal expansion, and eliminate dust packing.
Tool and Bit Selection: Impact on Hole Integrity
The choice of tooling dictates the amount of lateral shear stress transferred to the surrounding concrete. Standard hammer drills rely on a mechanical clutch system that produces high-frequency, low-amplitude impacts. While adequate for masonry, this mechanism causes excessive surface spalling and micro-cracking in high-PSI structural concrete.
For structural slabs, an electro-pneumatic rotary hammer is mandatory. Rotary hammers deliver fewer impacts per minute but with significantly higher Joules of impact energy per strike, pulverizing the aggregate cleanly rather than fracturing the surrounding matrix.
The 4-Cutter Carbide Advantage
Using a standard 2-cutter flute bit increases the risk of binding when the bit strikes embedded rebar or large aggregate. When a 2-cutter bit binds, the rotational torque transfers directly into the concrete wall of the hole, twisting and cracking the matrix. Upgrading to a full-carbide 4-cutter head bit (such as the Hilti TE-CX or Bosch Bulldog Extreme HCFC2000) provides a symmetrical cutting geometry. If the bit strikes rebar, the 4-cutter head will grind through the steel without binding, eliminating rotational torque transfer and preserving the cylindrical integrity of the hole.
Before drilling, always use a ground-penetrating radar (GPR) or high-density electromagnetic rebar scanner. Severing primary tensile rebar not only compromises the slab's load-bearing capacity but instantly voids the structural warranty of the concrete element.
Step-by-Step Drilling for Maximum Structural Durability
Follow this precise sequence to ensure hole geometry remains true and matrix stress is minimized.
- Surface Preparation and Punching: Use a center punch to create a physical divot at the drill mark. This prevents the bit tip from "walking" across the surface, which glazes the concrete and creates an oversized, irregular hole opening.
- Pilot Hole Drilling: Start with a bit one size smaller than your final diameter (e.g., use a 3/8" bit for a final 1/2" hole). Set the rotary hammer to "rotation only" or the lowest impact setting. Drill to a depth of 1/2 inch to establish a perfectly plumb guide channel.
- Final Bore Execution: Switch to the final 4-cutter bit. Engage full hammer-drill mode. Apply steady, moderate forward pressure (approximately 15-20 lbs of force). Let the tool's pneumatics do the work; excessive manual pressure overheats the carbide tip, causing it to lose its temper and dull prematurely.
- Thermal Management: For holes deeper than 6 inches, withdraw the bit every 2 to 3 seconds while it is still spinning. This clears the flutes of dust and allows ambient air to cool the carbide head, preventing thermal shock to the concrete wall.
- Hole Cleaning (Critical for Epoxy): If using chemical anchors, the hole must be surgically clean. Dust left in the hole acts as a lubricant, reducing epoxy bond strength by up to 50%. Use the "4x4 Rule": four blasts of oil-free compressed air, followed by four strokes with a wire bore brush, repeated twice. Finish with a final blast of air until no visible dust exits the hole.
Anchor Lifespan: Mechanical vs. Chemical Fasteners
The type of anchor you install post-drilling fundamentally alters the long-term stress profile of the concrete. Mechanical anchors rely on friction and expansion, while chemical anchors rely on shear adhesion.
| Anchor Type | Expansion Stress on Concrete | Minimum Edge Distance | Best Use Case | Exterior Lifespan Expectancy |
|---|---|---|---|---|
| Wedge Anchor (Carbon Steel) | High (Up to 2,500 psi) | 5x Anchor Diameter | Interior, static loads, thick slabs | 5-10 years (unless hot-dip galvanized) |
| Sleeve Anchor | Moderate (Distributed expansion) | 4x Anchor Diameter | Light-duty fixtures, masonry | 3-7 years |
| Epoxy / Chemical (e.g., Simpson SET-3G) | Zero (Pure shear bond) | 2x to 3x Anchor Diameter | Edges, seismic zones, dynamic loads | 50+ years (matches concrete lifespan) |
As outlined in the American Concrete Institute (ACI 318-19) Chapter 17 anchoring guidelines, mechanical expansion anchors placed too close to a slab edge will induce cone-shaped blowouts. This instantly destroys the concrete's edge integrity and invites rapid water ingress. For any installation within 6 inches of a slab edge, or in exterior environments subject to freeze-thaw cycles, high-modulus epoxy anchors are the only choice that preserves the concrete's design lifespan.
Dust Extraction and Silica Management
Beyond structural integrity, drilling generates respirable crystalline silica. The OSHA Respirable Crystalline Silica Standard (29 CFR 1926.1153) mandates strict exposure limits. Utilizing a hollow-core drill bit connected to a HEPA-rated vacuum dust extraction system (such as the Hilti TE-CD system) serves a dual purpose. It ensures regulatory compliance and simultaneously prevents dust from packing at the bottom of the hole. Packed dust artificially reduces the effective embedment depth of your anchor, leading to premature pull-out failures under load.
Troubleshooting Common Failure Modes
When a drilled hole or installed anchor fails to perform, the root cause is almost always traceable to the drilling technique. Use this diagnostic framework to identify and correct issues:
- Symptom: Anchor spins freely during torqueing.
Cause: The hole was drilled oversized due to bit walking or excessive lateral vibration from a worn 2-cutter bit. The mechanical expansion sleeve cannot bridge the gap to the concrete wall.
Fix: Abandon the hole. Move a minimum of 8 inches away, and re-drill using a fresh 4-cutter carbide bit with a pilot hole sequence. Fill the failed hole with a structural epoxy patching compound to prevent moisture ingress. - Symptom: Radial cracking around the hole rim upon anchor tightening.
Cause: Edge blowout or excessive expansion stress from a wedge anchor in low-compressive-strength concrete (under 3,000 psi).
Fix: Switch to a chemical anchor system. Epoxy transfers the load through adhesion rather than outward radial expansion, eliminating the tensile stress that causes surface cracking. - Symptom: Bit stalls or burns the concrete (glazing).
Cause: Overheating due to lack of dust clearance or excessive downward pressure. The concrete matrix vitrifies, creating a glass-hard barrier.
Fix: Withdraw the bit, allow it to cool, and use a masonry nail to physically score the bottom of the glazed hole before resuming drilling at a lower RPM with frequent flute clearing.
Mastering the mechanics of drilling into concrete is not merely about making a hole; it is about managing the localized stress profile of a highly engineered composite material. By selecting symmetrical cutting tooling, adhering to strict hole-cleaning protocols, and matching the anchor physics to the concrete's tensile capacity, you ensure that the structural durability and intended lifespan of the slab remain entirely uncompromised.