Pouring Concrete Footers: Trench Depth, Rebar, and Cure Times
Master the installation of concrete footers with our expert guide on trench depth, rebar placement, mix ratios, and curing times for frost-proof foundations.
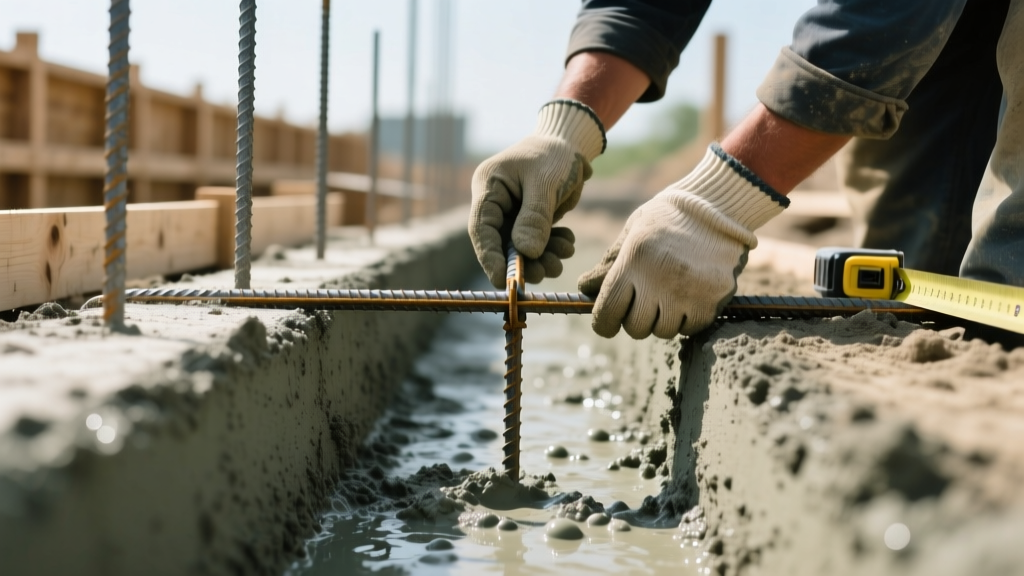
Structural Purpose and Soil Bearing Requirements
Concrete footers serve as the critical load-transfer mechanism between a structure's foundation walls and the underlying soil. A properly installed footer distributes the dead and live loads of the building over a wider surface area, preventing differential settlement and structural failure. According to the International Residential Code (IRC), footers must bear on undisturbed soil or engineered fill. If a trench is accidentally over-excavated, you cannot simply backfill with loose dirt; the void must be filled with compacted engineered fill or poured concrete to match the bearing capacity of the native soil.
The most common cause of footer failure in northern climates is frost heave. Footers must extend below the local frost depth, which ranges from 12 inches in the southern United States to over 60 inches in parts of Canada and the northern US. Always verify your local building department's specific frost depth requirement before breaking ground.
Sizing and Trench Excavation Protocols
Footer dimensions are dictated by the structural load of the building and the soil bearing capacity (typically assumed at 1,500 to 2,000 psf for standard residential builds unless a geotechnical report specifies otherwise). The general rule of thumb is that the footer width should be twice the width of the foundation wall it supports, and the thickness should equal the wall width.
| Structure Type | Wall Thickness | Minimum Footer Width | Minimum Footer Depth |
|---|---|---|---|
| 1-Story Wood Frame | 8 inches | 16 inches | 8 inches |
| 2-Story Wood Frame | 10 inches | 20 inches | 10 inches |
| Masonry / Brick Veneer | 12 inches | 24 inches | 12 inches |
Formwork and Rebar Reinforcement Matrix
While plain concrete has high compressive strength, it lacks tensile strength. Steel reinforcement is mandatory to prevent the footer from cracking under bending stresses caused by minor soil shifts. The Portland Cement Association recommends continuous horizontal reinforcement for all residential footers.
Rebar Specifications and Placement
- Material: Use Grade 60 rebar (ASTM A615), which provides a yield strength of 60,000 psi.
- Sizing: #4 (1/2-inch) or #5 (5/8-inch) bars are standard for residential footers. Use two continuous bars running parallel to the trench.
- Cover and Clearance: Rebar must be suspended 3 inches above the trench bottom and kept 3 inches away from the sides. This concrete cover protects the steel from moisture and corrosion.
- Chairs: Use 3-inch heavy-duty plastic bar chairs (do not use bricks or rocks, which can create voids and spalling points). Space chairs every 4 feet.
- Lap Splices: When bars must overlap, the minimum lap splice length is 40 bar diameters. For #4 rebar, this equals a 20-inch overlap; for #5 rebar, it requires a 25-inch overlap. Tie splices securely with 16-gauge tie wire.
The Pour: Mix Design and Placement Techniques
Ordering the correct concrete mix is non-negotiable. For standard footers, specify a 3,000 psi mix design. However, if you are building in a climate with severe freeze-thaw cycles, upgrade to a 4,000 psi mix with 5% to 7% air-entrainment. Air-entrainment creates microscopic bubbles in the concrete that give expanding freezing water room to expand without cracking the matrix.
Slump and Vibrating
Request a slump of 4 to 5 inches from your ready-mix supplier (per ASTM C94 standards). A higher slump (e.g., 7 inches) makes the concrete easier to rake but significantly reduces its final compressive strength and increases shrinkage cracking. During placement, the concrete must be consolidated to eliminate honeycombing (air pockets).
When using a mechanical stinger vibrator, insert the head vertically into the concrete and penetrate the previous lift by 6 inches to ensure a seamless bond. Space insertions approximately 18 inches apart, and withdraw the vibrator slowly to allow the void to close. Never use the vibrator to move concrete horizontally through the trench.
Curing and Backfill Timelines
Concrete does not 'dry'; it cures through a chemical hydration process. Proper curing is essential to achieve the designed psi strength. Because footers are typically covered by foundation walls and backfill, they are naturally protected from rapid moisture loss. However, in hot or windy conditions, the exposed top surface must be protected.
1. Immediate: Screed the top of the footer to a level, rough finish (do not trowel it smooth, as a rough surface provides a better mechanical bond for the foundation wall).
2. First 48 Hours: Keep the concrete damp. If temperatures are high, apply a liquid membrane curing compound or lay damp burlap over the footer.
3. Form Removal: Wait at least 12 to 24 hours before stripping footer forms, provided temperatures remain above 50°F (10°C).
4. Backfilling: Do not backfill against the footer or foundation wall for at least 3 to 7 days to prevent lateral pressure from displacing the uncured concrete.
Common Installation Failure Modes and Troubleshooting
Even experienced crews make mistakes during footer installation. Recognizing these failure modes early can save thousands of dollars in structural remediation.
1. Honeycombing and Segregation
Cause: Inadequate vibration, dropping concrete from too high (causing aggregate to separate from the paste), or a mix that is too dry.
Fix: Minor surface honeycombing can be patched with a polymer-modified structural repair mortar. Deep honeycombing that exposes the rebar requires chipping out the defective concrete and applying a form-and-pour repair grout.
2. Frost Heave Cracking
Cause: Pouring the footer above the local frost line or failing to insulate the perimeter of a shallow frost-protected foundation.
Fix: This is a catastrophic failure that cannot be patched. The affected section must be excavated, demolished, and re-poured at the correct depth.
3. Differential Settlement
Cause: Pouring on uncompacted backfill, organic topsoil left in the trench, or mixing native clay with expansive soils.
Fix: Ensure the trench bottom is virgin, undisturbed soil. If soft spots are encountered during excavation, over-excavate by 12 inches and fill with compacted 3/4-inch crushed gravel before pouring. Consult a geotechnical engineer for soils with high plasticity indices.
For advanced formwork techniques and deep-foundation troubleshooting, refer to the comprehensive guides provided by Fine Homebuilding's foundation project archives. Precision in the footer stage dictates the structural integrity of the entire building envelope.