Refractory Cement Maintenance: Cleaning & Repair Playbook
Master refractory cement maintenance with this cleaning and repair playbook. Learn slag removal, boil-out curing, and thermal spalling prevention.
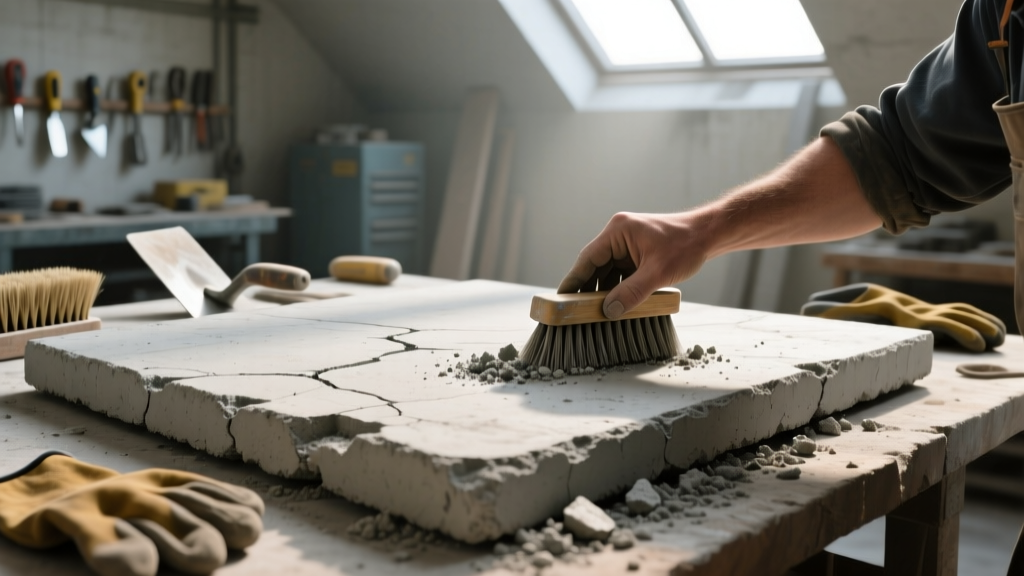
The Thermal Stress Factor: Why Refractory Cement Fails
Refractory cement operates in an environment that would instantly destroy standard Portland cement. Relying on calcium aluminate binders rather than calcium silicates, high-temperature refractory mixes (such as Kast-O-Lite 30 or APGreen SK-36) are engineered to withstand continuous operating temperatures between 2,500°F and 3,200°F. However, this extreme thermal resilience comes with specific vulnerabilities. The primary failure modes in refractory linings are not compressive overloads, but rather thermal spalling, chemical slag corrosion, and mechanical abrasion.
Maintenance of refractory cement is fundamentally about managing the ceramic bond. During the initial firing, the hydraulic bond (formed by water hydration) is driven off, and a ceramic bond takes over. If maintenance protocols introduce moisture incorrectly, or if cleaning methods induce rapid thermal gradients exceeding 500°F per hour, the matrix will shatter from the inside out. Understanding these material science constraints is the first step in executing a proper maintenance playbook.
Never use water to quench a hot refractory lining or accelerate the cooling process. Rapid temperature drops cause the outer surface to contract faster than the hot interior, generating massive tensile stresses that result in catastrophic thermal spalling. Furthermore, introducing water to a lining above 212°F creates instantaneous steam expansion within the pores, literally blowing the cement apart.
Diagnostic Matrix: Identifying Refractory Degradation
Before initiating any cleaning or repair protocol, you must accurately diagnose the failure mode. Misidentifying chemical corrosion as mechanical wear will lead to the wrong repair material and repeated failures.
| Symptom | Root Cause | Severity | Corrective Action |
|---|---|---|---|
| Horizontal/Vertical Cracking | Thermal expansion mismatch or lack of expansion joints. | Moderate | Route out cracks and fill with high-temp ceramic fiber rope and flexible silicone. |
| Pitting and Glazing | Chemical attack from alkali/acidic ash or molten slag. | High | Chip away vitrified layer; resurface with high-alumina (>60% Al2O3) castable. |
| Surface Flaking (Spalling) | Rapid heating/cooling cycles or trapped moisture during cure. | High | Remove loose material; patch and strictly follow the boil-out curing schedule. |
| White Efflorescence | Migration of soluble salts due to ambient moisture exposure. | Low | Dry brush removal; apply breathable, high-temp silane/siloxane sealer. |
The Cleaning Protocol: Removing Slag, Clinker, and Creosote
Cleaning refractory surfaces is not about aesthetics; it is about removing corrosive byproducts that degrade the calcium aluminate matrix. The approach varies drastically depending on the fuel source and the type of buildup.
Step 1: Cool-Down and Mechanical Slag Removal
Allow the kiln, forge, or oven to cool naturally to ambient temperature. For heavy clinker and slag deposits (common in coal-fired forges and industrial kilns), use a specialized slag hammer or a pneumatic needle scaler. Avoid aggressive angle grinding with wire cup brushes; while effective at removing scale, grinders easily strip away the vitrified, sintered surface layer that actually protects the underlying porous cement from further chemical attack.
Step 2: Chemical Carbon and Creosote Removal
In wood-fired pizza ovens and smokers, refractory cement absorbs creosote and carbonized fats. Do not use hydrochloric acid (muriatic acid) or highly acidic cleaners. Acid attacks the aluminate binders, turning the surface into a crumbly, structurally compromised powder. Instead, use an alkaline-based heavy-duty degreaser (pH 10-12) specifically formulated for masonry. Apply the degreaser, allow a 15-minute dwell time, and scrub with a stiff nylon brush. Rinse with minimal water and allow to dry completely before the next firing.
For light carbon buildup in pizza ovens, skip chemicals entirely. Build a small, high-intensity fire (pushing 900°F+) in the center of the oven. The carbon will oxidize and turn to white ash, which can be easily swept out with a natural bristle brush once cooled. This preserves the integrity of the refractory surface.
Patching and Resurfacing: The 24-Hour Repair Workflow
When spalling or slag corrosion exposes the aggregate beneath the surface, patching is required. Standard concrete patching compounds will fail instantly. You must use a compatible calcium aluminate castable or a pre-mixed high-temperature patching cement like Rutland High Temp Patching Cement for smaller, consumer-grade applications, or Kast-O-Lite 30 for industrial resurfacing.
- Preparation (Hour 0): Use a masonry chisel to undercut the damaged area, creating a 'V' groove or dovetail profile. This prevents the patch from popping out under thermal expansion. Vacuum out all dust; do not use water to rinse the cavity.
- Priming (Hour 1): Brush a thin slurry of the refractory cement mixed with water into the cavity to ensure a chemical bond with the old substrate.
- Application (Hour 2): Mix the refractory patching material strictly according to manufacturer water ratios (typically 10-12% by weight for castables). Over-wetting weakens the final ceramic bond. Trowel the mix firmly into the cavity, eliminating air pockets.
- Air Curing (Hours 3-24): Allow the patch to air cure for a minimum of 24 hours at temperatures above 50°F. The hydraulic bond needs this time to develop green strength.
- The Boil-Out Schedule (Hour 25+): This is where most repairs fail. You must drive off the free water before it turns to high-pressure steam. Ramp the temperature up at a maximum rate of 50°F per hour until you reach 212°F (100°C). Hold the temperature at 212°F for at least 4 hours. Only after this hold period should you resume ramping up to operating temperatures.
Preventative Maintenance Schedule
Reactive repairs are costly and cause downtime. Implementing a structured inspection playbook extends the lifespan of refractory linings by years. Industry leaders like HarbisonWalker International emphasize that routine visual and thermal inspections are the most cost-effective maintenance strategies available.
- Weekly: Visual inspection of the cold lining for new cracking, spalling, or slag accumulation. Check expansion joints for debris that could restrict thermal movement.
- Monthly: Perform an infrared thermographic scan of the exterior steel shell while the unit is at operating temperature. Hot spots on the shell indicate localized refractory thinning or failure, allowing for targeted patching before a breakout occurs.
- Annually: Conduct a physical sounding test. Tap the refractory surface with a lightweight hammer. A sharp, ringing sound indicates a solid, well-bonded lining. A dull thud indicates delamination from the backup insulation or steel shell, requiring immediate demolition and replacement of that section.
Expert FAQs on Refractory Upkeep
Can I paint refractory cement to seal it against moisture?
Standard masonry sealers or paints will burn off, emit toxic fumes, and trap moisture. If the refractory lining is in an ambient environment prone to high humidity (like an outdoor pizza oven), use a breathable, high-temperature silane/siloxane penetrating sealer. These sealers line the pores without forming a surface film, allowing internal steam to escape during firing while repelling liquid rain.
Why is my refractory mortar crumbling between the firebricks?
Mortar joints are the weakest link in any refractory assembly. Crumbling is usually caused by using a silica-based mortar in an environment with high alkali exposure (like wood ash or coal slag), which creates a low-melting-point glass that fluxes and destroys the joint. Upgrade to a high-alumina air-setting mortar (such as those detailed by Morgan Advanced Materials) which resists chemical fluxing up to 3,000°F.
How thick does a refractory cement patch need to be?
For structural integrity, a castable refractory patch should never be less than 1 inch thick. If the damage is shallower than 1 inch, use a high-temperature plastic refractory (a moldable, clay-like material) or a specialized thin-layer ceramic coating designed for veneer repairs. Attempting to trowel standard castable refractory at 1/4 inch will result in immediate shrinkage cracking and delamination upon the first heat cycle.