Sealed Concrete Application: Step-by-Step Floor Coating Guide
Master sealed concrete application with our step-by-step floor coating guide. Learn surface prep, moisture testing, and exact sealer rollout techniques.
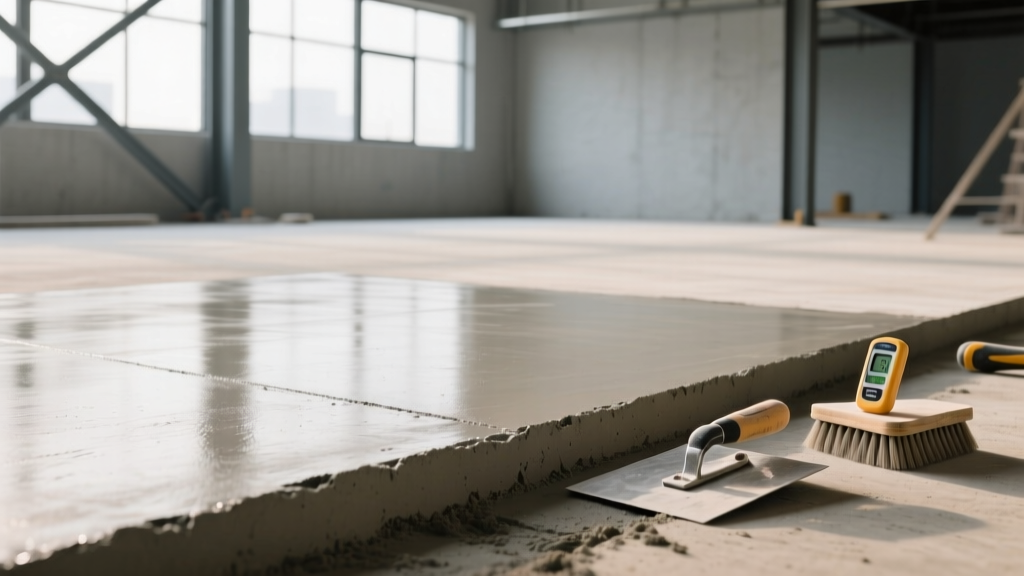
Substrate Assessment: The Moisture Mandate
Applying a film-forming sealer to concrete is not merely a cosmetic finishing step; it is a chemical and mechanical bonding process that demands rigorous substrate validation. The leading cause of sealed concrete failure—accounting for over 70% of premature delamination and blistering—is unmitigated moisture vapor transmission (MVT). Before opening a single pail of sealer, installers must quantify the slab's internal moisture condition.
Do not rely on the ASTM D4263 plastic sheet test for quantitative moisture data. This test only detects surface condensation and will entirely miss deep-slab hydrostatic pressure that will eventually blister your sealer.
Quantitative Moisture Testing Protocols
Industry standards dictate two primary testing methods to ensure a slab is ready for sealed concrete applications:
- ASTM F2170 (In-Situ Relative Humidity): Using specialized probes inserted into drilled holes at 40% of the slab's depth, this test measures internal RH. Most epoxy and polyurethane sealers require an RH reading below 75%. If readings exceed 80%, a dedicated moisture-mitigation primer (such as a two-part epoxy moisture barrier) is mandatory.
- ASTM F1869 (Calcium Chloride MVER Test): This measures the Moisture Vapor Emission Rate at the surface. The threshold for most standard acrylic and epoxy sealers is 3.0 lbs per 1,000 square feet per 24 hours. Readings between 3.0 and 5.0 lbs require a vapor-reducing primer; readings above 5.0 lbs often require full moisture mitigation systems before any topcoat is applied.
For comprehensive guidelines on substrate evaluation, refer to the testing frameworks outlined by The Concrete Network and local building codes.
Mechanical Preparation and ICRI CSP Standards
Sealers do not adhere to smooth, troweled concrete. The surface must be mechanically abraded to open the pores and create a specific Concrete Surface Profile (CSP). The International Concrete Repair Institute (ICRI) categorizes these profiles from CSP 1 (very smooth) to CSP 9 (very rough).
For thin-film penetrating and acrylic sealers, a CSP 1 or 2 achieved via light diamond grinding or acid etching is sufficient. However, for high-build film-forming sealers like 100% solids epoxies or polyaspartics, you must achieve a CSP 3 or 4. This requires aggressive mechanical preparation, typically utilizing a planetary floor grinder equipped with 30-grit to 40-grit metal-bonded diamond segments, or shot blasting for heavily contaminated slabs.
Expert Insight: After grinding, always perform a 'water drop test.' Drop a teaspoon of water onto the prepared concrete. If it beads up, the pores are still clogged with curing compounds or laitance, and the sealer will peel. If it absorbs within 60 seconds, the substrate is properly profiled and ready for sealing.
Sealer Selection Matrix for Interior and Exterior Slabs
Choosing the correct chemistry is critical for the longevity of your sealed concrete. The table below contrasts the four primary sealer categories used in modern applications.
| Sealer Type | Solids Content | Target Mil Thickness | UV Stability | Recoat Window |
|---|---|---|---|---|
| Acrylic (Solvent/Water) | 15% - 30% | 1.5 - 2.5 mils | Excellent | 2 - 4 hours |
| Epoxy (100% Solids) | 98% - 100% | 8 - 12 mils | Poor (Ambers) | 12 - 24 hours |
| Polyurethane | 50% - 70% | 2.5 - 3.5 mils | Excellent | 8 - 12 hours |
| Polyaspartic | 70% - 95% | 4 - 6 mils | Excellent | 1 - 3 hours |
Step-by-Step Sealed Concrete Application Procedure
The following procedure assumes a high-build, two-component system (such as an epoxy base with a polyurethane or polyaspartic topcoat) applied to an interior slab. For detailed product specifications and safety data, consult manufacturers featured in For Construction Pros directories.
Phase 1: Tooling and Environment Setup
Verify that the ambient temperature is between 60°F and 85°F, and the slab temperature is at least 5°F above the dew point to prevent condensation during curing. Assemble your tooling: a notched squeegee (for epoxy basecoats), a 3/8-inch nap microfiber roller cover, a roller frame with an extension pole, spiked shoes, and a mixing drill with a jiffy mixer attachment.
Phase 2: Mixing and Induction
- Part A and Part B Mixing: Mix the resin (Part A) and hardener (Part B) at a low RPM (300-400) for exactly 3 minutes. Scrape the sides and bottom of the pail to ensure a homogenous blend.
- Induction Time: Many 100% solids epoxies require a 10-to-15-minute 'induction' or 'sweat' time after mixing. This allows trapped air to escape and the chemical cross-linking to initiate, which drastically reduces pinholing during application.
Phase 3: The Squeegee and Back-Roll Method
- Cut-In: Use a high-quality synthetic bristle brush to cut in all edges, corners, and control joints.
- Squeegee Application: Pour the mixed sealer in a continuous windrow across the floor. Pull the notched squeegee through the material to spread it evenly and force it into the concrete pores. The notches dictate the baseline mil thickness.
- Back-Rolling: Immediately follow the squeegee with a 3/8-inch microfiber roller. Roll in a single direction, then cross-roll perpendicular to ensure an even film. Never over-roll. Over-rolling introduces micro-bubbles and breaks the chemical surface tension, leading to orange-peel textures.
Always maintain a 'wet edge.' If you are working in a large warehouse, divide the floor into 400-square-foot sections. Never let the leading edge of your previous section dry before overlapping it with the next pour, or you will create a visible lap mark that cannot be sanded out without stripping the entire floor.
Application Troubleshooting: Pinholes, Blushing, and Delamination
Even with meticulous preparation, sealed concrete applications can present chemical and mechanical anomalies. Recognizing these early allows for immediate remediation.
- Outgassing and Pinholes: Small bubbles that pop and leave tiny craters are caused by air escaping the concrete slab as the sealer heats up and expands. Fix: Apply the basecoat during the cooling part of the day (late afternoon/evening) so the slab temperature is dropping, which forces air to contract inward rather than push outward through the wet film.
- Amine Blushing: A greasy, whitish film that appears on the surface of curing epoxy, usually caused by high humidity reacting with the hardener. Fix: Wash the surface with warm water and a stiff nylon brush, then dry completely. You must sand the blushed surface with 120-grit screens before applying the topcoat, or the topcoat will delaminate.
- Micro-Blistering: Tiny, raised domes on the surface indicate trapped moisture vapor pushing through a non-breathable sealer. Fix: This is a catastrophic failure requiring complete mechanical removal via shot blasting and the application of a breathable, moisture-vapor-permeable sealer system.
Curing and Traffic Timelines
Walk-through traffic is generally permissible in 12 to 18 hours for epoxies, but full chemical cure and heavy forklift traffic require a minimum of 72 hours at 70°F. Polyaspartic topcoats accelerate this timeline significantly, allowing light foot traffic in 2 hours and vehicle traffic in 24 hours, making them the superior choice for commercial sealed concrete applications where downtime is financially punitive.