Stamped Concrete vs Pavers: A Troubleshooting and Repair Guide
Compare the long-term repair realities of stamped concrete vs pavers. Expert troubleshooting for cracking, sealer failure, settling, and joint washout.

The Day 1 vs. Year 5 Reality Check
When evaluating stamped concrete vs pavers for a driveway, patio, or pool deck, most homeowners focus on day-one aesthetics and initial installation costs. However, the true cost of ownership reveals itself in year five and beyond. Both materials are subject to environmental stress, soil movement, and surface degradation, but their failure modes and repair methodologies are fundamentally different. Stamped concrete is a monolithic, rigid slab that requires chemical and structural interventions when it fails. Pavers are a flexible, interlocking system that requires mechanical and geotechnical corrections. Understanding these repair realities is critical for making an informed material selection.
Failure Mode Matrix: How Each Material Breaks Down
Before diving into specific repairs, it is essential to understand the primary vulnerabilities of each system. The American Concrete Institute (ACI) and the Interlocking Concrete Pavement Institute (ICPI) outline distinct failure parameters for rigid versus flexible pavements.
| Failure Category | Stamped Concrete (Rigid) | Pavers (Flexible) |
|---|---|---|
| Surface Degradation | Sealer hazing, flaking, UV yellowing, color fading | Efflorescence, surface chipping, stain absorption |
| Structural Movement | Random cracking, slab settling, frost heave fracturing | Localized sinking, edge creep, base washout |
| Joint/Seam Issues | Control joint spalling, weed growth in saw cuts | Polymeric sand washout, weed intrusion, ant mining |
| Repair Complexity | High (requires chemical stripping or slab jacking) | Moderate (requires mechanical lifting and re-screeding) |
Troubleshooting Stamped Concrete: Surface and Structural Fixes
1. Sealer Hazing, Flaking, and Whitening
The most common complaint with stamped concrete is sealer failure. This typically manifests as a milky white haze or peeling flakes. This occurs when a solvent-based acrylic sealer is applied over trapped moisture, or when the concrete's moisture vapor transmission rate exceeds the sealer's breathability.
The Repair Protocol:
- Chemical Stripping: For severe flaking, apply a biodegradable chemical stripper (such as Citrus Strip or a dedicated acrylic sealer remover). Allow it to dwell for 30-45 minutes, then agitate with a stiff-bristle broom and power wash at 3000 PSI.
- Solvent Re-emulsification: For mild hazing (whitening), apply Xylene solvent using a pump sprayer. The Xylene will re-melt the acrylic sealer, allowing the trapped moisture to escape. Back-roll immediately with a microfiber roller to ensure an even finish.
- Resealing: Once the slab is completely dry (minimum 48 hours, verified with a plastic sheet moisture test), apply a breathable, water-based acrylic sealer like Foundation Armor AR350 or SuperSeal 25. These allow moisture vapor to escape while providing UV protection.
2. Random Cracking and Slab Settling
While control joints are cut to induce cracking in straight lines, random cracking occurs due to subgrade failure, shrinkage, or heavy vehicular loads. If a section of the stamped slab has settled, tearing it out destroys the aesthetic continuity of the stamp pattern.
The Repair Protocol:
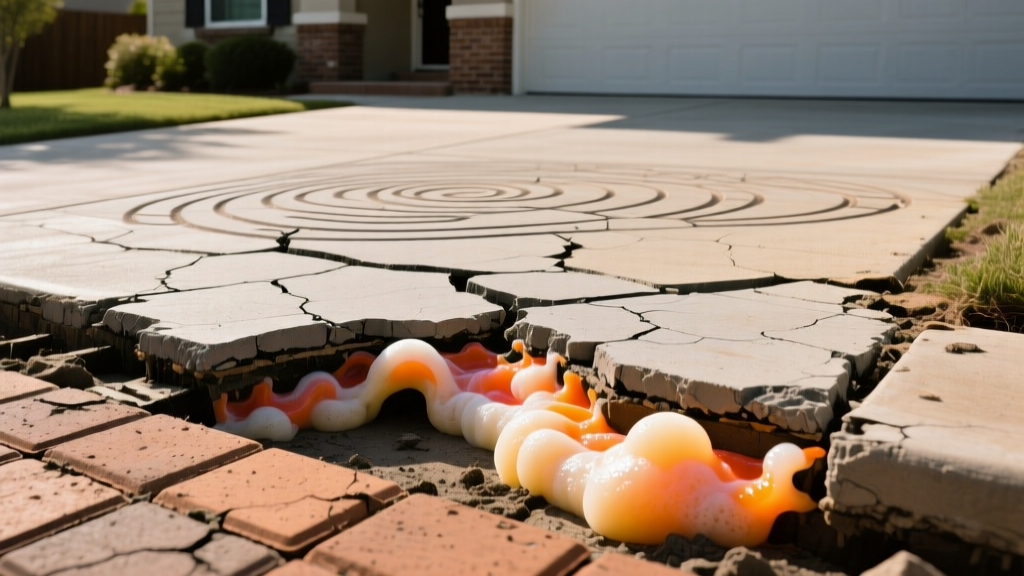
- For Settling (Slab Jacking): Utilize polyurethane foam injection (e.g., PolyLevel). Technicians drill 5/8-inch holes through the stamped surface and inject high-density structural foam. The foam expands, lifting the slab back to grade within 15 minutes. The small drill holes are patched with color-matched epoxy mortar.
- For Active Cracks: Route the crack with a diamond blade grinder to a width of 1/4 inch and a depth of 1/2 inch. Clean with compressed air and fill with a self-leveling polyurethane sealant like Sikaflex-1a. Immediately broadcast color-matched quartz sand over the wet sealant to camouflage the repair within the stamped texture.
Troubleshooting Pavers: Geotechnical and Joint Corrections
1. Edge Restraint Failure and Lateral Creep
Pavers rely entirely on edge restraint to maintain their interlocking friction. If the perimeter restraints fail, the pavers will spread, opening joints and allowing the base to wash out. This is frequently caused by using inadequate plastic restraints secured with short landscape spikes in expansive clay soils.
2. Joint Sand Washout and Weed Intrusion
Standard masonry sand used in older installations easily washes out during heavy rain or power washing, leading to weed growth and ant nesting. The modern repair standard requires upgrading to advanced polymeric sands.
The Repair Protocol:
- Joint Excavation: Use a specialized paver sand removal tool or a shop vac with a narrow crevice tool to remove the old sand to a depth of at least 1 inch.
- Polymeric Sand Application: Sweep in a high-performance polymeric sand, such as Alliance Gator MAXX. This product contains advanced polymers that bind the sand particles together when activated.
- Activation: Compact the sand using a plate compactor. Then, mist the surface with a fine spray of water. Critical: Do not soak the pavers. Over-watering will cause the polymers to float to the surface, creating a stubborn white haze that is nearly impossible to remove.
3. Localized Sinking and Base Washout
If a specific area of the paver field has sunk (often near downspouts or heavy load zones), the underlying ASTM D2940 crushed aggregate base has likely washed out or compacted unevenly.
The Repair Protocol:
Pry up the affected pavers using two flathead screwdrivers or specialized paver pulling tools. Excavate the compromised bedding sand and base material. Re-fill with 3/4-inch crushed stone, compacting it in 2-inch lifts using a hand tamper. Re-screed the bedding sand using 1-inch steel pipes as guides, replace the pavers, and re-compact the entire section.
Repair Cost and Effort Comparison
When deciding between stamped concrete vs pavers, factor in the long-term repair economics. The table below outlines average professional repair costs and DIY viability for common issues.
| Repair Scenario | Material | Avg. Cost (per sq. ft.) | DIY Viability | Time to Cure/Use |
|---|---|---|---|---|
| Sealer Stripping & Resealing | Stamped Concrete | $3.50 - $5.50 | Moderate | 48-72 hours |
| Polyurethane Slab Jacking | Stamped Concrete | $8.00 - $15.00 | Professional Only | 15 minutes |
| Polymeric Sand Replacement | Pavers | $1.50 - $2.50 | High | 24 hours |
| Base Repair & Re-leveling | Pavers | $4.00 - $7.00 | High | Immediate |
The Final Verdict: Choosing Based on Repair Tolerance
The choice between stamped concrete and pavers ultimately comes down to your site's soil conditions and your tolerance for different types of maintenance. If your property features stable, well-draining soil and you prefer a seamless surface that only requires chemical resealing every 3 to 5 years, stamped concrete is the superior choice. However, if you are building over expansive clay, poor drainage zones, or areas with heavy tree root networks, pavers offer a distinct advantage. The ability to unzip a paver field, repair the subgrade, and reinstall the exact same units without visible patch marks makes pavers the more forgiving and cost-effective option in geotechnically challenging environments.
Written by
James ThorntonJames Thornton is a construction industry veteran with 25 years of hands-on experience in wood framing, lumber grading, and residential building codes. He started as a framing carpenter in rural Oregon, earned his ICC Residential Building Inspector certification, and eventually became a senior plan reviewer for the City of Portland Bureau of Development Services. James holds a B.S. in Wood Science & Technology from Oregon State University and is a certified lumber grader through the West Coast Lumber Inspection Bureau (WCLIB). He has inspected over 3,000 residential construction sites and authored the city's internal guide on advanced framing techniques (2x6 at 24" O.C.). James lives in Bend, OR, where he builds custom timber-frame cabins and competes in lumberjack sports.
More from James Thornton
View all
Insulation
Best Home Insulation Materials: Complete 2026 Guide
Compare top home insulation materials for 2026. Find R-values, installed costs per square foot, and best uses for fiberglass, spray foam, and mineral wool.
Aug 4, 2026

Sustainable Building
Certify Your Green Building Material for LEED and WELL
Step-by-step guide to certifying a green building material for LEED v5 and WELL v2. Master EPDs, HPDs, and VOC limits for 2026 project specifications.
Aug 4, 2026

Stone & Masonry
Veneer Stacked Stone Panels: Interior Design & Style Showcase
Discover how veneer stacked stone panels transform interiors. Explore modern design profiles, material pairings, and technical installation specs.
Aug 4, 2026