How to Install Hog Fence Panels for Heavy-Duty Livestock Enclosures
Learn the exact steps to install hog fence panels for livestock. Covers T-post spacing, stretching techniques, and heavy-duty gate construction.
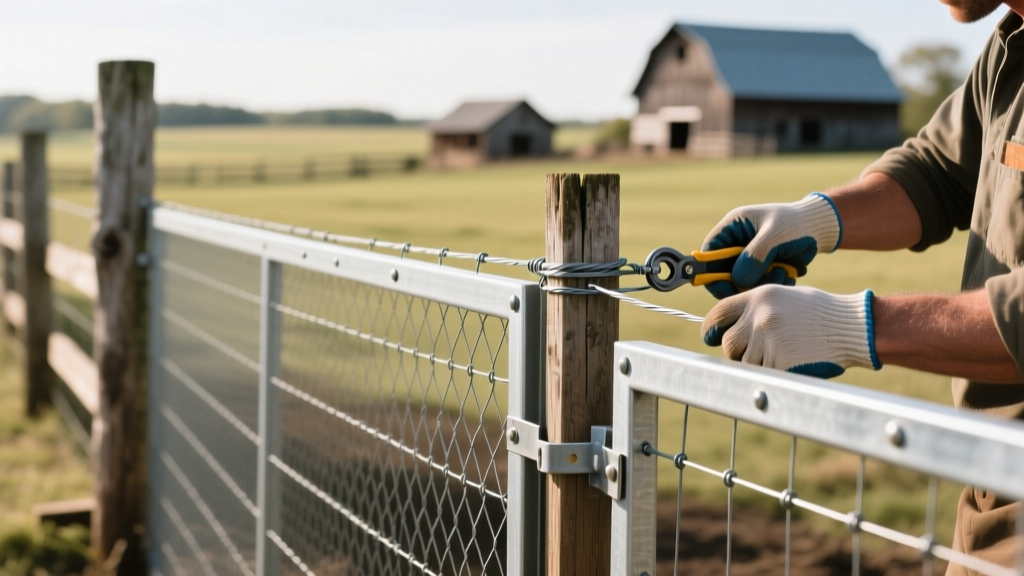
Material Specifications & Tool Loadout
Hog fence panels—often utilized interchangeably with cattle or utility panels—are rigid, 16-foot long welded wire meshes. Standard specifications dictate 4-gauge wire with 6x6 inch or 4x4 inch square openings, heavily coated in Class 3 galvanization for rust resistance. Unlike woven wire fencing, hog panels do not require a mechanical stretcher; their structural rigidity is their primary defense against animal impact. However, this same rigidity demands absolute precision in post alignment during installation.
| Item | Required Specification | Est. Cost (2026) |
|---|---|---|
| Hog Panel | 16ft x 52in, 4-gauge, Class 3 Galvanized | $38 - $48 |
| Steel T-Post | 7ft length, 1.33 lb/ft weight, painted | $9 - $14 |
| T-Post Clips | 10-gauge galvanized wire | $0.06 / ea |
| Corner Wood Post | 4x4 or 6x6 UC4A treated pine | $18 - $25 |
| Post Driver | 17lb manual steel driver or pneumatic equivalent | $50 - $75 |
| Cutting Tool | Reciprocating saw w/ carbide blade or angle grinder | $80 - $140 |
Site Preparation and Post Driving Protocol
The failure of most rigid panel fences originates underground. According to the USDA NRCS Fencing Standard (Code 382), line posts must be driven to a depth that provides sufficient cantilever resistance against lateral livestock pressure. For a 52-inch tall hog panel, you must use 7-foot T-posts driven at least 24 to 30 inches into the soil.
- String Line Layout: Run a mason's string line tightly between your corner posts. This ensures a perfectly straight fence line, which is non-negotiable when mounting rigid 16-foot panels.
- Spacing Calculation: Mark T-post locations every 8 feet. This places exactly three posts under each 16-foot panel (both ends and the exact center). For high-pressure enclosures (e.g., bull pens or aggressive feral hog traps), reduce spacing to 6 feet.
- Driving the Posts: Place the T-post driver over the steel post. Drive the post until the lowest T-post stud (the anchor plate nubs) is flush with the soil surface. Ensure the T-post studs face the *inside* of the enclosure so animals cannot push the panel off the posts.
Mounting and Securing the Panels
With the posts set, the physical mounting of the hog fence panels begins. Proper clipping technique prevents the panels from sliding down the T-posts over time or being lifted by rooting animals.
The Overlap Technique
Never butt the ends of two panels together against a single T-post. This creates a weak hinge point. Instead, overlap the panels. For standard livestock, a 6-inch overlap (one square) is sufficient. For hogs, which are notorious for lifting fence edges with their snouts, mandate a 12-inch overlap (two squares). Secure both overlapping layers to the shared T-post.
Clipping Pattern and Execution
Use 10-gauge galvanized T-post clips. For a 52-inch panel, apply four clips per post:
- Clip 1 (Bottom): Secure the bottom horizontal wire. Critical: Always wrap the clip around the bottom wire first. Gravity and animal pressure will pull the panel down; securing the bottom wire bears the vertical load.
- Clip 2 (Lower-Mid): Secure the wire approximately 16 inches from the bottom.
- Clip 3 (Upper-Mid): Secure the wire approximately 34 inches from the bottom.
- Clip 4 (Top): Secure the top horizontal wire to prevent outward bowing.
Navigating Uneven Terrain and Corners
Because hog panels are manufactured from rigid 4-gauge welded wire, they cannot be 'contoured' or flexed to follow the rolling hills of a pasture like woven wire or high-tensile wire can. You must use the 'stepping' method.
Stepping the Fence Line
When the ground slopes, keep the panels perfectly level. Drive your T-posts plumb (vertically straight), not angled to the slope. As the ground drops, step the next panel down, overlapping the top of the lower panel with the bottom of the upper panel. Secure the overlap tightly to the T-post. The resulting gap at the bottom of the lower panel can be filled with a treated 2x6 kickboard or covered with a secondary strip of welded wire mesh to prevent piglets from escaping.
Corner and End Post Bracing
T-posts are strictly line posts; they cannot handle the horizontal tension of a corner. Corners and gate ends require treated wood posts (minimum 4x4, preferably 6x6) set in concrete or driven 36 inches deep. Construct an H-brace at every corner. The Penn State Extension guidelines on livestock fencing emphasize that an H-brace with a diagonal wooden brace and a 9-gauge tension wire is mandatory to prevent the corner post from leaning inward under the weight and pressure of the rigid panels.
Constructing a Heavy-Duty Gate from Hog Panels
Pre-built gates are expensive and often lack the rigidity of a hog panel. Building your own gate from a panel is highly cost-effective and structurally superior.
- Cut the Panel: Measure your gate opening (typically 4 to 6 feet for pedestrian or ATV access). Cut the hog panel to size using your reciprocating saw.
- Frame the Gate: Cut 1.5-inch x 1.5-inch galvanized steel square tubing to frame the perimeter of the cut panel. Weld the tubing at the corners, or use heavy-duty steel mending plates and carriage bolts if welding is unavailable.
- Attach the Mesh: Lay the cut panel inside the steel frame. Secure the 4-gauge wire to the tubing using 3/8-inch galvanized U-bolts spaced every 12 inches, or weld the wire directly to the tubing at every intersection.
- Hang the Gate: Weld a 5/8-inch galvanized eyebolt to the hinge side of the gate frame and a corresponding pin to the hinge post. Install a heavy-duty gravity latch on the closing side to prevent hogs from nosing the gate open.
Troubleshooting Common Installation Failures
Panel Bowing Outward
Cause: T-post spacing exceeds 8 feet, or clips are only placed on the top wire.
Fix: Drive an additional T-post in the center of the bowed section. Re-clip the panel ensuring the bottom horizontal wire is tightly bound to the post stud.
Animals Rooting Under the Fence
Cause: Ground is uneven, leaving a gap between the bottom wire and the soil.
Fix: Install a continuous 2x6 pressure-treated kickboard along the bottom inside of the fence line, screwed directly into the T-posts using self-drilling tek screws, or trench the bottom wire 2 inches into the soil before backfilling.
Galvanization Flaking at Cut Ends
Cause: Cutting the panel exposes raw steel, leading to localized rust that can spread.
Fix: Immediately coat all cut wire ends with a cold galvanizing compound (zinc-rich paint) to restore the cathodic protection of the Class 3 coating.