How to Install a Private Fence: Step-by-Step Post and Panel Guide
Learn how to install a private fence with our step-by-step guide covering post hole depths, panel alignment, and material selection for lasting privacy.
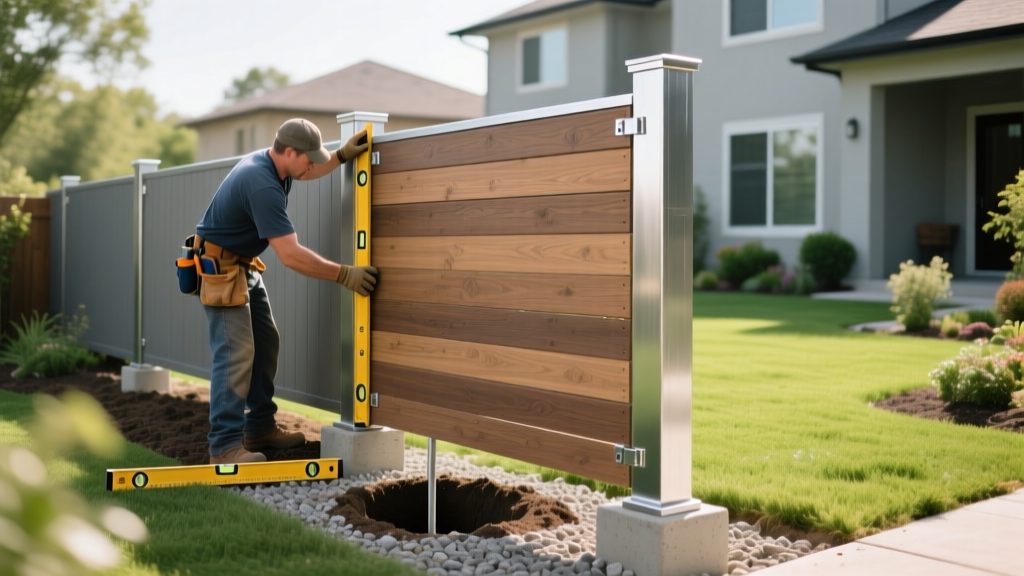
Pre-Installation: Property Lines and Utility Marking
Constructing a private fence begins long before the first post hole is dug. The most costly mistake in fence installation is building on a neighbor's property or striking an underground utility line. In 2026, local municipalities strictly enforce setback requirements, typically mandating that fence structures remain 2 to 6 inches inside your legal property boundary.
Once utilities are marked with spray paint and flags, use a professional land surveyor's plat to establish your exact corner pins. Run a mason's line between these pins to create your primary fence run baseline. Do not rely on existing property markers like sidewalks or neighboring fences, as these frequently deviate from legal lot lines by several feet.
Material Selection for True Privacy
A true private fence eliminates sightlines entirely. Standard stockade fences leave gaps as wood shrinks over time. For maximum privacy, specify a board-on-board or shadowbox configuration. Below is a 2026 cost and performance matrix for the most common privacy fencing materials.
| Material Type | Privacy Style | Installed Cost (per lin. ft.) | Lifespan & Maintenance |
|---|---|---|---|
| Pressure-Treated Pine | Board-on-Board | $38 - $48 | 15-20 years; requires annual sealing |
| Western Red Cedar | Shadowbox | $45 - $65 | 20-25 years; naturally rot-resistant |
| Extruded Vinyl (PVC) | Tongue-and-Groove | $55 - $80 | 30+ years; zero maintenance, fade risk |
| Wood-Plastic Composite | Interlocking Panels | $70 - $95 | 25-30 years; heavy, requires steel posts |
When purchasing wood, verify the treatment stamp. The American Wood Protection Association mandates that posts buried in soil must be rated UC4A or UC4B (Ground Contact). Standard above-grade lumber (UC3A) will rot at the soil line within five years if used for fence posts.
Step-by-Step Installation Procedure
The structural integrity of your private fence relies entirely on the post foundation. The American Fence Association recommends that post hole depth be at least one-third the height of the above-ground fence, plus an additional 6 inches for a gravel drainage base.
Step 1: Setting Corner and Gate Posts
- Excavation: Dig corner and gate post holes to a depth of 36 inches (for a 6-foot fence) and a diameter of 12 inches. These posts bear the lateral tension of the entire fence run.
- Base Drainage: Add 4 inches of washed 3/4-inch crushed gravel to the bottom of the hole and tamp it solid. This prevents water from pooling under the post.
- Plumbing and Bracing: Set the 4x4 post in the center of the hole. Use two 2x4 braces screwed to the post and staked into the ground to hold it perfectly plumb on two adjacent sides.
- Concrete Pour: Mix a 5,000 PSI high-strength concrete or use a fast-setting fence post mix. Pour the concrete to 2 inches below the final grade level, sloping the top away from the post to shed water.
Step 2: Digging and Aligning Line Posts
Do not dig all line post holes at once. String a tight mason's line between your set corner posts, exactly 2 inches off the post face. Use a line level to ensure the string is perfectly horizontal. Measure and mark post locations every 8 feet on center (OC). Dig line post holes to a 10-inch diameter. Set line posts using the mason's line as your alignment guide, ensuring the face of every post touches the string precisely.
The most vulnerable point of a wood private fence is the transition zone where the post meets the soil. Apply a bituminous post sleeve, such as a PostSaver, over the bottom 24 inches of the post before setting it in concrete. This creates an impermeable oxygen and moisture barrier, effectively doubling the lifespan of the post.
Step 3: Attaching Rails and Privacy Panels
For a 6-foot private fence, use three horizontal 2x4 rails (top, middle, and bottom). Attach the rails to the posts using hot-dipped galvanized structural screws (e.g., Simpson Strong-Tie SDWS) rather than nails, which can back out during seasonal wood expansion.
- Bottom Rail: Install 4 inches above the ground to prevent weed-eater damage and soil moisture wicking.
- Middle Rail: Center exactly between the top and bottom rails to prevent picket bowing.
- Top Rail: Install 6 inches below the post tops.
When nailing the privacy pickets (boards), use 1-1/2 inch hot-dipped galvanized ring-shank nails or stainless steel screws. Ring-shank nails provide 40% more withdrawal resistance than smooth nails, preventing the boards from popping loose during high wind events. For a board-on-board private fence, overlap the vertical pickets by exactly 1.5 inches on both sides of the rail.
Common Installation Failures and How to Avoid Them
Frost Heave Uplift
In northern climates, water in the soil freezes and expands, pushing concrete footings upward. If your post hole is bell-shaped at the top, the frost will grip the concrete and lift the post. Always dig cylindrical holes or use a sonotube cardboard form that extends 12 inches below the frost line to create a smooth, frictionless surface that frost cannot grip.
Panel Warping and Cupping
Wood naturally cups away from the bark side of the tree. When installing privacy pickets, look at the end grain of the board. Install the boards so the bark side faces outward (away from the yard you are enclosing). If installed backward, the edges will curl outward as the wood dries, creating gaps that ruin the privacy of the fence.
FAQ: Private Fence Installation
Can I install a private fence on a slope?
Yes, but you must choose between 'racking' and 'stepping'. For mild slopes (less than 10 degrees), you can rack the fence panels by paralleling the ground slope. For steeper slopes, you must step the fence, keeping the rails perfectly level and cutting the pickets at the bottom to follow the terrain. Stepping requires custom-cutting each picket and leaves triangular gaps at the bottom that must be filled with custom wood kick-boards or landscaping.
How close to the property line can I build?
While you legally can build directly on the property line in some jurisdictions, doing so often triggers 'party fence' laws, making your neighbor financially and legally responsible for half the structure. To maintain total control over your private fence, build it 2 to 4 inches inside your property line. Ensure the 'good' side (the flat rail side) faces outward toward the neighbor or the street, which is a legal requirement in most municipal codes.
Do I need a permit for a 6-foot privacy fence?
Most municipalities require a building permit for any fence over 4 feet in height, or any fence located in a front yard setback. Permit fees typically range from $50 to $150. Failing to pull a permit can result in daily fines and a municipal order to tear down the newly constructed fence at your own expense.