Rot Iron Fence Maintenance: Rust Repair and Cleaning Playbook
Master your rot iron fence maintenance with this expert playbook. Learn rust conversion chemicals, cleaning PSI limits, and DTM coating metrics.
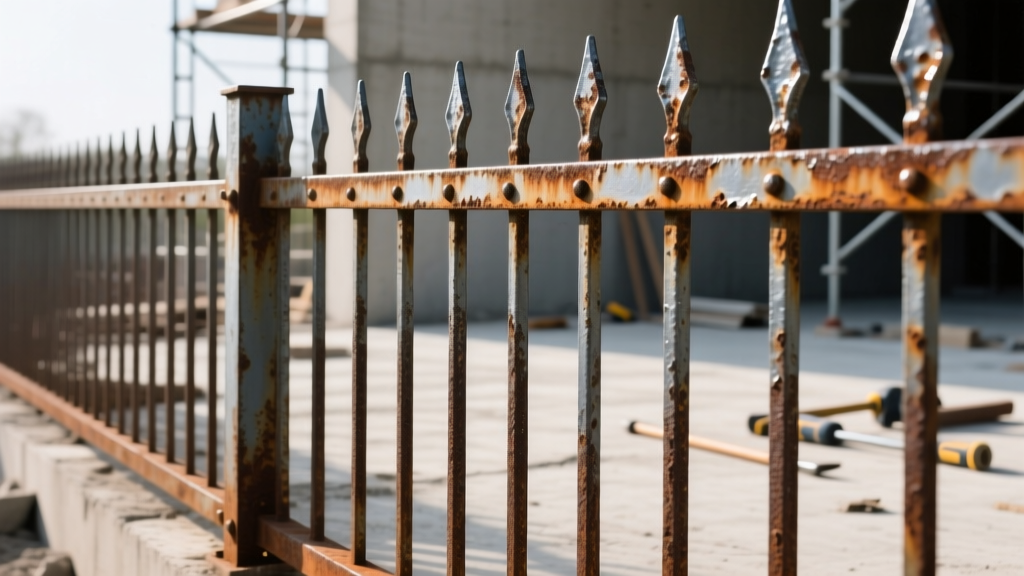
The 'Rot Iron' Misnomer: What You Are Actually Maintaining
When homeowners and contractors search for a 'rot iron fence' maintenance guide, they are usually referring to one of two distinct materials: historical wrought iron or modern mild steel. True wrought iron, characterized by its fibrous slag inclusions, is exceptionally rare in modern fencing and possesses natural corrosion resistance. The vast majority of contemporary ornamental fencing sold and installed today is actually low-carbon mild steel, often finished with a powder-coated or galvanized base. Understanding this metallurgical distinction is the first step in effective NOMMA (National Ornamental & Miscellaneous Metals Association) compliant fence care.
Mild steel lacks the inherent rust resistance of true wrought iron or aluminum. Once the factory-applied powder coat or galvanic zinc layer is compromised by impact, UV degradation, or moisture ingress at the weld joints, the underlying iron matrix rapidly oxidizes. This playbook provides a highly specific, chemical-driven maintenance protocol to halt oxidation, restore structural integrity, and extend the service life of your steel ornamental fencing by 15 to 20 years.
Diagnostic Matrix: Identifying Your Fence Corrosion Stage
Before selecting a cleaning agent or coating, you must accurately diagnose the corrosion stage. Misidentifying the severity of oxidation leads to premature coating failure. Use the following diagnostic matrix to determine your treatment protocol.
| Corrosion Stage | Visual Indicators | Root Cause | Required Treatment Protocol |
|---|---|---|---|
| Stage 1: Chalking | Chalky white/black residue on hands; dull finish. | UV degradation of the topcoat binder. | Alkaline wash, light scuff sand (220-grit), clear UV polyurethane topcoat. |
| Stage 2: Pinpoint Rust | Isolated orange/brown spots, primarily at welds, joints, or bottom rails. | Micro-fissures in powder coat; capillary moisture draw. | Wire brush, phosphoric acid converter, DTM spot-prime, alkyd enamel touch-up. |
| Stage 3: Flaking & Blistering | Paint peeling in sheets; subsurface rust creeping under intact coating. | Osmotic blistering; coating applied over contaminated or damp steel. | Full mechanical stripping (sandblasting or rotary wire wheel), epoxy ester prime, full topcoat. |
| Stage 4: Structural Pitting | Deep craters in metal; section loss >15%; structural wobble in pickets. | Prolonged water pooling; severe galvanic corrosion. | Grind out pits, apply steel-filled epoxy putty, or cut and weld new mild steel sections. |
The 4-Step Deep Cleaning Protocol
Proper surface preparation accounts for 85% of a coating's lifespan, according to SSPC (Society for Protective Coatings) surface preparation standards. Never apply new paint over a biologically or chemically contaminated surface.
Step 1: Defoliation and Mechanical Debris Removal
Clear all climbing vines, ivy, and mulch from the fence base. Organic matter retains moisture and secretes mild organic acids that accelerate the breakdown of powder-coat resins. Maintain a strict 6-inch clearance between soil/mulch and the bottom rail of the fence.
Step 2: Alkaline Degreasing and Chalking Removal
Mix a heavy-duty cleaning solution using Trisodium Phosphate (TSP) or a TSP-substitute (sodium sesquicarbonate). The exact ratio is 1/2 cup of TSP per 1 gallon of warm water (110°F). Apply using a pump sprayer and agitate with a stiff nylon-bristle brush. Avoid steel wire brushes during the cleaning phase, as they can embed microscopic iron particles into the existing coating, which will later flash-rust.
Step 3: Neutralization and Drying
Rinse thoroughly with clean water. Allow the fence to dry completely for a minimum of 48 hours. Use a moisture meter on the steel surface; it must read below 5% moisture content before proceeding to rust conversion.
Rust Conversion and Priming: Chemical Specifics
For Stage 2 and Stage 3 corrosion, mechanical removal (sanding/grinding) must be followed by chemical rust conversion. Red rust (iron oxide, Fe2O3) is hygroscopic, meaning it draws moisture from the air and continues to corrode even if painted over. You must convert it into a stable, inert compound.
Apply a phosphoric acid-based or tannic acid-based rust converter (such as Ospho or Corroseal). These chemicals react with iron oxide to form iron phosphate or iron tannate—a stable, black or blue-black crystalline layer that acts as an exceptional primer base. Apply the converter at a wet film thickness of 1.5 to 2.0 mils using a synthetic brush. Allow it to react and cure for exactly 24 hours at temperatures above 60°F (15°C).
Once the converter has cured to a black finish, apply a Direct-to-Metal (DTM) acrylic latex primer or an epoxy ester primer. Modern DTM acrylics contain flash-rust inhibitors that passivate the steel surface. Apply the primer to achieve a Dry Film Thickness (DFT) of 1.5 to 2.0 mils. Refer to AMPP (Association for Materials Protection and Performance) guidelines for precise mil-thickness verification using a magnetic pull-off dry film thickness gauge.
Topcoat Selection and Application Metrics
The final topcoat provides the UV and moisture barrier. For residential rot iron fence applications, you have two primary chemical options:
- 100% Acrylic Polyurethane Enamels: Water-based, low VOC, excellent UV resistance, and high color retention. Best for black, bronze, and white finishes. Cures via coalescence and oxidative cross-linking.
- Advanced Alkyd Enamels (Modified with Urethane): Solvent-based, superior adhesion to marginal surfaces, harder finish, and excellent moisture resistance. Best for high-humidity coastal environments. Prone to slight chalking over 5-7 years.
Apply two coats of your selected topcoat. The target Dry Film Thickness (DFT) for the entire system (primer + two topcoats) should be between 4.0 and 6.0 mils. Applying paint too thickly (over 8.0 mils total) can lead to solvent entrapment, resulting in micro-blistering and premature peeling.
Environmental Curing Constraints
Coating failures are frequently caused by ignoring environmental metrics during application. Adhere strictly to these parameters:
- Ambient Temperature: Must be between 50°F and 90°F (10°C - 32°C) and rising.
- Relative Humidity: Must be below 85%. High humidity slows the oxidative curing of alkyds and causes water-borne acrylics to sag.
- Dew Point Rule: The surface temperature of the steel must be at least 5°F (3°C) above the dew point. Painting when the steel is at or below the dew point will trap microscopic condensation under the paint film, guaranteeing flash rusting within 30 days.
Bi-Annual Maintenance Checklist
To maintain the warranty on modern powder-coated mild steel fencing and prevent the need for full restorations, execute this checklist every spring and fall:
- Visual Inspection: Walk the perimeter with a high-lumen flashlight. Inspect all weld joints, finial bases, and bottom rail caps for micro-cracks in the coating.
- Weep Hole Clearing: Use a piece of 14-gauge copper wire to clear the weep holes at the bottom of hollow posts and rails. Blocked weep holes trap internal condensation, rotting the fence from the inside out.
- Hardware Torque Check: Check the tension on all carriage bolts and mounting brackets. Thermal expansion and contraction can loosen hardware, creating friction points that wear away the protective coating.
- Touch-Up Application: Keep a small, sealed container of the manufacturer's exact color-matched liquid touch-up paint. Apply a micro-drop to any scratches or stone-chips within 48 hours of discovery to prevent atmospheric oxidation.
Frequently Asked Questions
Can I use WD-40 to stop rust on my rot iron fence?
No. WD-40 is a water-displacing solvent and light lubricant, not a rust inhibitor or primer. While it may temporarily displace moisture, it leaves a greasy residue that will actively repel any subsequent primers or topcoats you attempt to apply, leading to catastrophic adhesion failure.
Is it better to sandblast or use chemical strippers on heavily rusted panels?
For intricate ornamental steel fencing with cast-iron scrolls and tight weld joints, abrasive blasting (using crushed glass or walnut shells at low pressure) is vastly superior to chemical strippers. Chemical strippers often pool in the crevices of ornamental details, and if not neutralized perfectly, they will cause subsurface blistering when the new topcoat is applied.
How long does a properly restored mild steel fence last?
A mild steel fence that has been mechanically prepped, chemically converted, primed with a DTM epoxy, and top-coated with a high-solids polyurethane will typically last 15 to 20 years in moderate climates, and 8 to 12 years in harsh coastal (salt-spray) environments before requiring another full restoration cycle.