The Ultimate Snow Fence Maintenance and Storage Playbook
Master snow fence maintenance with our expert playbook. Learn seasonal inspection, tensioning, cleaning, and proper storage for wood and plastic barriers.
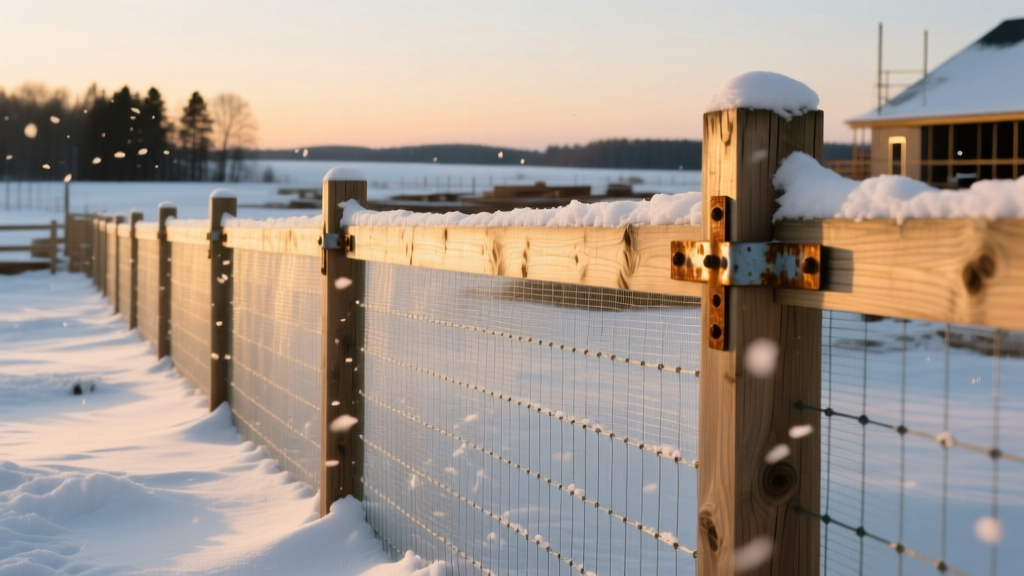
The Aerodynamics of Fence Degradation
A snow fence is not merely a physical barrier; it is an aerodynamic tool designed to manipulate wind velocity and force suspended snow particles to precipitate. Whether deployed for highway safety, agricultural windbreaks, or residential drift control, the structural integrity of your fencing directly dictates its efficacy. According to the Federal Highway Administration, a properly functioning snow fence can reduce snow removal costs by up to 40%, but this relies entirely on maintaining precise structural geometry.
Over time, environmental stressors compromise this geometry. Wooden slats rot, galvanized wire rusts, and high-density polyethylene (HDPE) plastic suffers from UV embrittlement. More critically, the fence loses tension. When a snow fence sags, its porosity drops, fundamentally altering the wind dynamics and causing dangerous snow scouring instead of controlled deposition.
The 50% Porosity Rule: A snow fence must maintain exactly 50% porosity (equal parts solid material and open space). If porosity drops below 40% due to sagging or debris, snow blows through. If it exceeds 60% due to ice buildup or overlapping folds, the fence acts as a solid wall, creating severe windward scouring and risking catastrophic structural collapse under wind load.
Phase 1: Pre-Winter Tensioning and Repair Playbook
Before the first major storm, execute this comprehensive inspection and tensioning protocol. Standard wooden snow fencing utilizes 1.5-inch by 16-inch wooden slats bound by 14-gauge galvanized wire, typically mounted on 6-foot steel T-posts driven 1.5 feet into the ground.
- Inspect T-Post Plumb and Depth: Use a post level to check vertical alignment. Frost heave from the previous spring often pushes T-posts upward. If a post is leaning more than 5 degrees or has lifted more than 3 inches, extract it using a T-post puller and re-drive it to the original 1.5-foot depth.
- Execute Wire Tensioning: Wood snow fencing arrives pre-tensioned but stretches after the first season. Attach a come-along (hand winch) to the terminal wire strands. Apply gradual tension until the horizontal wires are taut and the slats are perfectly vertical. Do not overtension, as 14-gauge wire will snap at approximately 1,200 lbs of tensile force.
- Replace Compromised Slats: Standard slats are 1.5 inches wide. If slats are missing, the local porosity spikes, creating wind tunnels. Replace broken slats by weaving new 1.5x16-inch pressure-treated pine slats into the existing wire bindings. Secure them with heavy-duty zip ties or supplementary 16-gauge tie wire if the original binding wire has snapped.
- Treat Soil-Line Wood: The most common failure point for wooden snow fencing is brown rot at the soil line. Apply a copper naphthenate wood preservative to the bottom 6 inches of all slats and the base of wooden end-posts. The American Wood Protection Association recommends copper naphthenate for its superior resistance to fungal decay in ground-contact applications.
Pro-Tip: The Zip-Tie Reinforcement Method
For HDPE plastic snow fencing (typically 4x100 ft rolls), the factory-molded holes often tear under high wind loads. Before winter, weave 8-inch UV-stabilized zip ties through the mesh and around the T-post studs at 12-inch vertical intervals. This distributes the wind load across the entire post rather than relying solely on the top and bottom tension wires.
Phase 2: Spring Teardown and Cleaning Protocols
Seasonal snow fences must be removed once the soil thaws to prevent base rot and allow for agricultural or landscaping operations. Proper teardown and storage dictate whether your fence lasts two seasons or ten.
Wood Fence Cleaning and Storage
Wood snow fencing is highly susceptible to mold and mildew during wet spring months. Before rolling the fence for storage, clean it using a stiff-bristle brush and a solution of 1 part oxygen bleach to 10 parts water. Avoid chlorine bleach, which degrades the lignin in the wood and accelerates the corrosion of the galvanized binding wire.
Once dry, roll the fence tightly. Store the rolls on wooden pallets at least 4 inches off the ground to prevent moisture wicking. Cover with a breathable canvas tarp; never use polyethylene sheeting, which traps condensation and guarantees fungal growth.
Plastic (HDPE) Fence Cleaning and Storage
HDPE plastic fencing does not rot, but it is highly vulnerable to UV degradation. Clean plastic mesh with a mild dish soap solution and a low-pressure garden hose. Never use a pressure washer, as the concentrated stream will fracture the UV-stabilized outer layer of the mesh, exposing the raw polymer to rapid embrittlement.
| Material Type | Primary Storage Threat | Ideal Storage Environment | Maximum Stacking Height |
|---|---|---|---|
| Wooden Slat (Wire Bound) | Fungal rot, wire rust | Off-ground, ventilated, covered | 4 rolls high |
| HDPE Plastic Mesh | UV degradation, melting | Indoors or fully UV-shielded | 10 rolls high |
| Steel T-Posts | Soil corrosion, stud bending | Horizontal on dunnage, dry | 20 posts per bundle |
Phase 3: Year-Round Deployment Maintenance
In many applications, such as coastal sand dune stabilization or permanent agricultural windbreaks, snow fences are deployed year-round. These permanent installations require a different maintenance playbook, as detailed by the Colorado State University Extension for long-term wind control structures.
- Vegetation Management: Clear all vegetation within 12 inches of the fence base. Tall grasses and weeds reduce the effective height of the fence and trap moisture against the lower slats or mesh, accelerating decay.
- Soil Scour Remediation: Year-round fences experience continuous wind scouring on the windward side. Inspect the base monthly. If a trench deeper than 3 inches forms against the fence line, backfill it with compacted gravel or soil. Exposed T-post bases will lose their lateral shear strength and lean under moderate wind loads.
- Bi-Annual Wire Retensioning: Temperature fluctuations cause metal wire to expand in summer and contract in winter. Retension year-round wooden fences twice annually (late spring and late autumn) to maintain the critical 50% porosity geometry.
Cost Analysis: Preventative Upkeep vs. Full Replacement
Neglecting snow fence maintenance results in exponential cost increases. A fence that fails mid-winter not only requires emergency replacement but also incurs the secondary costs of uncontrolled snow drift removal.
| Maintenance Scenario | Estimated Cost per 100 Linear Feet | Expected Lifespan Impact |
|---|---|---|
| Annual Tensioning & Slat Replacement | $15 - $25 (Materials + Labor) | Extends life by 3-5 years |
| Copper Naphthenate Soil-Line Treatment | $20 - $30 | Prevents base rot; adds 2-4 years |
| Full Wood Fence Replacement (Premature) | $180 - $240 | Resets lifecycle (requires new T-posts) |
| Full HDPE Plastic Replacement | $90 - $130 | Resets lifecycle (T-posts reusable) |
Expert Troubleshooting Guide
Symptom: Snow is drifting directly against the fence instead of downwind.
Cause: The fence porosity has dropped below 40%. This is usually caused by the fence sagging, which closes the gaps between slats, or by ice and debris clogging the mesh.
Fix: Clear all debris. Re-tension the horizontal binding wires using a fence stretcher. If using plastic mesh, ensure the bottom edge is staked tightly to the ground to prevent wind from lifting the fence and collapsing the lower gaps.
Symptom: T-posts are leaning uniformly in the direction of the prevailing wind.
Cause: Inadequate embedment depth or soil liquefaction during spring thaw. Standard 6-foot T-posts must have at least 1.5 feet (preferably 2 feet in sandy soils) driven into undisturbed earth.
Fix: Do not simply push them back upright; the soil is already compromised. Extract the leaning posts, dig a 6-inch wider hole, set the post, and backfill with a 50/50 mix of native soil and crushed gravel, tamping firmly every 4 inches.
Final Operational Directives
A snow fence is a precision instrument disguised as a rustic boundary. By adhering to strict tensioning protocols, executing material-specific cleaning routines, and respecting the aerodynamic necessity of 50% porosity, you transform a seasonal consumable into a long-term infrastructure asset. Document your tensioning dates, track slat replacements, and store your materials with the same rigor you apply to your primary structural lumber.