How to Install a Vinyl Picket Fence: A Pro Step-by-Step Guide
Learn how to install a vinyl picket fence with this pro guide. Covers post setting, thermal expansion gaps, and slope racking techniques.
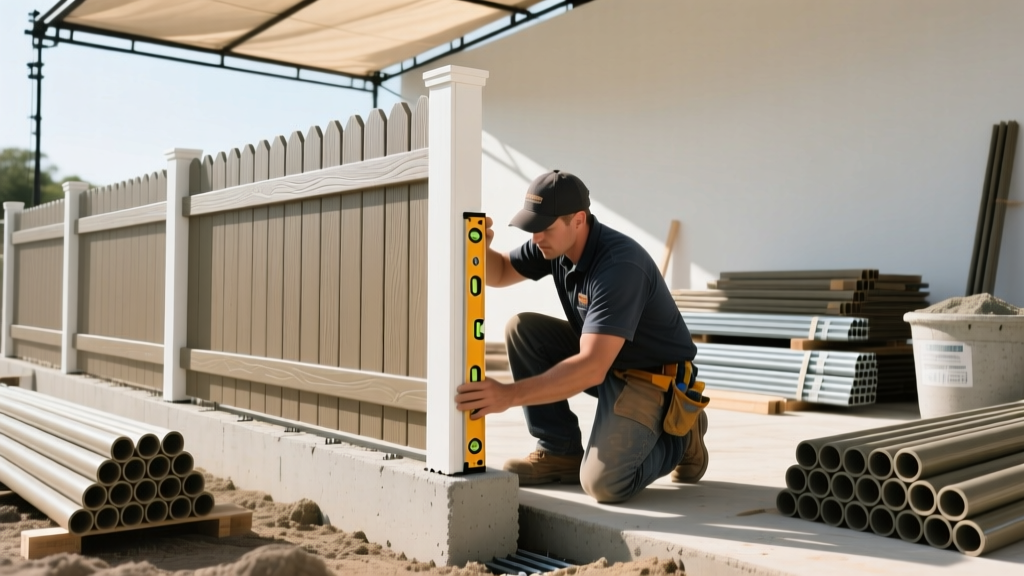
Pre-Installation: Material Specs and Site Prep
Installing a vinyl picket fence requires a fundamentally different approach than wood. Modern 2026 vinyl formulations utilize co-extruded acrylic (ASA) cap layers over a rigid PVC core, providing superior UV resistance and color retention. However, PVC remains highly susceptible to thermal expansion and contraction. A 10-foot vinyl rail can expand or contract up to 1/2 inch across a 100°F temperature swing. Failure to account for this movement during installation will result in buckled rails, popped pickets, and structural failure within the first two years.
Material Estimation Matrix
Accurate material calculation prevents mid-project delays. The following table outlines the baseline requirements for 100 linear feet of a standard 6-foot-tall vinyl picket fence, assuming 8-foot panel spans and standard 5x5 inch line posts.
| Component | Quantity per 100 LF | Specifications & Pro Notes |
|---|---|---|
| Line Posts (5x5) | 12 | 9-foot length (for 36" embedment). Must be routed for rail insertion. |
| End/Corner Posts | 4-6 | Heavy-wall thickness. Use aluminum internal stiffeners for corners. |
| Gate Hinge Posts | 2 | Requires steel or heavy aluminum internal post inserts to prevent sag. |
| Fence Panels (8ft) | 13 | True-rackable panels if terrain slopes > 5 degrees. |
| Concrete Mix | 26 bags (50lb) | 5000 PSI high-strength mix or specialized fence post setting compound. |
| Washed Gravel | 15 cubic feet | 3/4-inch crushed stone for post-hole drainage base. |
Phase 1: Setting the Structural Posts
The longevity of a vinyl picket fence is dictated entirely by the subterranean stability of its posts. Vinyl posts are hollow; therefore, they rely on the surrounding concrete and internal stiffeners to resist wind shear and frost heave. According to guidelines published by the American Fence Association, proper embedment depth is non-negotiable for structural integrity.
- Determine the Frost Line: Post holes must extend below the local frost line to prevent winter heaving. In northern climates, this may require 42-inch depths, while southern regions may only require 18 to 24 inches. Consult the International Code Council local amendments for your exact municipal requirement.
- Dig and Prep the Base: Dig the hole to three times the width of the post (approx. 15 inches for a 5x5 post). Add 4 to 6 inches of 3/4-inch washed gravel to the bottom and tamp it solid. This creates a French drain effect, preventing water from pooling under the post and freezing.
- Set the Post and Align: Place the post in the hole. Use a magnetic torpedo level on two adjacent sides. Brace the post using temporary 2x4s staked into the ground.
- Pour the Concrete: Mix 5000 PSI concrete to a thick, oatmeal-like consistency. Never pour dry, unmixed concrete powder directly into the hole and add water; this creates weak pockets and fails to achieve the rated compressive strength. Fill the hole to 2 inches below grade.
- Slope the Crown: Trowel the top of the wet concrete away from the post at a 45-degree angle to shed surface water. Do not allow concrete to form a collar that traps moisture against the vinyl, which can lead to algae growth and freeze-thaw spalling.
Phase 2: Rail Assembly and Thermal Expansion Management
Unlike wood fencing, where rails are nailed or screwed rigidly to the posts, vinyl picket fence rails must "float" within the routed holes of the posts. This floating mechanism is what accommodates the material's thermal expansion.
Modern routed systems are vastly superior to external bracket systems. When inserting the horizontal rails into the routed post holes, you must leave a precise 1/4-inch gap between the end of the rail and the inside wall of the post. If you force the rail tight against the post wall in cold weather, the rail will buckle and warp when summer temperatures rise. Conversely, if installed with too large a gap in peak summer, the rail may pull out of the post during winter contraction.
"The most common DIY failure in vinyl fencing is ignoring the thermal gap. Installers who treat PVC like dimensional lumber and force tight, rigid joints will inevitably face warranty-voiding callbacks when the first heatwave hits." — Field Installation Standards, The Vinyl Institute
Once the bottom rail is seated, install the pickets. Most premium systems use a tongue-and-groove interlocking method or hidden U-channel clips. Ensure pickets are seated fully into the bottom rail but leave a 1/8-inch gap at the top rail to allow for vertical micro-movement.
Phase 3: Navigating Slopes (Stepping vs. Racking)
Installing a vinyl picket fence on uneven terrain requires selecting the correct slope management technique. You cannot bend standard rigid vinyl panels; you must use specifically engineered rackable panels or employ the stepping method.
Method A: Racking (Slopes < 15°)
Best for: Gentle, rolling hills.
Execution: True-rackable vinyl panels feature pivoting picket-to-rail connections. You push the panel down, and the pickets remain plumb via gravity while the rails follow the ground contour. Maintain a uniform 2-inch ground clearance across the entire racked section.
Method B: Stepping (Slopes > 15°)
Best for: Steep grades and sharp drop-offs.
Execution: Panels remain perfectly level, but each subsequent panel "steps" down the hill. This creates a staircase effect. You must use taller transition posts and custom-cut vinyl filler panels to close the triangular gaps beneath the stepped rails.
Gate Post Reinforcement: Preventing the Inevitable Sag
The hinge posts of a vinyl gate endure immense dynamic lateral loads every time the gate is opened, closed, or caught by the wind. A standard 5x5 hollow vinyl post will eventually lean, causing the gate to drag and fail to latch.
Never rely on the vinyl alone for gate hinge posts. Drive a 2-3/8 inch galvanized steel pipe or a heavy-gauge aluminum post insert into the ground, extending up into the hollow vinyl post. Set the vinyl post over this metal core, then fill the annular space between the metal and vinyl with expanding polyurethane foam or a slurry of concrete. This creates a composite post capable of handling hundreds of pounds of lateral torque without deflecting.
Common Installation Failures and Corrections
Even experienced contractors make specific errors when transitioning from wood or chain-link to vinyl. Review this troubleshooting matrix to ensure your installation avoids these critical failure modes.
- Failure Mode: Post Heave in Winter.
Cause: Concrete was poured directly onto dirt without a gravel base, or the hole did not reach below the frost line. Water pools under the concrete, freezes, and pushes the post upward.
Correction: Excavate the post, add a 6-inch tamped gravel base, verify frost line depth, and reset with 5000 PSI concrete. - Failure Mode: Picket Warping and "Smiling".
Cause: Vinyl components were stored lying flat in direct sunlight on the jobsite for several days prior to installation. PVC softens under UV heat and takes a permanent set if unsupported.
Correction: Always store vinyl panels vertically and in the shade. Warped pickets cannot be straightened and must be replaced under material warranty. - Failure Mode: Rail Pull-Out at Corners.
Cause: Using standard line posts for corners, or failing to use mechanical locking pins (set screws) at corner post joints.
Correction: Always use heavy-wall corner posts. Drive the provided stainless steel set screws through the post wall and into the rail insertion channel to mechanically lock the rail in place. - Failure Mode: Chalking and Fading.
Cause: Purchasing budget-tier, solid-through PVC without an ASA (Acrylic Styrene Acrylonitrile) or titanium dioxide cap layer.
Correction: For 2026 installations, only specify co-extruded vinyl with a minimum 15-mil UV-resistant cap layer. The upfront cost is 12-15% higher, but it prevents the chalky oxidation that plagues older, single-layer extrusions.
By adhering to strict embedment depths, respecting thermal expansion physics, and reinforcing high-stress gate nodes, your vinyl picket fence will maintain its structural plumbness and aesthetic integrity for decades without requiring a single maintenance cycle.