Fence Paint Maintenance: A Pro Cleaning and Repainting Playbook
Master wood fence upkeep with our expert fence paint maintenance playbook. Learn cleaning protocols, prep steps, and top product picks for lasting results.
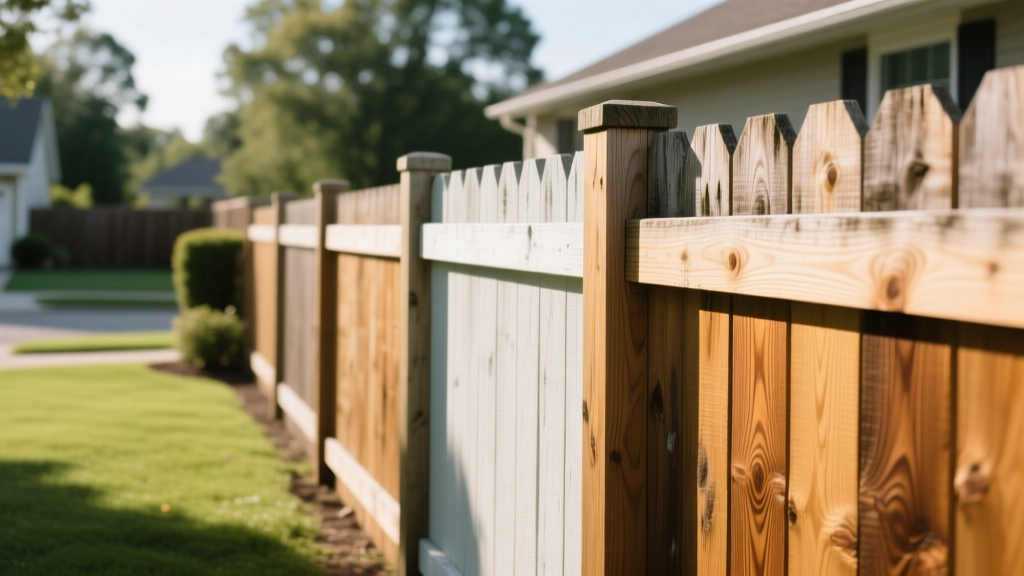
The Diagnostic Phase: Assessing Your Current Fence Paint
A failing coat of fence paint rarely happens overnight. Before purchasing new materials or renting equipment, conduct a systematic diagnostic of your existing finish. Identifying the exact failure mode dictates your entire preparation strategy.
Core Diagnostic Checklist
- The Chalk Test: Rub a dark cloth firmly across a sun-exposed section. Heavy pigment transfer indicates severe UV degradation (chalking). Chalking paint must be thoroughly scrubbed or pressure-washed, or the new coat will fail to adhere.
- Moisture Mapping: Use a pinless moisture meter (like the Wagner Orion 910) across the bottom 24 inches of the fence, where ground splash-back is highest. Readings above 15% mean the wood is too wet for acrylics; above 12% is a failure risk for oil-based alkyds.
- Adhesion Cross-Hatch: Use a utility knife to score a 1-inch grid (1/16-inch squares) into the peeling paint. Apply standard duct tape and pull sharply. If more than 20% of the squares lift, the entire section requires complete stripping, not just spot-sanding.
- Biological Growth: Black or green spots indicate mildew or algae. Apply a drop of household bleach; if it lightens in 60 seconds, it is mildew and requires a biocidal wash before repainting.
The Cleaning Protocol: Stripping Grime Without Damaging Wood
Pressure washing is the industry standard for fence cleaning, but improper technique causes 'furring'—tearing the soft springwood from the dense summerwood, creating a fuzzy surface that ruins paint adhesion. According to the USDA Forest Products Laboratory, mechanical damage during cleaning is a primary cause of premature coating failure in exterior wood.
Never use a 0-degree (red) or 15-degree (yellow) nozzle tip on softwood fences like cedar or pine. The concentrated stream will instantly gouge the wood. Always use a 25-degree (green) or 40-degree (white) fan tip.
Step-by-Step Washing Procedure
- Pre-Wet Vegetation: Soak surrounding plants with plain water to protect them from chemical runoff.
- Apply Chemical Cleaner: Skip straight bleach, which degrades wood lignin. Use a sodium percarbonate-based cleaner (e.g., OxiClean Outdoor or Jomax House Cleaner) mixed at 4 ounces per gallon. Apply with a garden pump sprayer and let dwell for 10-15 minutes without drying.
- Set the PSI: Limit your pressure washer to 1,500–1,800 PSI for softwoods (cedar, redwood, pine) and up to 2,500 PSI for hardwoods (ipe, mahogany).
- The Sweep Technique: Keep the wand exactly 12 inches from the surface. Move in continuous, overlapping horizontal strokes. Stopping mid-stroke will leave permanent lap marks in the wood grain.
- Neutralize and Rinse: Rinse thoroughly with plain water. If using an acidic brightener (like oxalic acid) to remove tannin stains, neutralize the wood afterward with a mild baking soda solution (1 cup per 5 gallons).
Surface Preparation: The Make-or-Break Step
Cleaning removes dirt; preparation creates the mechanical tooth required for the new fence paint to bond. Allow the fence to dry for a minimum of 48 to 72 hours after washing, depending on ambient humidity.
Scraping and Sanding Specifications
Use a carbide-blade pull scraper to remove all loose, flaking paint. Do not scrape down to bare wood unless the existing paint is completely failing; feathering the edges of the remaining sound paint is preferable. Once scraped, sand the transition edges between bare wood and existing paint using 80-grit aluminum oxide sandpaper. This creates a smooth ramp that prevents the new paint from pooling and cracking at the seam.
If your fence was painted prior to 1978, assume the bottom layers contain lead. The EPA advises against dry scraping or high-pressure sanding of legacy lead paint. Use a chemical paint stripper or wet-scrape with a HEPA vacuum attachment to contain toxic dust.
Selecting the Right Fence Paint for Current Conditions
Not all exterior coatings are formulated for the vertical, high-expansion environment of a wood fence. Fence boards expand and contract significantly with seasonal humidity shifts. The coating must possess high elastomeric properties to bridge these micro-movements without cracking.
| Coating Type | Top Product Example (2026) | Cost per Gallon | Lifespan | Best Use Case |
|---|---|---|---|---|
| 100% Solid Acrylic | Cabot Solid Color Acrylic | $55 - $65 | 5-8 Years | Best overall. Highly breathable, exceptional UV resistance, and remains flexible in freezing temperatures. |
| Oil-Based Alkyd | Benjamin Moore MoorGard | $70 - $85 | 3-5 Years | Superior penetration on dense, resinous woods. Prone to chalking and yellowing over time; becomes brittle. |
| Elastomeric Masonry/Wood | Sherwin-Williams SuperPaint | $80 - $95 | 7-10 Years | Extremely thick, bridges minor cracks. Can trap moisture if applied to wood that hasn't fully dried out. |
For 90% of residential wood fences, a high-quality 100% acrylic latex formulated specifically for exterior siding and fencing is the optimal choice. Acrylics allow trapped moisture to escape as vapor (breathability) while blocking liquid water ingress.
Application Playbook: Achieving a Factory-Like Finish
Brushing a 200-foot fence by hand is inefficient and results in visible lap marks. Professional contractors utilize an airless sprayer followed immediately by back-rolling.
The Spray and Back-Roll Method
- Equipment Setup: Use an airless sprayer (e.g., Graco Magnum X5) equipped with a 515 or 517 reversible spray tip. This provides a 10-to-12-inch fan pattern ideal for 6-inch fence pickets.
- Priming Bare Spots: Spot-prime any exposed bare wood with an exterior bonding primer (like Zinsser Bulls Eye 1-2-3) to prevent tannin bleed-through, especially on cedar and redwood.
- Spraying Technique: Hold the gun 12 inches from the surface. Trigger the gun before the pass and release after. Overlap each pass by 50%.
- Back-Rolling (Crucial): Immediately after spraying a 10-foot section, use a 3/8-inch nap microfiber roller to push the paint into the wood grain. Spraying alone leaves a superficial film; back-rolling forces the resin into the wood pores, increasing adhesion by up to 40%.
- Maintain a Wet Edge: Never stop in the middle of a picket. Always start and stop your spray pattern at the top and bottom rails to hide overlap lines.
The 5-Year Maintenance Schedule
Even the most expensive fence paint requires a proactive maintenance schedule to maximize its lifecycle. Implement this timeline to avoid catastrophic finish failure.
- Month 6: Inspect the bottom 12 inches of the fence where soil splash-back and sprinkler impact occur. Touch up any micro-cracks with a high-quality exterior caulk and a dab of leftover paint.
- Year 1 (Spring): Perform a light wash using a garden hose and a soft-bristle brush with mild soap to remove winter grime and early pollen buildup. Do not use a pressure washer for routine annual cleaning.
- Year 3: Conduct the cross-hatch adhesion test and chalk test again. If chalking is present, apply a clear, UV-inhibiting acrylic sealer over the existing paint to lock in the pigment and extend the topcoat life by 2 to 3 years.
- Year 5: Evaluate the overall sheen and color retention. If the fence faces south or west (high UV exposure), plan for a full wash, light scuff-sand, and a single maintenance coat of solid acrylic paint before the original coat completely degrades.
By adhering to strict moisture thresholds, utilizing the correct mechanical preparation tools, and selecting breathable acrylic formulations, you can extend the life of your fence paint from the industry average of three years to a reliable seven or more.