Installing a White Fence: Vinyl Privacy Panel Step-by-Step
Master the installation of a white vinyl privacy fence. Learn precise post-setting, thermal expansion gaps, and panel racking techniques.
Pre-Installation Planning and Material Selection
When homeowners specify a 'white fence,' they are almost exclusively referring to white polyvinyl chloride (PVC) vinyl fencing. Unlike painted wood, which requires biannual scraping and repainting to maintain its bright white aesthetic, modern extruded vinyl integrates titanium dioxide (TiO2) directly into the resin to prevent UV yellowing. However, installing a white vinyl privacy fence requires far tighter tolerances than wood. Wood can be trimmed on-site to fit uneven spans; vinyl privacy panels are pre-routed and manufactured to exact 8-foot or 6-foot lengths. A miscalculation of just two inches in post spacing will render a vinyl panel unusable.
Before breaking ground, verify your local wind load requirements. Solid white privacy fences act as massive wind sails. The International Code Council (ICC) provides baseline wind load maps, but local municipalities often mandate specific post depths and concrete footing diameters for solid privacy structures exceeding 6 feet in height.
Essential Tools and Material Checklist
Skip the generic fencing tool lists. To install a professional-grade white vinyl fence efficiently, you need the following specialized equipment:
- Power Auger: A 10-inch or 12-inch diameter two-man gas auger (skid-steer mounted for commercial jobs).
- Laser Level & Transit: Essential for establishing a true grade line across sloped terrain.
- Concrete: Quikrete Fast-Setting (50lb bags) for dry-set applications, or a 4000 PSI standard mix for high-wind zones.
- Non-Abrasive Cleaning Gear: Microfiber cloths and a pump sprayer filled with a 30% white vinegar / 70% water solution to wipe down panels during installation.
- 5/16-inch Nut Driver & Impact Drill: For securing heavy-duty stainless steel gate hardware.
- PVC Post Leveler Jig: A custom or purchased 90-degree magnetic jig to hold posts plumb while concrete cures.
Step 1: Setting the Corner and Gate Posts in Concrete
Corner, end, and gate posts bear the brunt of the structural load. Gate posts, in particular, must withstand the dynamic torque of a swinging 150-pound vinyl gate. Do not rely on dirt tamping or expanding foam for these critical structural nodes.
- Dig to the Frost Line: In northern climates (Zone 5 and above), holes must be a minimum of 36 to 42 inches deep to prevent frost heave. In southern climates, 24 inches is generally sufficient.
- Establish the Gravel Base: Drop 4 inches of crushed #57 stone into the bottom of the hole for drainage. This prevents water from pooling under the post and freezing.
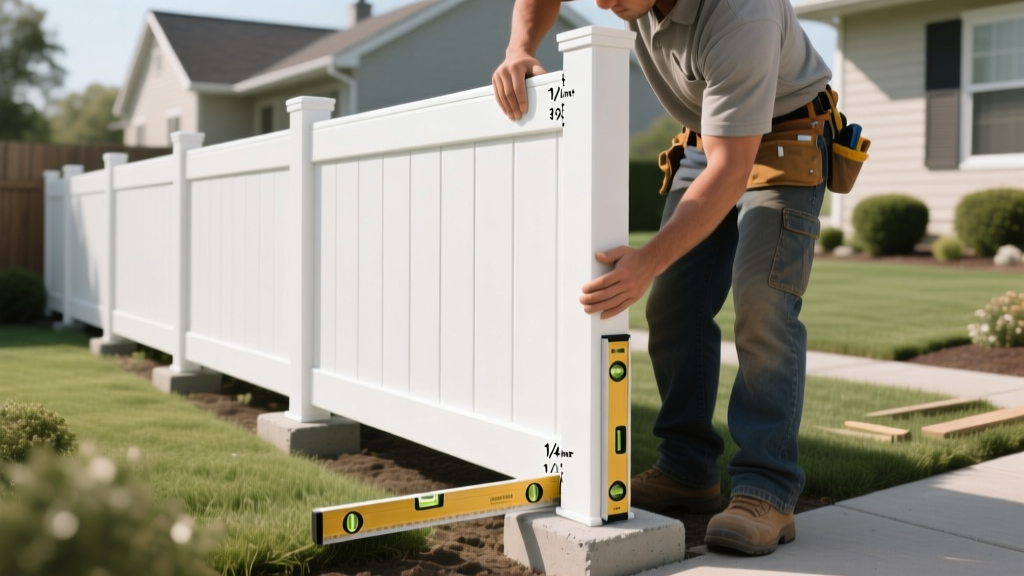
- Set and Brace: Drop the 5x5 vinyl post (ensure it has a minimum 0.135-inch wall thickness) into the hole. Use your PVC jig and a 48-inch torpedo level to brace it perfectly plumb on two adjacent sides.
- Pour Concrete: Pour dry fast-setting concrete into the hole up to 2 inches below grade, then add water directly into the hole according to the manufacturer's ratio (usually 1 gallon per 50lb bag). Poke the mix with a rebar stick to eliminate air pockets.
Post Hole Depth & Concrete Yield Matrix
| Fence Height | Hole Depth (Zone 5+) | Hole Diameter | Concrete Yield (per post) |
|---|---|---|---|
| 4 Feet | 30 Inches | 10 Inches | 2.5 Bags (50lb) |
| 6 Feet | 36 Inches | 12 Inches | 4.0 Bags (50lb) |
| 8 Feet | 42 Inches | 14 Inches | 5.5 Bags (50lb) |
Step 2: Installing Line Posts via the String Line Method
Once your corner posts are cured (minimum 4 hours for fast-setting, 24 hours for standard mix), run a mason's string line tightly between the outside faces of the corner posts. This string dictates the exact alignment of every line post.
Measure exactly 92.5 inches from the center of your first corner post to mark the center of your first line post (assuming a standard 8-foot panel with 2.5-inch post widths). Dig the hole, set the post, and align its outer face so it barely kisses the string line without pushing it out of true. Repeat this process down the entire run. Never measure from the previous line post to the next; always measure from the established corner post to prevent compounding measurement errors.
Step 3: Assembling and Racking White Vinyl Privacy Panels
Handling white PVC requires strict cleanliness protocols. Mud, grass stains, and concrete splatter will bond to the porous surface of vinyl if left to bake in the sun. Always lay panels on a clean tarp or the unsoiled grass, never on bare dirt or driveways.
Managing Thermal Expansion in White PVC
Vinyl expands and contracts significantly with temperature fluctuations. A 100-degree swing in temperature can cause an 8-foot PVC panel to expand or shrink by up to 1/2 inch. If you install panels tightly butted against the post brackets in the heat of summer, the fence will buckle and warp when winter hits. Conversely, installing in freezing temperatures without leaving enough gap will cause the panel rails to pull out of the post brackets in July.
Racking on Slopes: If your terrain drops more than 2 inches over an 8-foot span, you must 'rack' or 'step' the fence. For racking, the vinyl panels must be purchased specifically as 'rackable' privacy panels, which feature wider T-slot openings in the posts to allow the horizontal rails to pivot up to 15 degrees. Standard rigid privacy panels cannot be racked and must be stepped, requiring custom cutting of the vinyl pickets on-site using a fine-tooth carbide blade to prevent melting the PVC edges.
Step 4: Hanging Gates and Hardware Alignment
Gate failure is the most common warranty claim on white vinyl fences. The heavy weight of a 6-foot solid privacy gate will sag standard hardware. You must use heavy-duty, stainless-steel self-closing hinges designed specifically for 5x5 vinyl gate posts.
Mount the bottom hinge exactly 6 inches from the bottom of the gate, and the top hinge 6 inches from the top. Use a magnetic level to ensure the gate is perfectly plumb before driving the 3-inch stainless steel lag screws through the vinyl and into the internal aluminum gate post stiffener. Never drive screws directly into unsupported hollow vinyl; the gate will tear out within months.
Post-Installation Cleanup and Maintenance
Once the installation is complete, inspect the entire white fence for concrete haze, dirt smudges, and adhesive residue from manufacturer stickers.
- Concrete Haze: Spray a 30% white vinegar solution onto the affected area. Let it sit for 3 minutes to break down the alkaline lime, then wipe with a soft microfiber cloth. Never use a wire brush or abrasive scouring pad, as this will permanently scratch the UV-protective outer cap layer of the vinyl.
- Adhesive Residue: Use a citrus-based adhesive remover (like Goo Gone) for stubborn sticker residue, followed immediately by a soap-and-water rinse to prevent the citrus oils from attracting dirt.
By adhering to these precise measurement tolerances, respecting thermal expansion physics, and utilizing proper structural footings, your white vinyl privacy fence will remain plumb, bright, and structurally sound for decades without requiring a single coat of paint.