Ceramic Tile Cutter Techniques: Manual Snap vs Wet Saw Guide
Master ceramic tile cutter techniques for flawless installations. Compare manual snap cutters and wet saws with pro-level execution and troubleshooting tips.
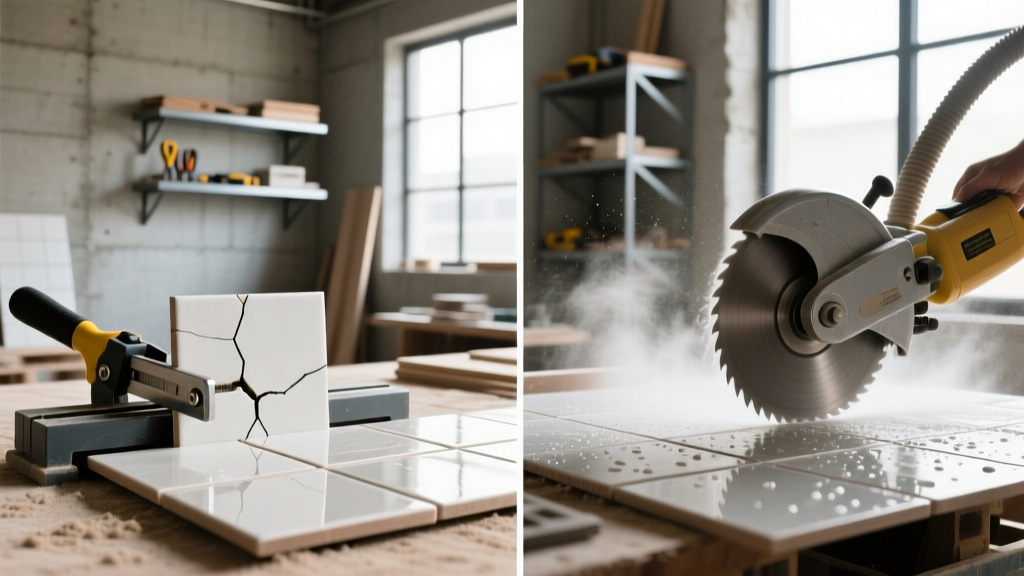
The Physics of Ceramic Tile Cutting: Scoring vs. Grinding
Ceramic tile is a brittle, kiln-fired material with a Mohs hardness rating typically between 5 and 7. Because it lacks tensile flexibility, it cannot be cut like wood or metal; it must either be fractured along a precise stress line or ground away using abrasives. Selecting the right ceramic tile cutter depends entirely on the geometry of the cut and the density of the tile body. According to the Tile Council of North America (TCNA), improper cutting tools are a leading cause of edge chipping, lippage, and compromised structural integrity at the seams.
Professional installers rely on two primary mechanical approaches: the score-and-snap method for straight runs, and continuous-rim diamond grinding for complex notches. Understanding the mechanical limits of each tool is the difference between a factory-edge finish and a jagged, baseboard-hiding nightmare.
Manual Snap Cutters: Precision for Straight Runs
Manual snap cutters operate on the principle of controlled fracture. A tungsten carbide scoring wheel creates a microscopic fissure in the glaze and ceramic body. A breaker foot then applies localized downward pressure, snapping the tile cleanly along the fissure. For large-format ceramic tiles (any tile with one edge 15 inches or longer), a heavy-duty rail cutter is mandatory to prevent bowing and uneven breaks.
Recommended Models and Specifications
Not all manual cutters are engineered for modern, dense ceramics. Budget cutters often lack the rail rigidity required for large-format tiles. Industry-standard models include:
- Rubi TX-900-N: Features a dual-rail system and an 8mm tungsten carbide wheel, capable of snapping ceramic up to 15mm thick. (View Rubi Manual Cutters)
- Sigma Max 3E2: Utilizes a push-button breaker mechanism that allows the installer to apply breaking pressure without lifting the handle, crucial for maintaining alignment on 48-inch cuts.
- Montolit Masterpiuma: Known for its ergonomic breaking arch, which distributes pressure evenly across the tile surface rather than concentrating it at a single point.
Never score a ceramic tile more than once. Multiple passes with the tungsten wheel widen the fissure, creating a jagged fracture path and accelerating wheel degradation. Apply 20 to 25 pounds of downward pressure and pull the handle in one continuous, fluid motion.
Wet Tile Saws: Tackling L-Cuts, Notches, and Dense Bodies
When the installation requires internal cutouts, L-shapes around door jambs, or curved profiles, a manual cutter is useless. Wet tile saws use a diamond-impregnated continuous-rim blade to grind through the ceramic. The water pump serves two critical functions: it cools the diamond matrix to prevent the blade from warping, and it suppresses hazardous silica dust.
Blade Selection and Orientation
For ceramic tile, you must use a continuous rim diamond blade. Turbo-rim or segmented blades, designed for aggressive masonry cutting, will violently chip the fragile glaze layer. Furthermore, the orientation of the tile on the saw bed depends entirely on the saw's blade mount:
- Under-Mount Saws (e.g., MK-101): The blade protrudes upward through the table. The teeth strike the bottom of the tile first and exit at the top. Therefore, place the tile glaze-side DOWN to prevent top-surface tear-out.
- Overhead Saws (e.g., Dewalt D24000): The blade spins downward into the tile. The teeth strike the top first and exit at the bottom. Place the tile glaze-side UP.
Tool Selection Matrix: Manual vs. Wet vs. Grinder
Choosing the correct ceramic tile cutter for a specific cut type minimizes waste and time. Refer to this decision matrix on the job site:
| Feature | Manual Snap Cutter | Wet Tile Saw | Angle Grinder (Diamond) |
|---|---|---|---|
| Primary Use | Straight cuts, diagonals | Notches, L-cuts, rip cuts | Scribe-and-snap relief, HVAC holes |
| Edge Quality | Factory-smooth (if done right) | Smooth, slight micro-chipping | Rough, requires sanding stone |
| Setup Time | Instant | 5-10 mins (water/rail alignment) | Instant (but requires PPE setup) |
| Max Thickness | Up to 15mm (standard ceramic) | Up to 25mm (depending on blade) | Limited by blade depth (usually 2') |
Step-by-Step Execution for Factory-Edge Quality
Phase 1: The Manual Score-and-Snap Technique
- Align and Secure: Place the tile against the back fence. Ensure the measurement accounts for the grout joint width (typically 1/8' to 3/16').
- Score the Glaze: Pull the scoring wheel toward you (or push away, depending on model) with firm, even pressure. You should hear a distinct, high-pitched 'hissing' sound, indicating the glaze is being parted.
- Position the Breaker: Move the breaker foot to the top edge of the tile. Never place the breaker foot at the exact center of the tile; this causes uneven stress distribution.
- Apply Breaking Pressure: Press down sharply but smoothly. The tile should snap instantly. If it requires excessive force, your scoring wheel is dull or your pressure was insufficient.
Phase 2: Executing L-Cuts with Wet Saws
Cutting an L-shape (e.g., fitting around a kitchen island or door casing) directly into the inside corner guarantees a stress fracture that will blow out the tile. You must use a relief technique.
- Drill a Relief Hole: Using a 1/4-inch or 5/16-inch diamond core drill bit, drill a hole exactly at the inside corner apex of your marked L-cut. This hole absorbs the tension and prevents the crack from traveling into the main body of the tile.
- Make the Primary Cut: Slide the tile through the wet saw, stopping the blade exactly at the edge of the relief hole.
- Make the Secondary Cut: Turn the tile and make the intersecting cut, again stopping precisely at the relief hole. The waste piece will fall away cleanly, leaving a perfectly rounded inside corner that will be hidden by trim or grout.
Troubleshooting Common Cut Failures
Even with premium tools like those from MK Diamond, operator error leads to material waste. Diagnose your issues using this troubleshooting framework:
- Failure Mode: Severe chipping on the glaze edge.
Cause: Using a turbo-rim blade, cutting with the glaze on the wrong side for the saw type, or pushing the tile through the wet saw too quickly.
Fix: Switch to a continuous-rim blade, verify glaze orientation, and let the saw's RPM do the work—do not force the tile into the blade. - Failure Mode: Tile snaps unevenly or curves off the score line.
Cause: The scoring wheel is chipped, or the tile has a heavily textured surface that deflected the wheel.
Fix: Replace the tungsten carbide wheel. For heavily textured ceramic, score the tile, then use tile nippers to carefully nibble away the texture on the waste side of the line before snapping. - Failure Mode: L-cut blowout (crack running past the corner).
Cause: Skipping the relief hole, or cutting past the intersection point.
Fix: Always drill the 1/4-inch relief hole first. When cutting to the hole, stop the blade the moment it touches the empty space of the hole; do not push through.