How to Install Subway Tiles for Kitchen Backsplash Flawlessly
Master the installation of subway tiles for kitchen backsplash. Learn pro layout techniques, mortar selection, lippage prevention, and grouting methods.
Pre-Installation: Material Selection and Layout Strategy
Installing subway tiles for kitchen backsplash applications seems straightforward due to the small format of the tiles, but the high visibility of a kitchen wall demands absolute precision. The most common failure in DIY subway tile installations is lippage (uneven tile edges) and poor pattern alignment. Before mixing any mortar, you must establish a rigorous layout strategy.
The 1/3 Offset Rule to Prevent Lippage
Traditional subway tile is laid in a 50% running bond (brick pattern). However, modern manufacturing processes often result in a slight upward bow in the center of the tile. If you use a 50% offset, the highest point of one tile aligns directly with the lowest point (the edge) of the adjacent tile, creating a shadow line and a physical lip.
Expert Directive: Always use a 33% (1/3) offset pattern for 3x6 or 4x8 subway tiles. This staggers the joints so the center of one tile aligns with the upper third of the adjacent tile, effectively neutralizing the visual and physical impact of any inherent tile warpage. The Tile Council of North America (TCNA) Handbook explicitly recommends limiting offsets to 33% for tiles with any measurable warpage to maintain a flat plane.
Wall Preparation and Mortar Selection
Kitchen walls are rarely perfectly plumb. Before installation, check the drywall or cement board with a 4-foot level. Any deviation greater than 1/8 inch over 10 feet must be corrected. Use a cementitious patching compound to flatten the wall; do not attempt to correct major wall bows with thin-set mortar, as this will cause the tiles to slide and the mortar to shrink unevenly.
For subway tiles for kitchen backsplash projects, selecting the correct mortar is critical for adhesion and preventing sag on vertical surfaces. Standard unmodified thin-set is insufficient for vertical porcelain or glass applications.
| Tile Material & Size | Mortar Type (ANSI Standard) | Trowel Notch Size | Back-Buttering Required? |
|---|---|---|---|
| 3" x 6" Ceramic | A118.4 Modified Thin-Set | 1/4" x 1/4" Square | No |
| 4" x 8" Porcelain | A118.11 EFP (Enhanced) | 1/4" x 3/8" Square | Yes (Flat side only) |
| 2" x 4" Glass (Mesh) | A118.4 White Modified | 1/8" x 1/8" Square | No (Knock down ridges) |
Step-by-Step Installation Procedure
Follow this exact sequence to ensure a level, structurally sound installation of subway tiles for kitchen backsplash areas.
- Establish the Center and Ledger Board: Find the horizontal center of your primary wall. Snap a vertical chalk line. Screw a perfectly level 1x2 wooden ledger board into the wall studs, positioning its top edge exactly one tile height (plus spacer width) below where your bottom row will sit. This ledger supports the weight of the tile and prevents sagging while the mortar cures.
- Mix the Mortar: Mix your modified thin-set (such as Mapei UltraFlex 2) to a peanut-butter consistency. Let it slake (rest) for 10 minutes, then remix without adding water. This activates the polymers essential for vertical adhesion.
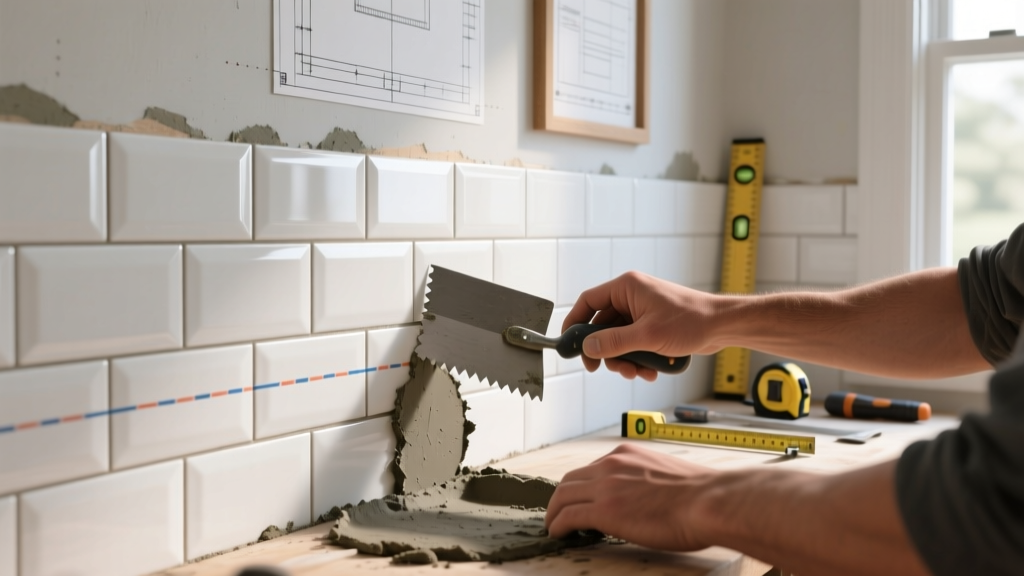
- Apply Mortar in Manageable Sections: Comb the mortar onto the wall using the flat side of the trowel first to key it into the drywall, then use the notched side to create uniform ridges. Only spread enough mortar for 3 to 4 rows at a time to prevent the mortar from skinning over.
- Set the First Row: Press the tiles firmly into the mortar, twisting slightly to collapse the ridges. Insert 1/16-inch or 1/8-inch spacers at the corners. Note: 1/16-inch spacers yield a tight, modern aesthetic, while 1/8-inch provides a traditional look.
- Execute the 1/3 Offset: For the second row, start with a tile cut to exactly 1/3 of its length (e.g., 2 inches for a 6-inch tile). The third row starts at 2/3 length (4 inches). The fourth row returns to a full tile. Repeat this cycle.
- Check for Lippage: Every third row, place a 12-inch level across the face of the tiles. If you detect lippage, use a rubber mallet to gently tap the high tiles, or add a small dab of mortar behind low tiles.
Cutting Around Electrical Outlets and Obstacles
The hallmark of a professional backsplash is how cleanly the tiles fit around electrical outlets, switches, and window casings. Never attempt to chip away at the tile with nippers for outlet cuts; this results in jagged edges that will not be fully covered by the outlet plate.
The Wet Saw and Oscillating Tool Method
For standard L-cuts around outlets, use a wet saw with a continuous-rim diamond blade. Make the primary horizontal cut first, stopping exactly at the depth mark, then make the vertical relief cut. If you are working in an occupied kitchen where a wet saw is impractical, use an angle grinder with a diamond turbo-rim blade for the primary cuts, and an oscillating multi-tool with a carbide-grit blade for delicate plunge cuts.
Dry-cutting ceramic or porcelain subway tiles generates respirable crystalline silica dust. Under OSHA's Respirable Crystalline Silica standard, dry cutting indoors without engineering controls is a severe health hazard and a code violation. Always attach a dust shroud connected to a HEPA vacuum when using an angle grinder indoors, or exclusively use a wet saw to suppress dust at the source.
Grouting and Sealing: Avoiding Haze and Discoloration
Once the mortar has cured for a minimum of 24 hours, remove the ledger board, install the bottom row of tiles (using spacers to maintain the expansion gap at the countertop), and prepare for grout. The joint width dictates your grout selection:
- 1/16-inch joints: Use unsanded cementitious grout or a high-performance polymer grout. Sanded grout will not pack into a 1/16-inch joint and will leave voids.
- 1/8-inch or larger joints: Use finely sanded grout or polymer grout. The sand provides structural integrity and prevents shrinkage cracking in wider joints.
Application and Cleanup Protocol
Force the grout into the joints using a rubber float held at a 45-degree angle, working diagonally across the subway tile pattern to avoid pulling grout out of the seams. Wait exactly 15 to 20 minutes for the grout to become firm to the touch, then perform the initial wipe with a damp (not soaking wet) hydrophilic sponge. Rinsing the sponge frequently is mandatory; dirty water will push grout pigment into the microscopic pores of the ceramic glaze, causing permanent haze.
For the critical joint where the bottom row of subway tiles meets the kitchen countertop, do not use grout. Countertops and walls expand and contract at different rates due to thermal changes and structural settling. Fill this 1/8-inch expansion joint with a color-matched, 100% silicone sealant that meets ASTM C920 standards. This prevents the inevitable cracking that occurs when rigid grout is used in change-of-plane transitions.