Mastering the Floor Nailer: Hardwood Installation Techniques
Master hardwood installation with our expert floor nailer guide. Learn PSI calibration, cleat vs. staple selection, and step-by-step nailing techniques.
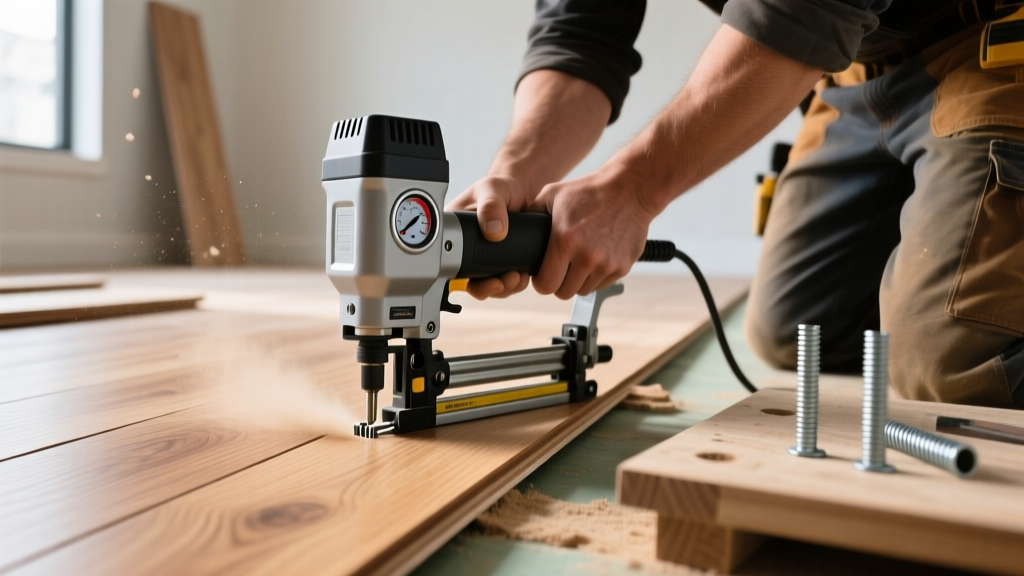
The Anatomy of a Floor Nailer: Cleats vs. Staples
Selecting the correct fastener for your floor nailer is the most critical decision in hardwood installation. The fastener must secure the plank to the subfloor while allowing the wood to expand and contract with seasonal humidity changes. Using the wrong fastener type leads to squeaks, split tongues, or buckled floors.
| Fastener Type | Gauge & Size | Best Application | Holding Power & Movement |
|---|---|---|---|
| 16-Gauge L-Cleat | 1.5' to 2' length | 3/4' solid hardwood (Oak, Maple, Hickory) | High. The L-shape allows lateral wood movement without splitting the tongue. |
| 18-Gauge T-Cleat | 1.5' length | 5/8' engineered hardwood or thinner solid profiles | Medium. Smaller cross-section reduces blowout on thinner milling. |
| 15.5-Gauge Staple | 1.5' to 2' length | Engineered hardwood, bamboo, or stable domestic woods | Very High. Dual-prong grip restricts movement; high risk of splitting dense exotic woods. |
Calibrating Your Pneumatic Floor Nailer: PSI and Depth Settings
A pneumatic floor nailer operates optimally between 70 and 90 PSI for standard 3/4-inch domestic hardwoods. However, compressor output fluctuates, and hose length causes pressure drops. Failing to calibrate your tool at the start of every shift results in either shallow drives (leaving the plank loose) or overdrives (crushing the wood fibers and dimpling the surface).
The Scrap Board Calibration Test
- Prepare the Test Piece: Cut a 12-inch scrap piece of the exact hardwood you are installing and lay it over a piece of the actual subfloor material (e.g., 3/4-inch CDX plywood).
- Set Initial PSI: Set your air compressor regulator to 75 PSI. Ensure your hose is fully extended to simulate actual working pressure drop.
- Fire a Test Fastener: Strike the nailer mallet with the exact force you plan to use during installation. Use a 3 lb to 5 lb dead-blow mallet; steel mallets damage the tool's actuator.
- Inspect the Drive Depth: The fastener should sit flush with the bottom of the tongue profile. If the fastener is proud (sticking up), increase PSI by 5 increments. If the wood is dimpled or the tongue is crushed, decrease PSI by 5 increments.
- Check the Subfloor Penetration: Flip the board over. The fastener should penetrate the plywood subfloor by exactly 1/4 to 3/8 of an inch. If it goes deeper, you are using a fastener that is too long for your subfloor thickness.
Installation Procedure: Nailing 3/4-Inch Solid Hardwood
Proper nailing schedules ensure the floor acts as a single, unified membrane. According to the National Wood Flooring Association (NWFA), fastener spacing must adapt to the board width and wood species density.
Field Nailing Schedule
- Standard 2-1/4' to 3-1/4' Strip Flooring: Fasten every 8 to 10 inches along the board length.
- Wide Plank (4' to 8'+): Fasten every 6 to 8 inches, and consider adding a bead of wood flooring adhesive to the subfloor for supplemental holding power.
- End Joints: Maintain a minimum of 1 to 3 inches of distance between the fastener and the end of the board to prevent end-splitting.
Step-by-Step Installation Sequence
1. The First Three Rows (Face and Blind Nailing): The floor nailer cannot fit against the starting wall. You must face-nail the first row using a 15-gauge finish nailer, setting the nails and filling the holes with color-matched wood putty. For the second and third rows, use the floor nailer, but you will need to manually strike the actuator with a mallet while holding the tool at a 45-degree angle to the tongue.
2. The Field (Blind Nailing): Once you have 3 feet of clearance from the wall, transition to standard floor nailer operation. Position the nailer's footplate over the tongue. The tool's internal bumper must rest squarely against the board's face. Strike the actuator firmly. Move down the board, maintaining your 8-10 inch spacing.
3. The Final Three Rows: As you approach the opposite wall, the floor nailer will again run out of clearance. Switch back to a 15-gauge finish nailer. If possible, blind-nail at a 45-degree angle through the shoulder of the tongue. If the tongue is inaccessible, face-nail the final boards and fill the holes.
Troubleshooting Common Floor Nailer Failures
Even with perfect calibration, job site variables can cause fastening failures. Use this diagnostic matrix to correct issues in real-time.
| Symptom | Root Cause | Corrective Action |
|---|---|---|
| Tongue splitting or blowout | Fastener too thick, PSI too high, or wood too dense/dry. | Switch from staples to 16ga L-cleats. Drop PSI by 10. Check wood moisture content (must be within 2-4% of subfloor). |
| Fastener is proud (sticking up) | Insufficient PSI, dull driver blade, or hitting a floor joist knot. | Increase PSI. Inspect and replace the driver blade if chipped. Avoid nailing directly into dense joist knots; shift spacing by 1 inch. |
| Dimpling on the board face | Overdriving due to high PSI or using a mallet that is too heavy. | Reduce PSI. Switch to a lighter (3 lb) dead-blow mallet. Ensure the tool's base plate is clean of debris. |
| Squeaking after installation | Subfloor deflection, missing adhesive on wide planks, or fasteners missed the joist. | Ensure subfloor is screwed to joists prior to flooring. Apply urethane adhesive to the subfloor for boards wider than 5 inches. |
Top Floor Nailer Models for Professional Installers
Investing in a reliable pneumatic floor nailer reduces downtime and prevents costly material damage. Here are the industry-standard models dominating the 2026 professional market:
- Powernail 50P Pneumatic ($240 - $280): The undisputed industry workhorse. Features a patented power-assisted driving mechanism that requires a lighter mallet strike, reducing installer fatigue. Accepts 16-gauge and 18-gauge cleats. Ideal for high-volume contractors.
- Bostitch MIIIFS ($190 - $220): Known for its lightweight magnesium housing and tool-free adjustable baseplate, which allows rapid transitions between 1/2-inch and 3/4-inch flooring thicknesses without needing a separate shoe attachment.
- NuMax SFL618BR 3-in-1 ($60 - $85): The premier budget option for DIYers or low-volume handymen. Fires staples, L-cleats, and T-cleats. While the internal O-rings require more frequent lubrication than the Powernail, it offers excellent value for occasional use.