Pro Guide: Installing Top Backsplash Ideas for Kitchen
Master the installation of top backsplash ideas for kitchen. Learn substrate prep, thinset selection, and protocols for porcelain, zellige, and glass tile.
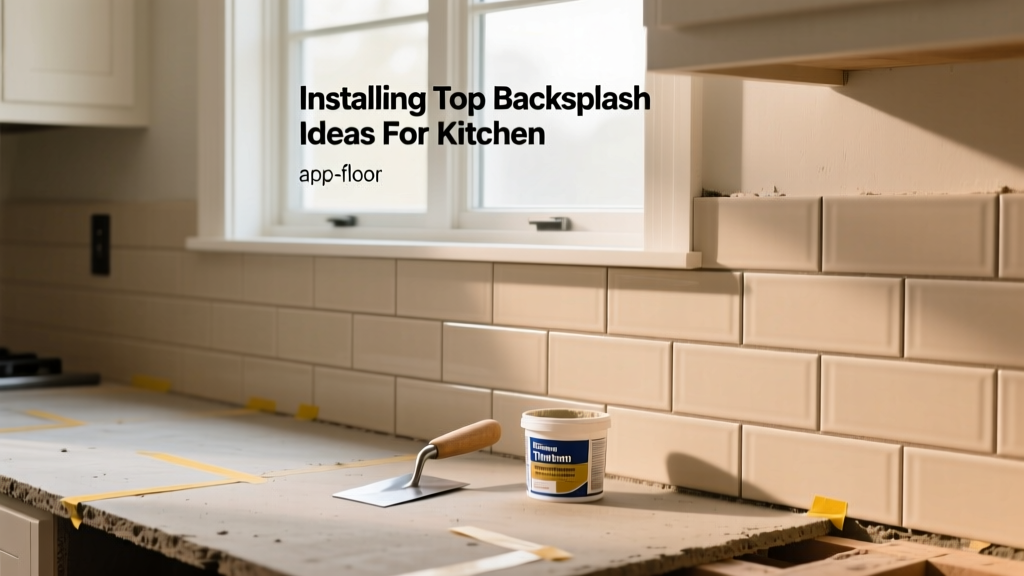
The Evolution of Backsplash Applications
When evaluating modern backsplash ideas for kitchen renovations, the focus has shifted dramatically from basic 3x6 ceramic subway tiles to complex, large-format, and artisanal materials. While these materials elevate the aesthetic of a kitchen, they demand flooring-grade installation protocols. The wall environment presents unique gravitational and moisture challenges that require precise substrate preparation, specialized thinset mortars, and strict adherence to Tile Council of North America (TCNA) guidelines. This guide details the exact application procedures for the three most demanding backsplash materials trending in 2026.
Material-Specific Installation Protocols
1. Large-Format Porcelain Slabs (e.g., Dekton, Neolith)
Large-format porcelain panels (typically 1200x2400mm or larger) are dominating high-end kitchen designs. Because these slabs are incredibly dense and feature minimal porosity, standard mastic or unmodified thinsets will fail.
- Thinset Selection: You must use a high-performance, polymer-modified thinset meeting ANSI A118.15 standards. Mapei Ultraflex LFT or Custom Building Products ProLite are industry standards for this application.
- Trowel Size & Technique: Use a 1/2-inch x 1/2-inch square-notch trowel on the wall, and strictly back-butter the slab with the flat side of the trowel. This ensures 95%+ coverage, which is critical to prevent hollow spots that can crack upon impact.
- Handling: Use an aluminum A-frame suction cup rig. Slabs over 48 inches cannot be safely maneuvered by hand without risking edge-chipping or installer injury.
- Cutting: Standard wet saws will bind on 60-inch slabs. Use a rail-mounted bridge saw with a continuous-rim diamond blade specifically rated for sintered stone or ultra-dense porcelain.
2. Handcrafted Zellige and Artisan Clay Tiles
Zellige tiles offer a highly reflective, uneven surface that creates beautiful light play, but their dimensional inconsistency makes installation notoriously difficult. According to the National Kitchen & Bath Association (NKBA), artisanal clay tiles require a craftsman's approach to lippage management.
- Layout & Blending: Open all boxes and dry-lay the tiles on the floor first. Blend the color variations and distribute the thickest tiles to the edges where they can be ground down.
- Thinset & Trowel: Use a 1/4-inch x 3/8-inch square-notch trowel with a standard modified thinset (ANSI A118.4). The smaller notch prevents excess mortar from squeezing up into the narrow, irregular joints.
- Leveling: Avoid aggressive mechanical leveling systems (like wedge-and-clip systems) on zellige, as the uneven pressure can crack the delicate glaze. Instead, use a beating block and a rubber mallet to gently tap the tiles flush.
- Grouting: Use a high-quality fine-sanded or unsanded grout like Mapei Ultracolor Plus FA. Standard sanded grout will permanently scratch the soft clay glaze during application.
3. Mesh-Mounted Glass Mosaics
Glass mosaics remain a staple for kitchen backsplashes, but their translucency exposes every installation flaw.
- The Shadowing Problem: Never use grey thinset for glass tile. The color will show through the glass, giving the entire backsplash a muddy, bruised appearance. Always use a bright white, premium modified thinset.
- Trowel Size: Use a 1/8-inch x 1/8-inch V-notch trowel. If you use a square notch that is too deep, the thinset will push through the mesh and become impossible to clean out of the grout joints before it cures.
- Flattening: After embedding the mesh, immediately pass a flat float over the face of the tile to press the mesh completely into the thinset and ensure a perfectly flat plane.
Comparison Matrix: Thinset and Grout Pairings
| Material Type | Required Thinset (ANSI Standard) | Recommended Grout Type | Joint Width |
|---|---|---|---|
| Large-Format Porcelain | Polymer-Modified LHT (A118.15) | Rapid-Setting Cementitious | 1/16' to 1/8' |
| Zellige / Clay | Standard Modified (A118.4) | Fine-Sanded / Unsanded | 1/16' (tight) |
| Glass Mosaic | White Premium Modified (A118.4) | Epoxy or Unsanded Cement | 1/8' (mesh dependent) |
Edge Finishing and Transition Details
A common failure point in backsplash installation is the exposed edge where the tile terminates against drywall or open shelving. Bullnose tiles are largely obsolete in modern design. Instead, utilize metal edge profiles.
For a sharp, contemporary look, install Schluter-JOLLY or Schluter-QUADEC in brushed aluminum or matte black. These profiles must be installed *before* the tile. You embed the perforated anchoring leg into the thinset on the wall, then butt the tile against the vertical flange. This provides a perfectly straight, impact-resistant edge that protects the fragile cut edge of porcelain or glass.
2026 Cost Breakdown and Labor Timelines
Understanding the financial and temporal investment is crucial for project planning. Based on current 2026 national averages for professional installation:
- Large-Format Porcelain: Materials range from $18 to $45 per sq. ft. Labor is premium, averaging $28 to $42 per sq. ft. due to the two-person handling requirement and specialized cutting tools. Expect a 30 sq. ft. backsplash to take 2 full days.
- Zellige / Artisan Clay: Materials range from $22 to $38 per sq. ft. Labor averages $24 to $35 per sq. ft. The time-consuming dry-laying and careful hand-alignment add roughly 30% more labor time compared to standard ceramic.
- Glass Mosaic: Materials range from $12 to $30 per sq. ft. Labor is generally $18 to $28 per sq. ft., as the mesh-mounted sheets install quickly, though grouting and cleaning require meticulous attention.
Troubleshooting Common Application Failures
CAUSE: Using a trowel notch that is too deep, or applying excessive pressure when flattening the mesh.
FIX: Switch to a 1/8-inch V-notch trowel. If thinset squeezes out, immediately wipe it with a damp (not soaking) sponge before it skins over. Never let it cure in the joint.
CAUSE: Insufficient wall flattening prior to installation, or failing to back-butter the slab.
FIX: Walls must be plumb and flat to within 1/8-inch over 10 feet. Use a straightedge to identify high and low spots, and skim-coat the wall with a patching compound before applying thinset.
Executing modern backsplash ideas for kitchen spaces requires treating the vertical plane with the same rigorous material science and mechanical precision as a heavy-duty floor. By matching the correct ANSI-rated thinset to the specific porosity and weight of your chosen material, and by refusing to compromise on substrate preparation, you ensure a backsplash that is as structurally enduring as it is visually striking.