How to Install Click-Lock Vinyl Plank Over Concrete Subfloors
Master click-lock vinyl plank installation over concrete subfloors. Learn moisture testing, underlayment prep, and pro layout techniques.
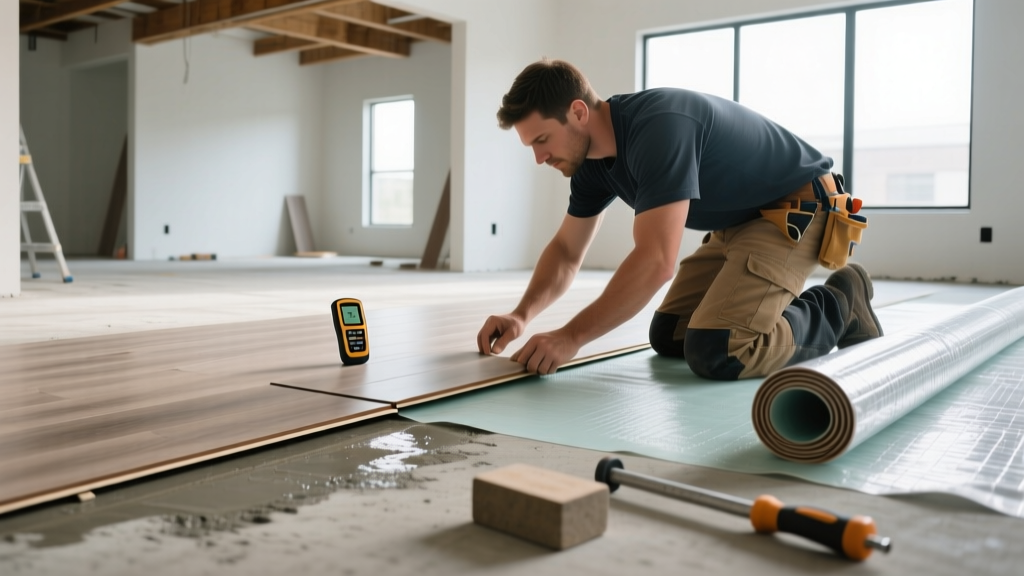
Pre-Installation Concrete Subfloor Diagnostics
Concrete subfloors present unique challenges for luxury vinyl plank (LVP) installations, primarily due to moisture vapor emission and surface irregularities. Modern 2026 rigid core SPC (Stone Plastic Composite) vinyl plank products are highly dimensionally stable, but they will telegraph subfloor imperfections and suffer joint degradation if installed over unverified concrete.
Moisture Vapor Emission Testing
Before unboxing any materials, conduct quantitative moisture testing. Relying on visual inspections or plastic sheet tests is insufficient and violates most manufacturer warranties. You must perform one of the following tests per Resilient Floor Covering Institute (RFCI) guidelines:
- ASTM F2170 (In-Situ Relative Humidity Probe): Drill holes to 40% of the slab depth (or 20% if drying from both sides). Insert RH probes and seal. Readings must not exceed 75% RH for most click-lock vinyl plank systems.
- ASTM F1869 (Calcium Chloride MVER Test): Measures Moisture Vapor Emission Rate. The acceptable limit is typically 3.0 lbs per 1,000 square feet per 24 hours.
Flatness and Levelness Tolerances
Click-lock vinyl plank requires a flatness tolerance of 3/16 inch over a 10-foot radius, and 1/8 inch over a 6-foot radius. Use a 10-foot straightedge to map high and low spots. High spots must be mechanically reduced via diamond grinding. Low spots require a cementitious self-leveling underlayment (SLU). When using an SLU, always apply the manufacturer-specified primer to prevent the concrete from absorbing water out of the leveling compound too quickly, which causes cracking. For premium SLU systems, refer to Mapei Concrete Preparation Systems technical data sheets.
Acclimation and Environmental Controls
Despite marketing claims that rigid core vinyl plank requires zero acclimation, industry best practices dictate a minimum 48-hour acclimation period for the planks, the underlayment, and the adhesive (if using perimeter glue). The installation environment must be maintained between 65°F and 85°F (18°C - 29°C) with a relative humidity between 30% and 60%. HVAC systems must be fully operational and running for at least 72 hours prior to installation to stabilize the concrete's surface temperature.
Underlayment Selection Matrix
Selecting the correct underlayment is critical for acoustic performance and joint integrity. The most common installation failure in 2026 is 'double-padding'—adding a separate roll of foam under an LVP product that already features an attached IXPE (cross-linked polyethylene) pad. This creates excessive vertical deflection, causing the click-lock mechanisms to snap under rolling loads.
| Underlayment Type | Thickness | IIC Rating | Best Application |
|---|---|---|---|
| Attached IXPE Pad | 1.0mm - 1.5mm | 50 - 55 | Standard residential; no additional pad required. |
| 2mm Cork Roll | 2.0mm | 52 - 58 | LVP without attached pad; excellent thermal resistance. |
| High-Density Foam | 1.0mm - 2.0mm | 60 - 68 | Multi-family residential; requires LVP without attached pad. |
Step-by-Step Floating Installation Procedure
Step 1: Establish Perimeter Expansion Gaps
Vinyl plank expands and contracts with temperature fluctuations. Maintain a strict 1/4-inch to 3/8-inch (6mm - 10mm) expansion gap around the entire perimeter, including door jambs, pipes, and cabinetry. Use specialized plastic spacer wedges rather than scrap wood, which can compress and fail to maintain the gap during the tapping process.
Step 2: Plank Staggering and Layout
Plan your layout to avoid 'H-patterns' or 'stair-step' patterns, which concentrate stress on specific joints and weaken the floating floor matrix. The minimum end-joint stagger must be 6 inches (150mm), though a randomized stagger of 8 to 12 inches provides superior structural interlock and a more natural aesthetic. Cut the first plank of the second row to 2/3 of its length, and the first plank of the third row to 1/3 of its length to establish a strong random sequence.
Step 3: Engaging the Click-Lock Mechanism
Modern click-lock systems utilize either an 'angle-angle' or 'drop-lock' (valinge) profile. For angle-angle profiles, insert the tongue into the groove at a 20-to-30-degree angle and fold downward. For drop-lock profiles, align the plank flat and tap it horizontally into place.
Managing Transitions and Run Limits
A floating vinyl plank floor must be allowed to move independently of the structure. The maximum continuous run for most click-lock LVP is 40 linear feet in length and 30 linear feet in width. If your space exceeds these dimensions, or if you are transitioning between rooms with different HVAC zones, you must install a T-molding transition strip. This breaks the floor into independent floating islands, preventing catastrophic buckling in the center of the room during peak summer thermal expansion.
Post-Installation Curing and Load Management
Once the final plank is laid and baseboards are reinstalled, remove all perimeter spacers. While floating floors do not require adhesive curing, the locking mechanisms need time to settle under ambient room conditions. Wait a minimum of 24 hours before moving heavy appliances (like refrigerators or pianos) onto the floor. When moving heavy loads, use 1/2-inch thick Masonite sheets to distribute the point-load across multiple planks, preventing the click-lock joints from separating under concentrated weight. For comprehensive warranty and maintenance parameters, always consult the specific AHF Products Installation Guidelines corresponding to your exact product SKU.