Kitchen Backsplash Patterns: Material Taxonomy & Selection
Explore kitchen backsplash patterns through material taxonomy. Compare ceramic, stone, and glass layouts, grout tolerances, and costs.
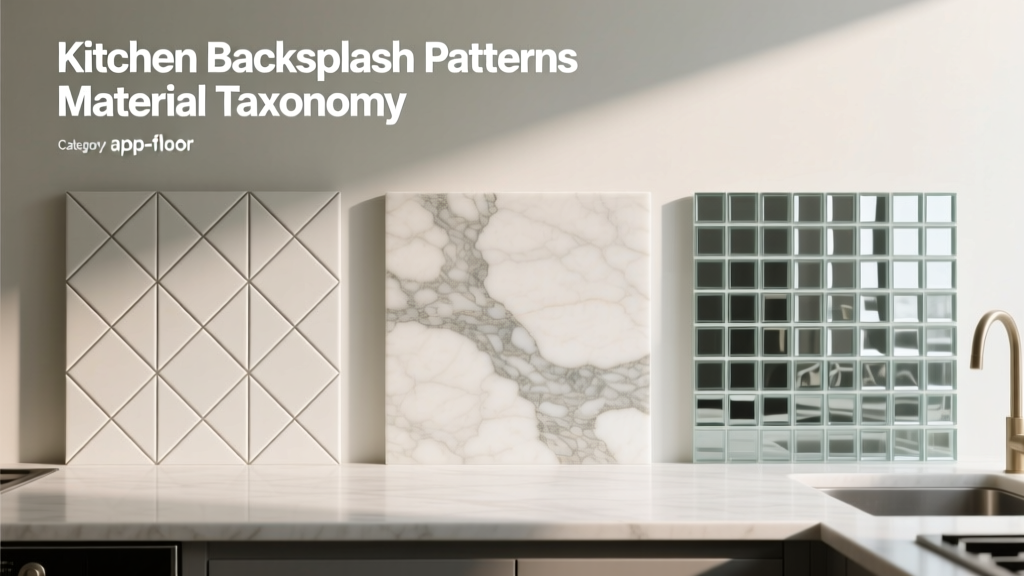
The Intersection of Pattern and Material Science
Selecting kitchen backsplash patterns is not merely an aesthetic exercise; it is a structural decision constrained by material taxonomy. A herringbone layout behaves entirely differently in extruded ceramic than it does in cleaved natural slate or cast glass. The physical properties of the material—specifically dimensional tolerance, porosity, and light refraction—dictate which geometric patterns will succeed and which will fail during installation.
While flooring and wall surfaces share the same foundational material categories, vertical applications demand stricter adherence to weight limits and grout adhesion standards. This guide deconstructs kitchen backsplash patterns through the lens of material science, providing exact specifications, 2026 pricing benchmarks, and installation tolerances required for a flawless finish.
Ceramic and Porcelain: The Rectified vs. Calibrated Divide
Ceramic and porcelain tiles dominate the backsplash market due to their low porosity and high durability. However, the viability of complex kitchen backsplash patterns in these materials hinges entirely on the edge treatment: rectified versus calibrated (non-rectified).
Rectified Porcelain for Geometric Precision
Rectified tiles are mechanically ground after firing to achieve exact dimensional uniformity, typically with a tolerance of +/- 0.5mm. This precision is mandatory for continuous, interlocking kitchen backsplash patterns like herringbone, chevron, or basketweave.
Calibrated Ceramic for Staggered and Stack Bonds
Calibrated tiles are not ground post-firing, resulting in slight size variations (up to 1.5mm). Attempting a herringbone pattern with calibrated ceramic will result in misaligned vertices and severe lippage. Instead, restrict calibrated materials to offset (subway) or straight-stack patterns where minor dimensional shifts are absorbed by the linear layout.
Natural Stone: Veining, Bookmatching, and Mosaic Taxonomy
Natural stone introduces organic variability that fundamentally alters pattern selection. According to the Natural Stone Institute, the mineral composition and cleavage planes of stone dictate how it can be cut and arranged.
Slab Bookmatching vs. Field Tile
For high-end kitchens, bookmatching (mirroring adjacent slabs to create a symmetrical Rorschach pattern) is the premier choice for materials with dramatic veining, such as Calacatta Gold or Statuario marble. This requires purchasing full slabs (typically 9x5 feet) and utilizing a wet saw with a continuous rim diamond blade to prevent chipping the fragile calcite edges. Expect material costs to range from $140 to $280 per square foot for premium Italian marble slabs in 2026.
Stone Mosaics and the Grout Trap
When utilizing natural stone mosaics (e.g., 1x1 hex Carrara marble on mesh backing), the pattern is pre-determined by the manufacturer. The critical failure mode here is grout staining. Because marble is highly porous, standard cementitious grout will leach pigments into the stone. You must pre-seal the stone with a fluoropolymer-based impregnating sealer, such as Miracle Sealants 511 Impregnator, allowing 24 hours of cure time before grouting.
Glass and Metal: Reflective Pattern Dynamics
Glass and metal tiles interact with ambient and task lighting, meaning the chosen pattern will shift visually throughout the day. Linear glass tiles (e.g., Oceanside Glasstile Echo series) are highly susceptible to showing substrate imperfections.
- Linear Stacked Bond: Emphasizes horizontal lines, making narrow galley kitchens appear wider. Requires a perfectly plumb and level substrate; any wall deviation is immediately highlighted by the continuous horizontal grout lines.
- Staggered (Brick) Bond: Disguises minor substrate undulations. However, with translucent glass, the mortar trowel marks behind the tile will be visible. You must use a white, polymer-modified thinset (ANSI A118.4) applied with a 1/4-inch x 1/4-inch square-notch trowel, and back-butter each sheet to ensure 95% coverage and eliminate shadow lines.
Decision Matrix: Matching Pattern to Material & Budget
Use this taxonomy matrix to align your design intent with material realities and current market costs.
| Material Category | Optimal Patterns | Required Grout Joint | Avg. Material Cost (2026) | Installation Complexity |
|---|---|---|---|---|
| Rectified Porcelain | Herringbone, Chevron, Basketweave | 1/16-inch (Tight) | $6 - $14 / sq ft | High (Requires precise leveling) |
| Calibrated Ceramic | Offset Subway, Straight Stack | 1/8-inch to 3/16-inch | $3 - $8 / sq ft | Low to Moderate |
| Marble Slab | Bookmatch, Vein-Match | Seamless (Epoxy) | $140 - $280 / sq ft | Extreme (Requires fabricator) |
| Stone Mosaic (Mesh) | Hexagon, Penny Round, Arabesque | 1/8-inch (Standard) | $12 - $25 / sq ft | Moderate (Requires pre-sealing) |
| Cast Glass | Linear Stack, Random Stagger | 1/16-inch to 1/8-inch | $18 - $40 / sq ft | High (Requires white thinset) |
Installation Tolerances and the TCNA Standard
The most common point of failure in kitchen backsplash patterns is the grout joint width. The Tile Council of North America (TCNA) explicitly mandates that the minimum grout joint width must be at least three times the actual dimensional variation of the tile being installed.
Calculating Your Joint Width
If you measure ten tiles from a batch of handmade Zellige-style ceramic and find a size variation of 1.5mm (approximately 1/16-inch), your minimum grout joint must be 3/16-inch. Forcing a 1/16-inch joint on these tiles to achieve a 'modern' look will result in tiles bottoming out against each other, causing the pattern to bow and the tiles to pop off the wall due to thermal expansion.
Substrate Preparation for Vertical Patterns
Unlike flooring, where gravity assists in keeping tiles flat, vertical backsplash patterns are subject to gravity-induced sagging during the thinset cure time. For heavy materials like natural stone mosaics or large-format porcelain panels, use a non-sag, medium-bed mortar (ANSI A118.15). Apply the mortar to the wall using the notch side of the trowel, then flatten the ridges with the flat side before combing again. This 'flat-trowel' technique ensures maximum contact and prevents the heavy patterned sheets from sliding down the wall before the mortar sets.
The Material-First Selection Rule
Never select a kitchen backsplash pattern before selecting the material. The material's manufacturing process (rectified vs. extruded vs. cleaved) dictates the allowable grout joint, which in turn dictates the geometric patterns that can be executed without visual distortion or structural failure. Always request a physical sample of at least 5 tiles to measure dimensional variance before finalizing your layout.