Choosing the Right Kitchen Floor: A Scenario-Based Material Guide
Match your cooking habits and home layout to the ideal kitchen floor. Compare LVP, engineered wood, and porcelain tile specs, costs, and failure modes.
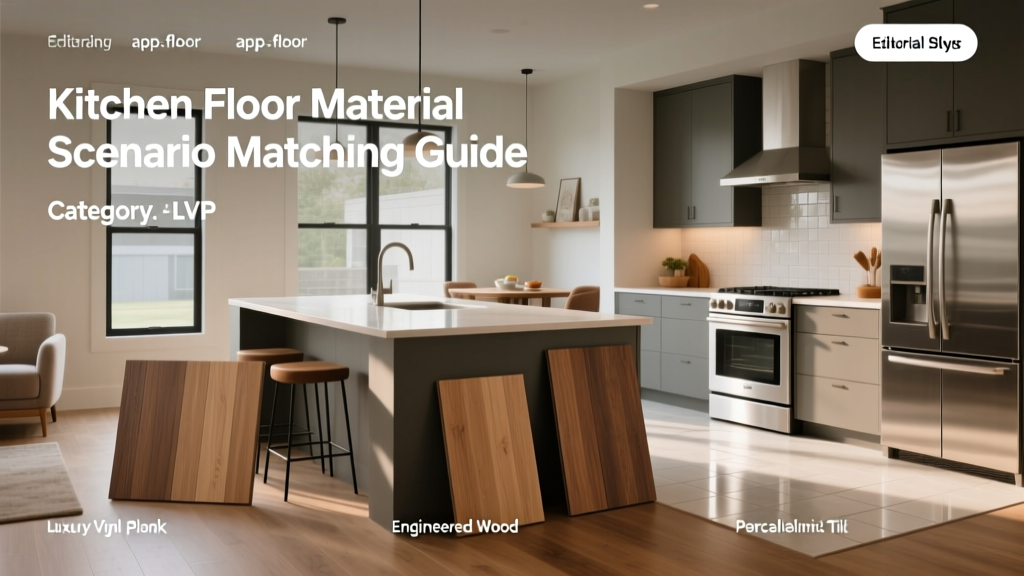
The Scenario-Matching Framework for Kitchen Floors
Selecting a kitchen floor requires moving beyond basic aesthetics and evaluating how the space actually functions. A kitchen is a high-impact environment characterized by extreme temperature fluctuations, heavy foot traffic, dropped utensils, and frequent liquid spills. The optimal material for a closed-off, heavy-cooking kitchen differs vastly from the ideal choice for an open-concept entertaining space. By applying a scenario-matching framework, homeowners can align specific material properties—such as dimensional stability, surface hardness, and moisture resistance—with their exact household demands.
Scenario 1: The High-Spill Culinary Enthusiast
For households where cooking is a daily, messy affair involving acidic ingredients, heavy water use, and frequent spills, absolute waterproofing and stain resistance are non-negotiable. Traditional hardwood and standard laminate will quickly succumb to edge-swelling and delamination in this environment.
Material Match: Rigid Core SPC Luxury Vinyl
Stone Plastic Composite (SPC) luxury vinyl plank (LVP) is the premier choice for high-spill kitchens. Unlike older WPC (Wood Plastic Composite) cores that can dent under heavy appliance loads, SPC utilizes a limestone-powder core that provides rigid dimensional stability. As of 2026, premium SPC products feature a 100% waterproof core and locking mechanisms that prevent surface water from penetrating the subfloor for up to 72 hours.
- Wear Layer: Minimum 20-mil (0.5mm) for residential kitchens; 22-mil with ceramic bead coating for scratch resistance.
- Core Thickness: 5mm to 6.5mm total thickness to prevent telegraphing of minor subfloor imperfections.
- Attached Pad: 1mm to 1.5mm IXPE (cross-linked polyethylene) underlayment for acoustic dampening and underfoot comfort.
Cost Expectation: $4.50 to $7.50 per square foot for materials. Professional installation adds $2.00 to $3.50 per square foot.
Primary Failure Mode: Trapped moisture. If installed over a concrete slab without a proper vapor barrier (or if the slab's moisture vapor emission rate exceeds 5 lbs per 1,000 sq ft), hydrostatic pressure can break the click-lock seals from below.
Scenario 2: The Open-Concept Entertainer
When the kitchen flows seamlessly into the living and dining areas, visual continuity and underfoot comfort become the priorities. Homeowners in this scenario often want the warmth of real wood but need a product that can handle the kitchen's unique microclimate, which includes humidity spikes from boiling water and dishwashers.
Material Match: Wide-Plank Engineered Hardwood
Solid hardwood is highly susceptible to cupping and gapping when exposed to the kitchen's humidity swings. Engineered hardwood, constructed with a cross-banded plywood or HDF core and a real wood veneer, offers superior dimensional stability. To ensure longevity in a kitchen, the veneer must be thick enough to be refinished if damaged.
According to the National Wood Flooring Association (NWFA), maintaining a consistent indoor relative humidity between 35% and 55% is critical for preventing structural damage to engineered wood floors. In kitchens, this often requires integrating a whole-home humidification/dehumidification system.
"For kitchen applications, specify engineered hardwood with a minimum 3mm wear layer and an aluminum oxide or UV-cured polyurethane finish. Avoid oil-rubbed finishes in kitchens, as they require frequent maintenance and offer poor resistance to acidic food spills." — Hardwood Flooring Installation Guidelines
Cost Expectation: $8.00 to $14.00 per square foot. Glue-down installation, which is recommended for wide planks (over 5 inches) to prevent movement, adds $4.00 to $6.00 per square foot.
Primary Failure Mode: Standing water from a leaking dishwasher or ice maker line. Even highly stable engineered wood will suffer irreversible edge-cupping if water pools on the surface for more than a few hours.
Scenario 3: The Heavy-Duty Family Kitchen
Families with young children, large dogs, and high-impact cooking routines (e.g., dropping cast-iron skillets) require a floor with maximum surface hardness and impact resistance. Comfort and warmth are secondary to sheer durability and ease of deep cleaning.
Material Match: Through-Body Porcelain Tile
Porcelain tile is fired at extremely high temperatures, resulting in a dense, virtually non-porous surface. For kitchens, "through-body" or "color-body" porcelain is essential. If a heavy pot chips the surface, the color of the tile body matches the glaze, making the chip nearly invisible.
- PEI Rating: Class 4 (Heavy Traffic) or Class 5 (Extra Heavy Traffic).
- Water Absorption: Impervious (less than 0.5% absorption per ASTM C373).
- Dynamic Coefficient of Friction (DCOF): Minimum 0.42 for slip resistance, especially near the sink and dishwasher.
Cost Expectation: $5.00 to $12.00 per square foot for rectified tile. Installation is labor-intensive, typically costing $8.00 to $15.00 per square foot, including mortar, uncoupling membrane, and epoxy grout.
Primary Failure Mode: Subfloor deflection. Tile is completely inflexible. If the floor joists bounce, the tile or grout will crack. The Tile Council of North America mandates a maximum deflection rating of L/360 for natural stone and L/720 for standard porcelain installations.
Scenario-to-Material Decision Matrix
Use this matrix to quickly identify the optimal kitchen floor material based on your primary household constraints and performance requirements.
| Household Scenario | Recommended Material | Key Metric to Verify | Maintenance Level | Avg. Installed Cost (sq ft) |
|---|---|---|---|---|
| High-Spill / Messy Cooking | Rigid Core SPC Vinyl | 20-mil wear layer, IXPE pad | Very Low | $6.50 - $11.00 |
| Open-Concept / Visual Flow | Engineered Hardwood | 3mm+ veneer, Aluminum Oxide finish | Moderate | $12.00 - $20.00 |
| Heavy Impact / Pets / Kids | Through-Body Porcelain | PEI Class 4+, DCOF > 0.42 | Low | $13.00 - $27.00 |
| Eco-Conscious / Ergonomic | Strand-Woven Bamboo | Janka > 3000, CARB Phase 2 VOC | Moderate | $8.00 - $13.00 |
Critical Subfloor and Installation Gotchas
The most expensive kitchen floor materials will fail prematurely if the subfloor preparation is inadequate. Before finalizing your material choice, verify the following site conditions:
- Moisture Testing (Concrete Slabs): If installing over a concrete slab, conduct a Calcium Chloride test (ASTM F1869) or an in-situ relative humidity probe test (ASTM F2170). Most LVP and engineered wood manufacturers will void the warranty if the moisture vapor emission rate (MVER) exceeds 3 to 5 lbs per 1,000 square feet over 24 hours.
- Flatness Tolerances: Rigid core vinyl and large-format tile require exceptionally flat subfloors. The industry standard is no more than 1/8-inch deviation over a 10-foot radius, and 1/16-inch over a 3-foot radius. Self-leveling underlayment (SLU) is almost always required in older homes.
- Grout Selection for Tile: In a kitchen, avoid standard cementitious grout, which is porous and stains easily from wine, oil, and tomato sauce. Specify a high-performance epoxy grout (such as Laticrete Spectralock PRO) or a premium single-component urethane grout. While epoxy grout increases installation costs by roughly $1.50 per square foot, it eliminates the need for future sealing and resists all household chemicals.
- VOC Off-Gassing: For enclosed kitchens with limited cross-ventilation, verify that adhesives and flooring materials meet strict indoor air quality standards. Look for products certified by EPA guidelines or bearing the FloorScore certification to ensure volatile organic compound (VOC) emissions remain within safe limits.
Final Verification Steps
Before purchasing materials, order full-size sample boards rather than relying on small swatches. Place the samples in the kitchen and observe them under both natural daylight and the warm artificial lighting of your under-cabinet and pendant fixtures. Test the samples against your specific household hazards: drop a set of keys on them, spill a tablespoon of balsamic vinegar and let it sit for an hour, and drag a heavy stool across the surface. This empirical testing will confirm whether the manufacturer's specifications hold up to your real-world kitchen environment.